How to Hang a Simple Framed Print: Heights, Spacing & Wall Placement Tips
Hanging a framed print should feel simple, not stressful. This guide walks you through the essentials—ideal height, spacing, and where to place frames above sofas, beds, desks and mantelpieces—so your wall looks balanced and intentional. For reference, Utterly Printable’s Simple Framed Prints are produced on 210gsm smooth-matt photo paper using archival 12-colour inks, mounted behind crystal-clear, shatter-resistant acrylic and set in solid-wood frames (black, white or natural). They arrive ready to hang with a complimentary hardware kit, in sizes from A4 to A1 plus classic 30 × 20 cm up to 70 × 50 cm—ideal for single features or full gallery walls.
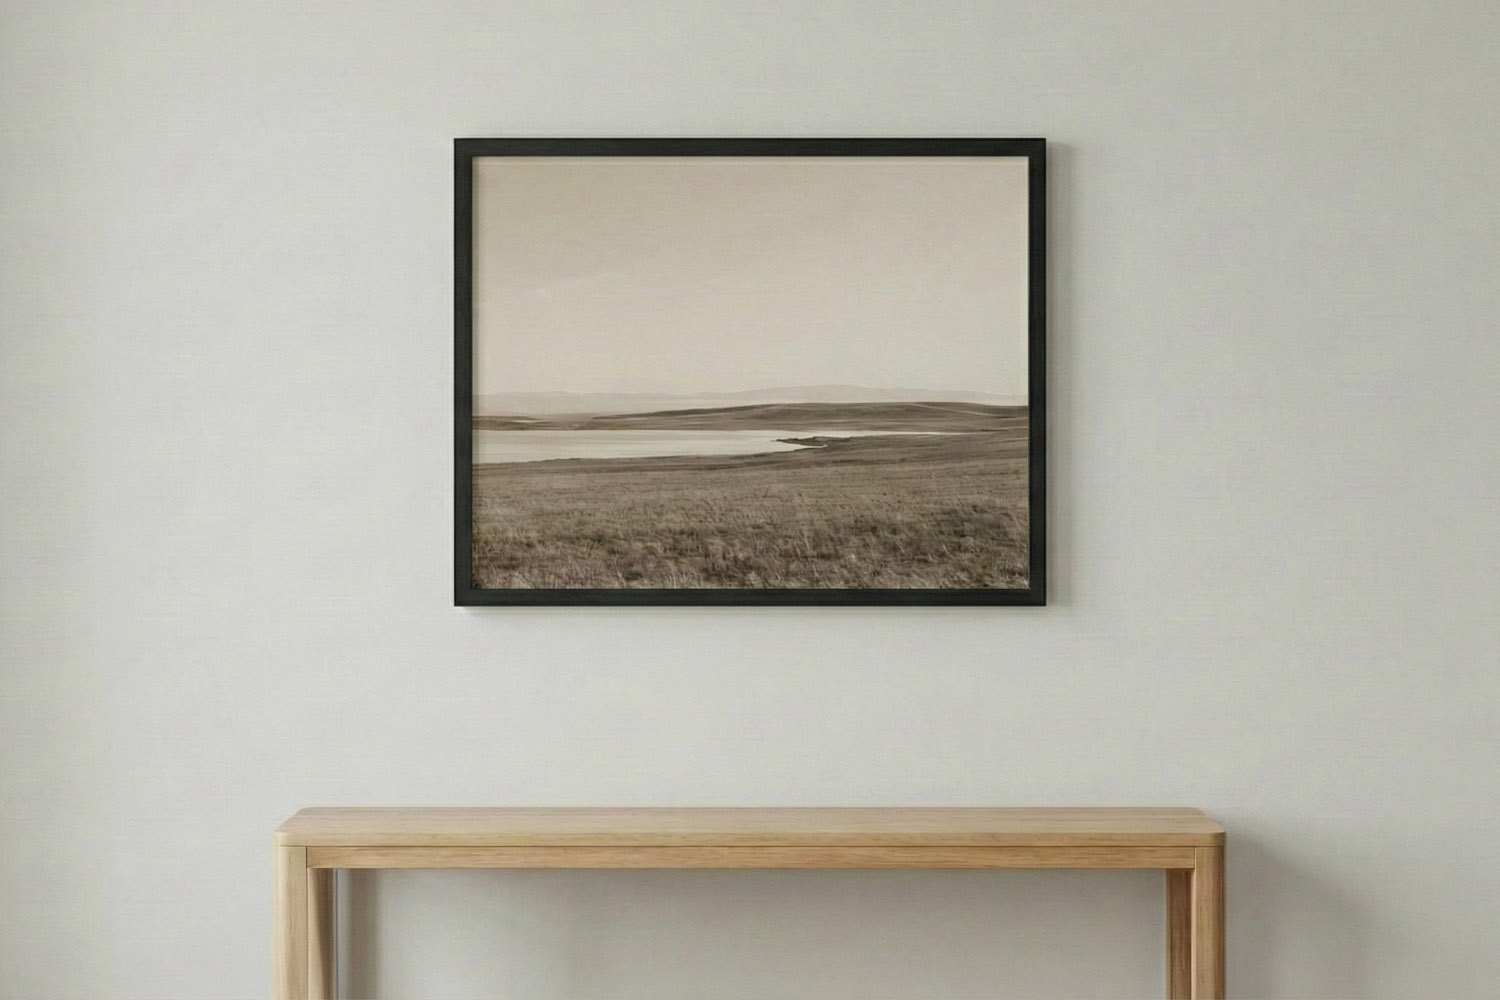
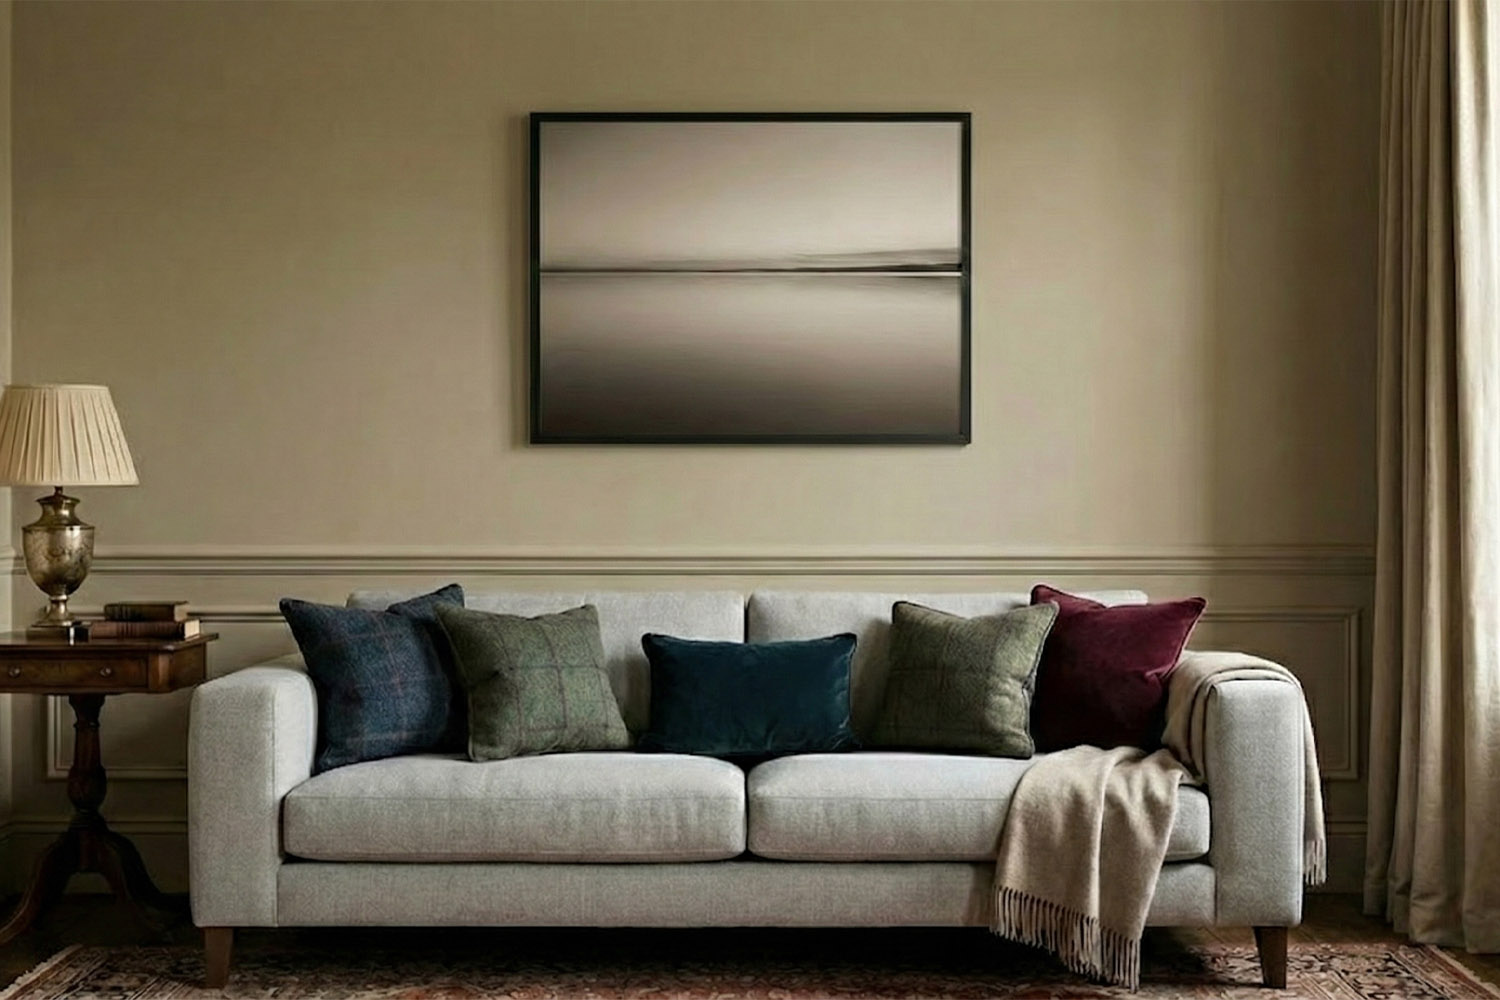
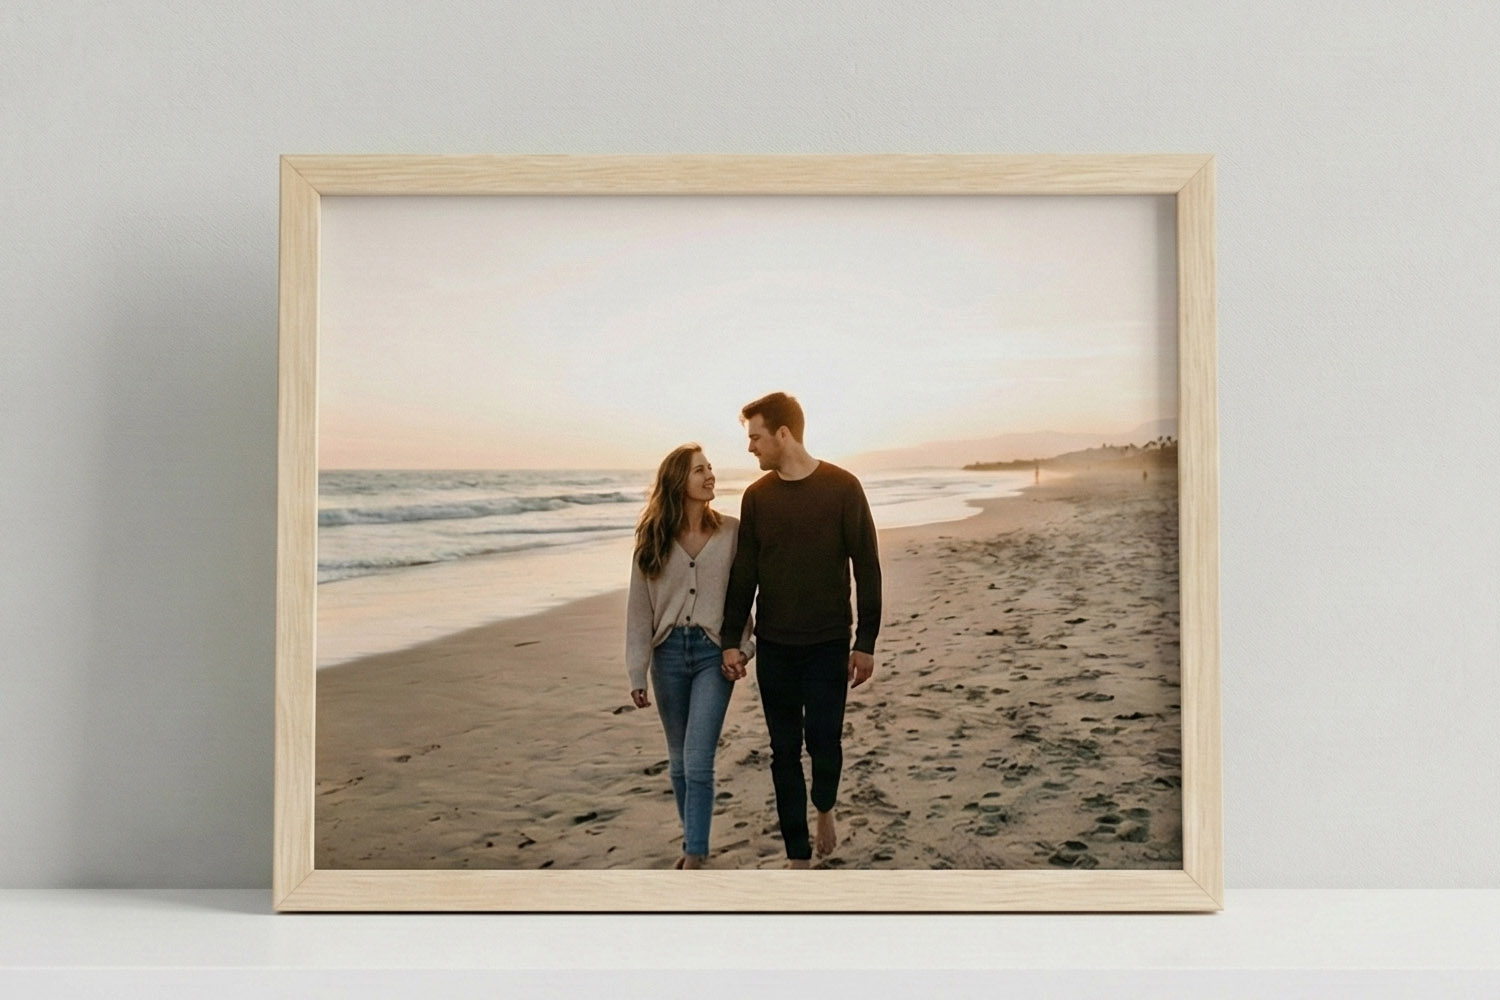
This simple framed print with a black frame and sepia landscape is perfectly displayed above a minimalist wooden console table.
1) The right height: a calm, eye-line approach
The simplest rule is to centre the artwork at typical eye level. For most homes, that’s 145–155 cm from the floor to the centre of the frame, with 145 cm a reliable starting point. This keeps pictures readable whether you’re seated or standing.
How to measure once:
- Mark 145 cm from the floor on the wall—this will be the centre point.
- Measure half the frame height; add that above or below the centre mark as needed to place your hanging point(s).
- If your frame has multiple hang points, measure between them and level carefully before fixing.
When to adjust:
- Tall ceilings (2.7 m+): Nudge the centre up by 3–5 cm so the piece doesn’t feel low.
- Compact rooms or low ceilings: Keep the 145 cm centre so artwork anchors the space.
- Long corridors: Hang a touch higher (up to 150–155 cm) to suit a mostly standing viewpoint.
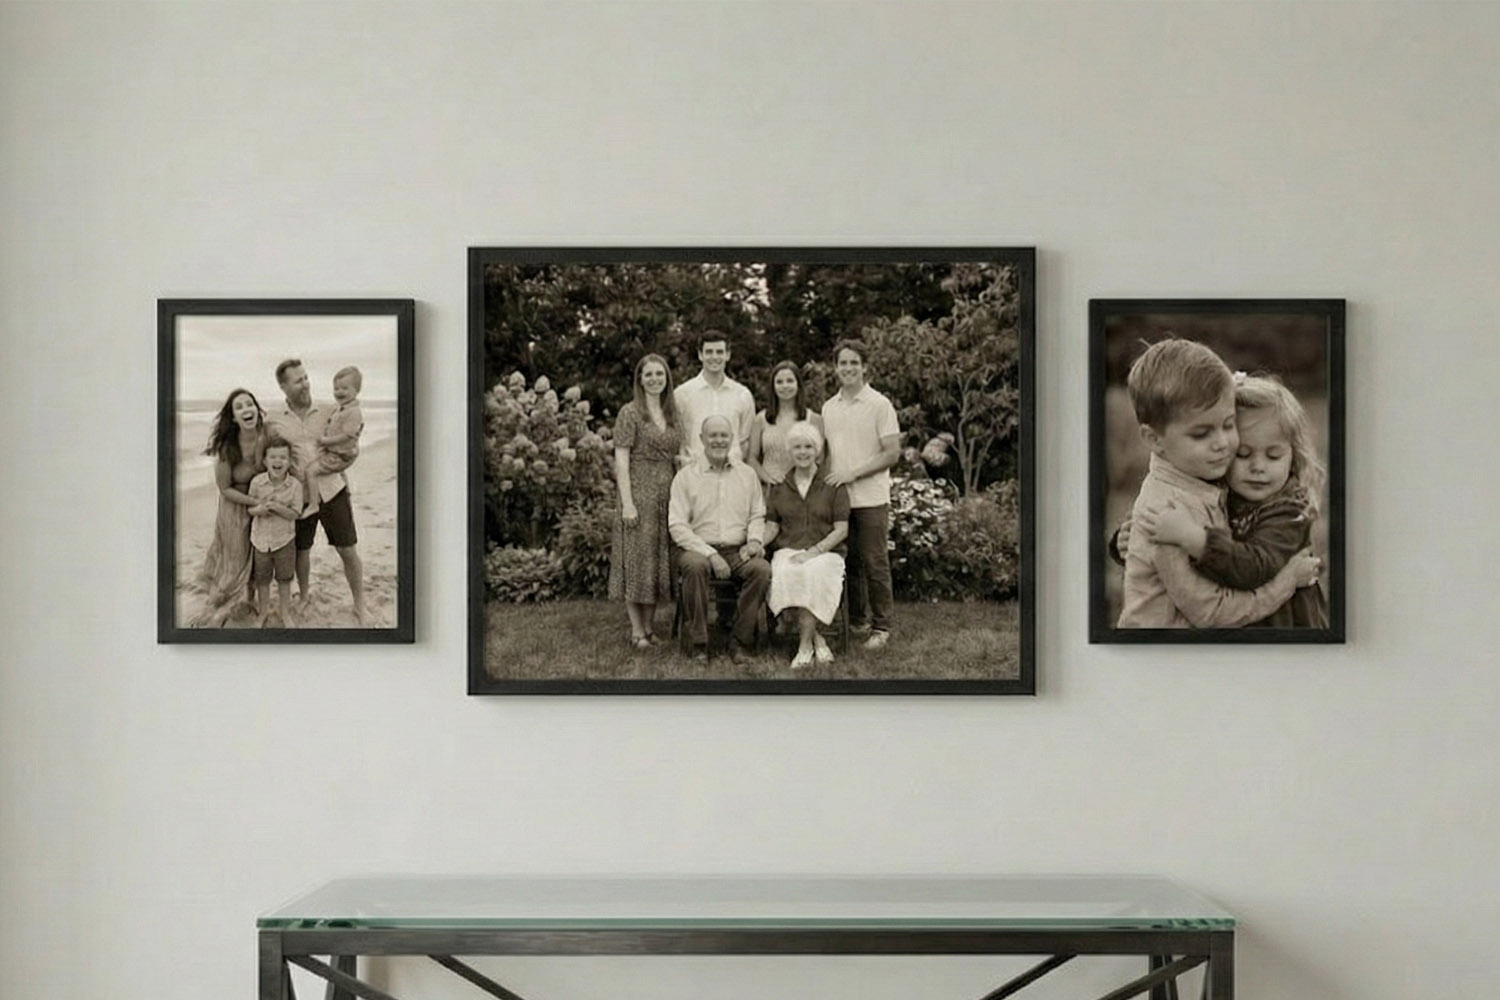
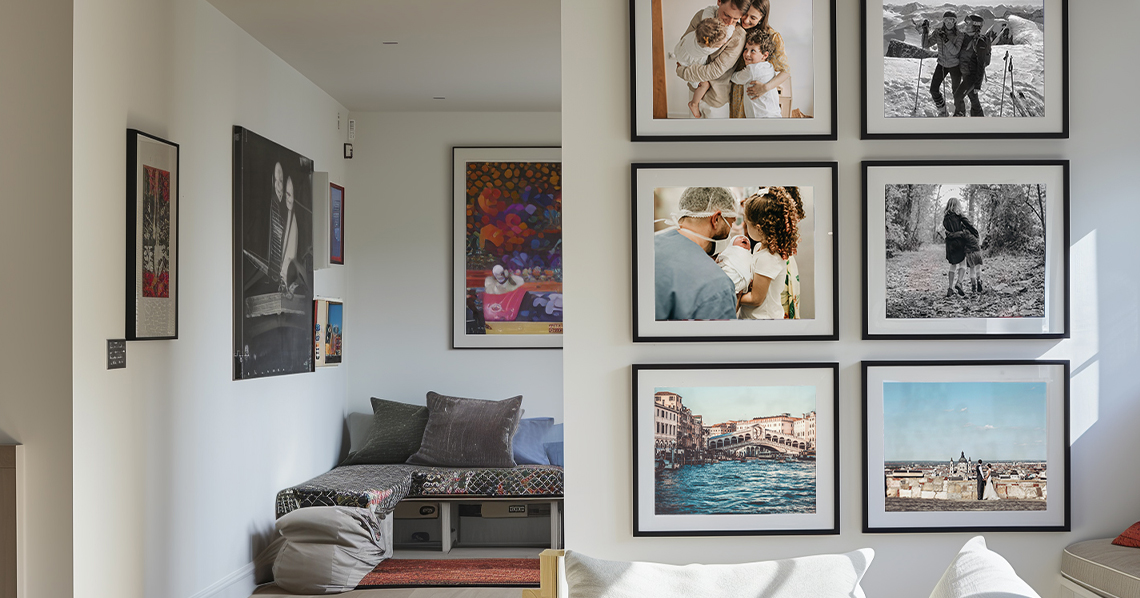
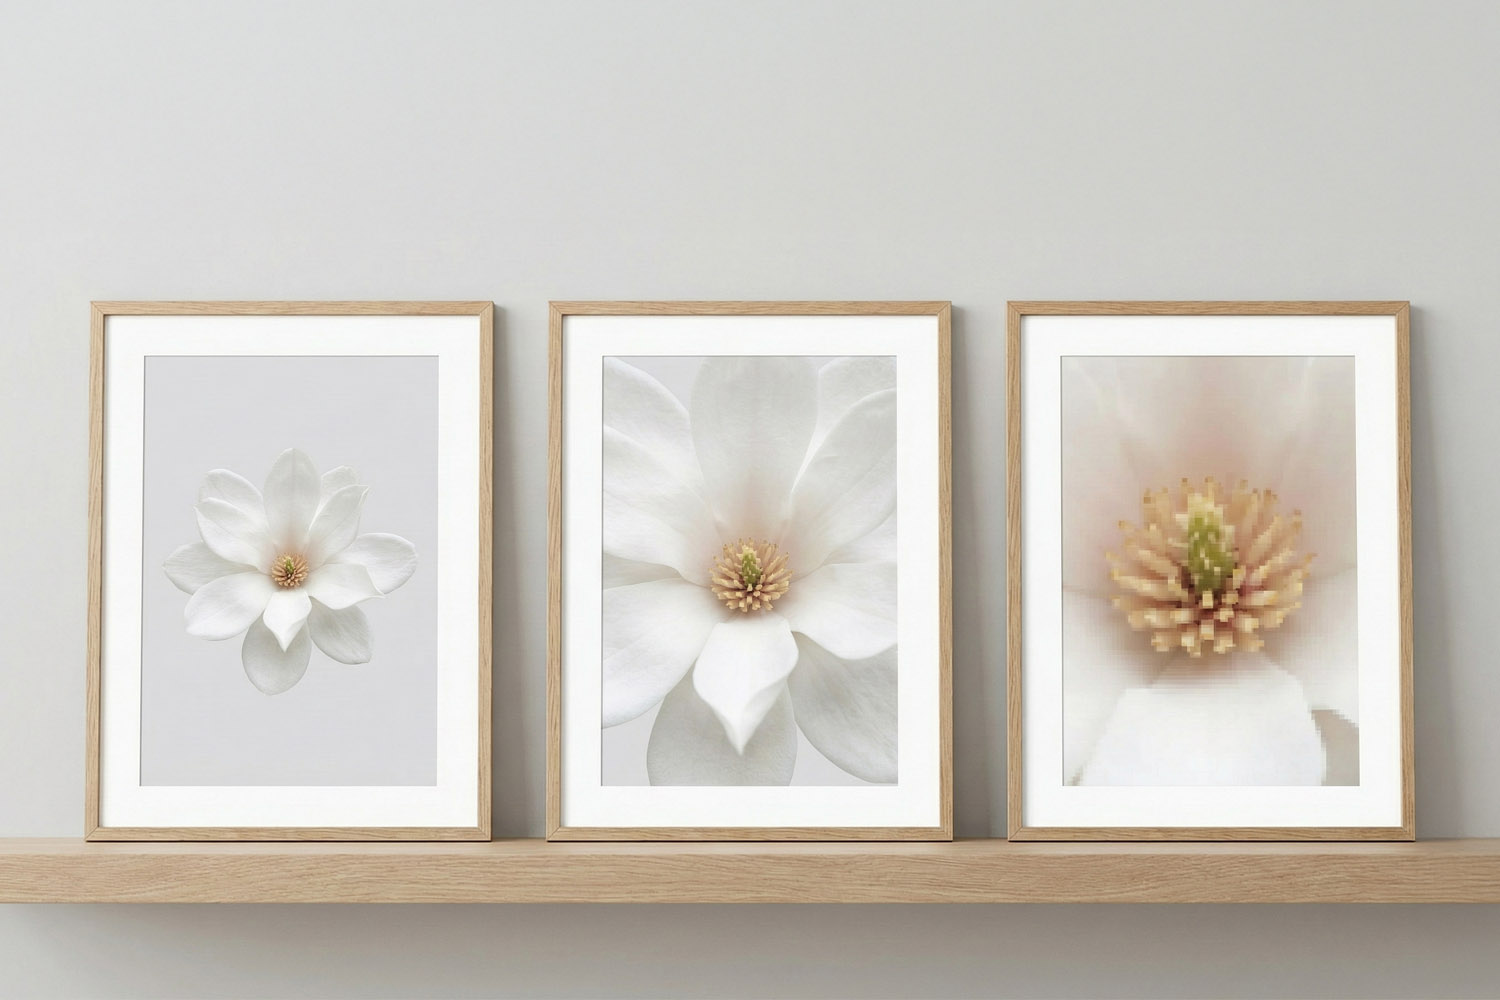
These simple framed prints showcase cherished family moments in black and white, adding a timeless touch to any living space.
2) Spacing that looks “designed”, not random
Even perfect height can look off if spacing is messy. A few tidy rules solve it:
For pairs, trios and small grids
- Gap between frames: aim for 5–8 cm. Use 5 cm for smaller frames (A4/A3), 6–8 cm for larger (A2/A1).
- Align the centres, not the tops. A shared centre line at ~145 cm keeps mixed sizes harmonious.
- Match the orientation (all portrait or all landscape) for calm, graphic order; mix orientations for a more relaxed feel.
For gallery walls
- Choose a layout: a neat grid (ordered, contemporary) or a salon wall (collected, characterful).
- Pick a focal anchor—often your largest print (e.g., A1 or A2)—and build outward with consistent 5–8 cm gaps.
- Template trick: cut paper the size of each frame, blue tack to the wall, and shuffle until spacing and flow feel right. Photograph the mockup to check balance from across the room.
Above furniture (quick spacing rules)
- Sofas and beds: keep the bottom of the frame 15–25 cm above the back or headboard.
- Consoles and desks: 12–20 cm above the surface reads intentional and keeps things within reach visually.
- Mantelpieces: because mantels sit high, frame bottoms can sit 10–15 cm above the shelf for a tailored look.
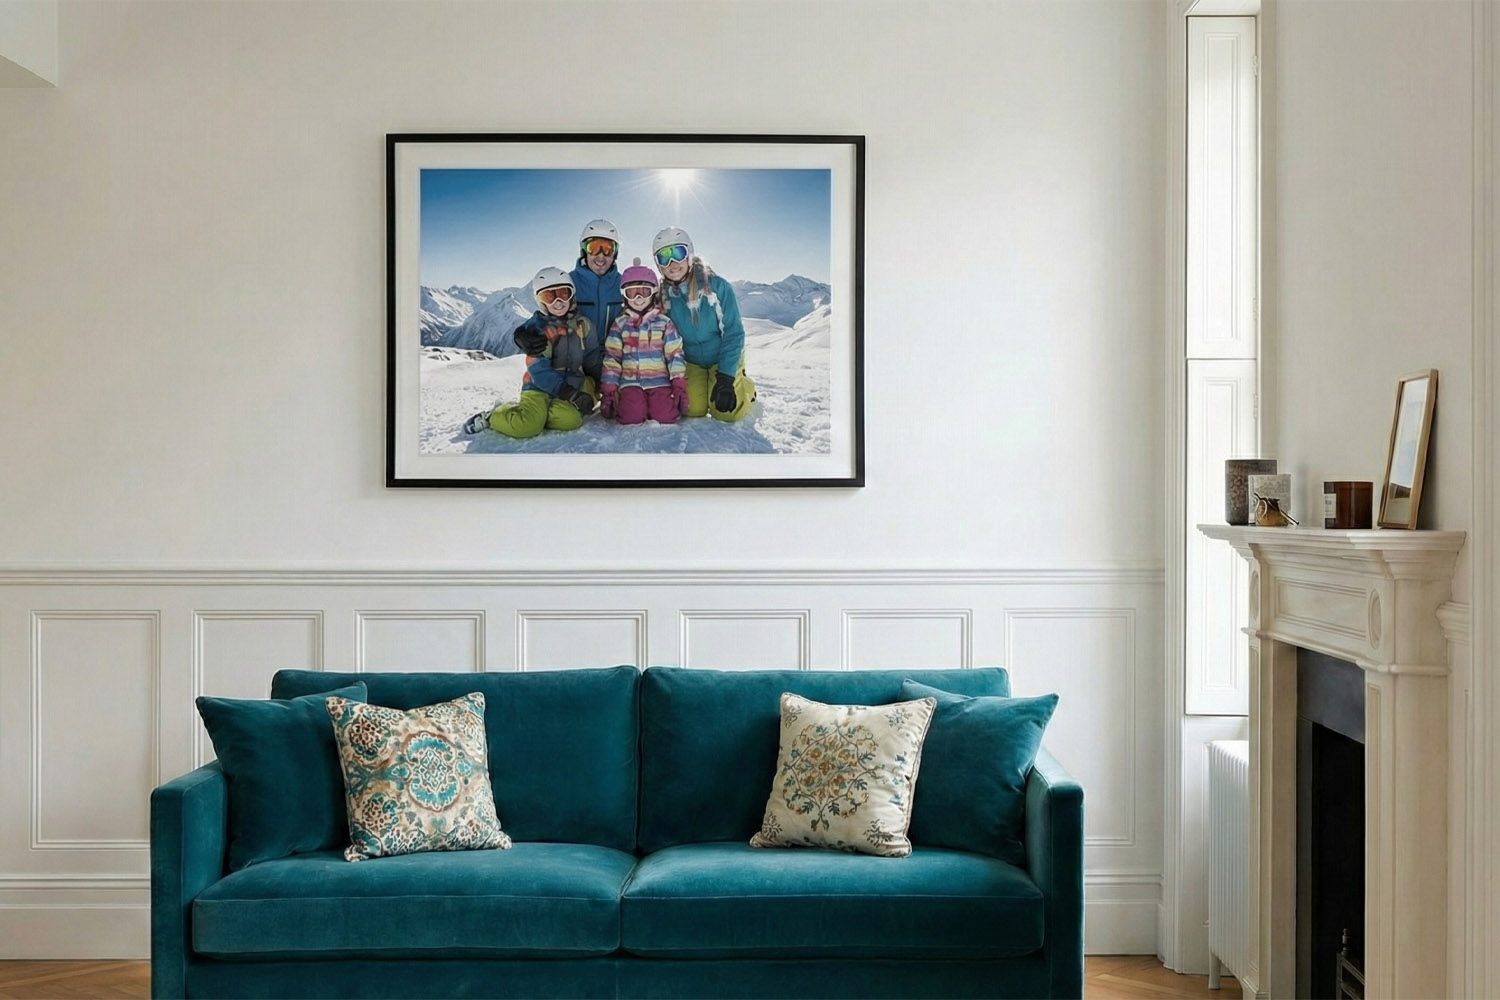
This simple framed print adds a modern touch above a neutral sofa, showing how framed prints can enhance any living room décor.
3) Placement by room: sofas, beds, desks and mantelpieces
Above a sofa
- Width guide: a single statement print should be around two-thirds the width of the sofa. For a standard 200 cm sofa, something in the A1 or 70 × 50 cm range is strong; or use a triptych of A3/A2 frames spaced 6–8 cm.
- Height: hang so the centre is ~145 cm from the floor; ensure the bottom edge sits 15–25 cm above the sofa back to avoid head-bumping and visual crowding.
Above a bed
- Safety and calm: keep the bottom edge 15–25 cm above the headboard; a single A2/A1 or a symmetrical pair of A3 frames works well.
- Balance: if your headboard is wide, aim for a frame (or pair) whose combined width is about two-thirds of the headboard.
Above a desk
- Seated eye-line rules: centre around 135–145 cm if you primarily view it while seated.
- Reflections & glare: Utterly Printable’s matt paper reduces glare, and the acrylic glazing is crystal-clear, which helps keep details legible at a desk.
Above a mantelpiece
- Proportion first: the frame should be slightly narrower than the mantel opening. An A2 in portrait is a classic pick for standard mantels; or layer an A3 with smaller pieces for a cosy, collected effect.
- Height: because mantels are taller, you can lower the frame centre slightly (roughly 140–145 cm) so the group doesn’t feel top-heavy.
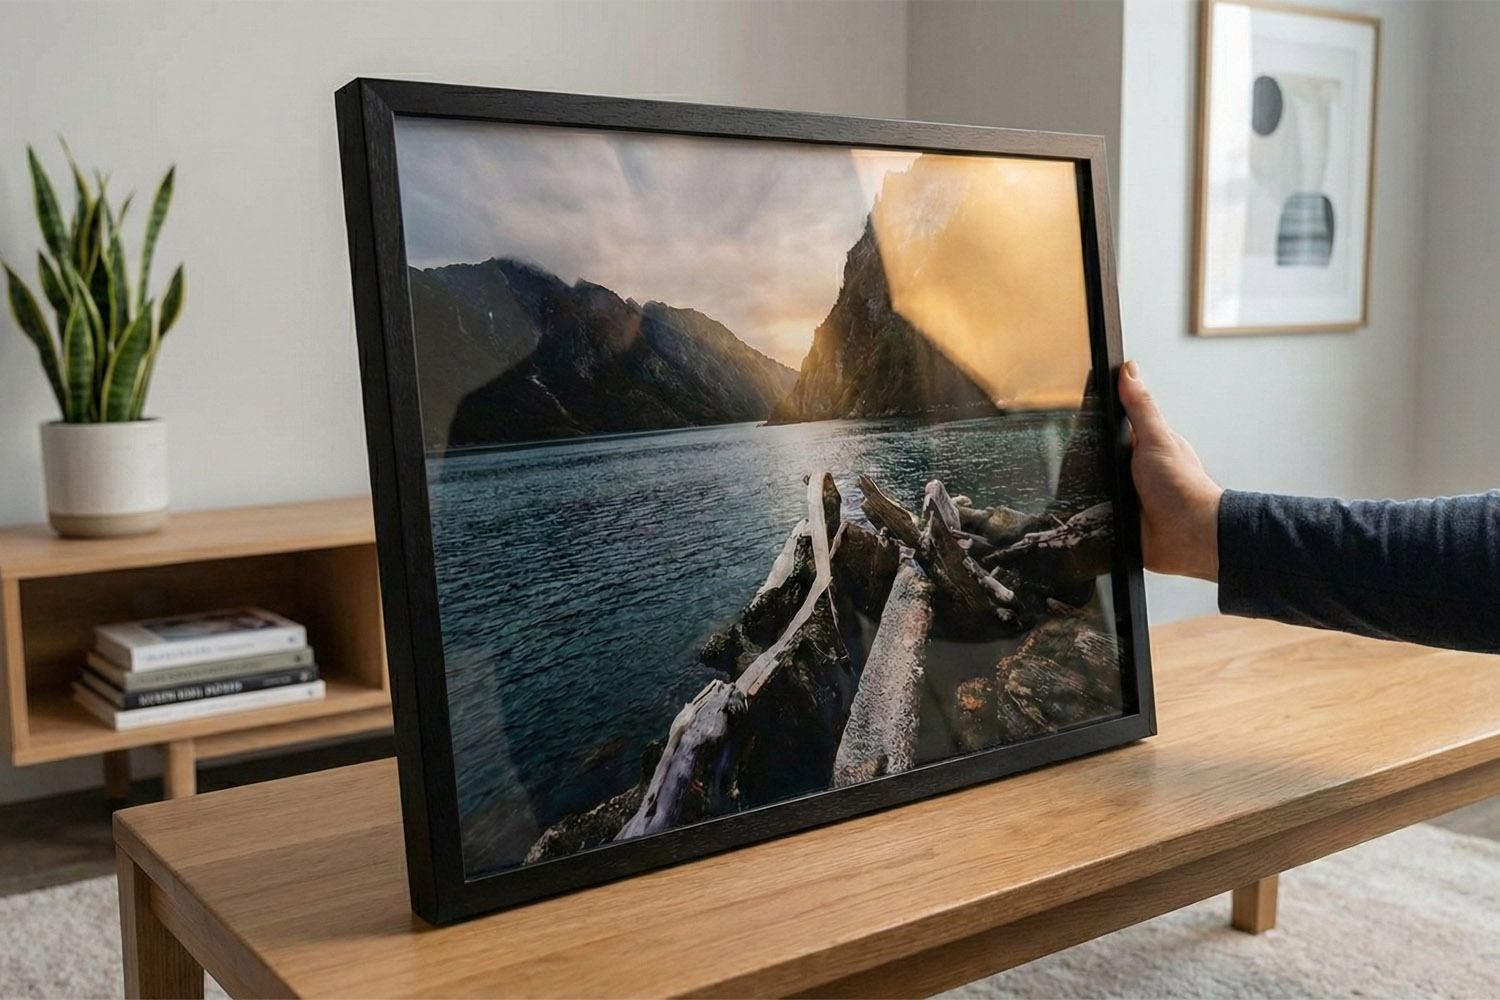
A quick word on frames, glazing and the included hardware kit
Each Utterly Printable frame is solid wood with a consistent 2–2.5 cm profile in black, white or natural, set with shatter-resistant acrylic that’s lighter than glass—meaning less strain on fixings and easier lifting while you align and level. The 210gsm smooth-matt stock and 12-colour inks deliver crisp detail and fade-resistant colour, while the ready-to-hang build and free hardware kit keep installation straightforward.
How the kit typically works (simple, step-by-step):
- Identify the hanging point(s) on the back of your frame (pre-fitted). Mark the wall at your measured height.
- Add appropriate wall fixings for your surface (e.g., masonry vs plasterboard). Use a spirit level to keep everything straight.
- Install the fixings firmly; then hang and micro-adjust. Acrylic’s lighter weight makes fine adjustments less fiddly and reduces the risk of chips or cracks during handling.
Tip: If you’re renting, consider purpose-made wall anchors or removable hooks rated for the frame’s weight. Always follow the fixing manufacturer’s guidance.
Choosing sizes that suit your space
- Single statement: A1 or 70 × 50 cm above a sofa or in an entryway.
- Balanced pair: two A2s or A3s over a bed or console.
- Staircase run: a vertical sequence of A4s/A3s, centres aligned to the pitch of the stairs for a calm rhythm.
- Gallery starter set: combine A2 + A3 + A4 around an anchor line at 145 cm, spacing 5–7 cm.
If you’re still deciding on formats, browse the size range and finishes on Simple Framed Prints. These are printed and framed in the UK, with reliable 3–4 working-day production and delivery across the country.
Related options for different spaces
Prefer a freestanding piece for a shelf or desk? Consider our crystal-clear acrylic photo blocks—great when drilling isn’t practical. Or explore more keepsake ideas across our full photo gifts collection for complementary pieces that tie a room together.
FAQs
A few common questions, answered quickly to help you on your way
As a rule of thumb, place the centre of the artwork 145 cm from the floor . Adjust a little for tall ceilings or corridors (up to 150–155 cm), and for seating areas like dining rooms you can keep it closer to 145 cm so it’s comfortable when seated.
5–8 cm is the sweet spot. Use tighter gaps for smaller frames and slightly larger gaps for A2/A1 so the wall can breathe.
Make paper templates the exact size of each frame and blue tack them to the wall. Adjust until spacing and balance feel right; then measure your centre line (around 145 cm) and swap templates for the real frames.
Keep the bottom edge 15–25 cm above the back of a sofa or headboard. This feels connected to the furniture but leaves enough room so it doesn’t look cramped.
Aim for around two-thirds of the sofa width . A single A1 or 70 × 50 cm print works well, or try a trio of A3/A2 frames spaced 6–8 cm.
A4, A3, A2 and A1 framed prints: how to choose the right size
Discover how to choose the perfect framed print size for your space with this practical guide to A4, A3, A2, and A1 prints. Learn about real-world dimensions, ideal placements, and tips for creating a cohesive gallery wall at home.
Acrylic vs Glass for Framed Photos: Why Acrylic is Best for Everyday Homes
Discover why acrylic is the preferred choice over glass for framed photos in everyday homes. Learn about its safety, clarity, and lightweight benefits, making acrylic glazing ideal for family spaces, busy hallways, and thoughtful photo gifts.
How to Choose the Best Photos for Simple Framed Prints (Resolution, Style & Composition)
Learn how to select the best photos for framed prints with this easy guide, featuring tips on resolution, style, and composition, plus advice on print quality and choosing smooth-matt paper and solid wood frames for stunning results.
Simple Framed Prints as Gifts: Occasions, Ideas & Photo Suggestions
Discover how simple framed prints make thoughtful gifts for any occasion, with practical photo suggestions, sizing tips, and expert advice on choosing the right finish. Find inspiration for birthdays, weddings, and more, plus guidance for safe, ready-to-hang presentation.

What to Expect from a Simple Framed Print: Materials, Quality & Finish Explained
Explore the appeal of a Simple Framed Print, featuring premium smooth-matt photo paper, archival inks, shatter-resistant acrylic glazing, and a solid-wood frame, all combining to create a timeless, durable, and beautifully finished display.

The Utterly Printable Blog
Simple framed prints are timeless décor pieces. Discover blog ideas for choosing the right photos, matching frames to your style, and creating gallery walls for your home or office.