Best Image Resolution and Upload Tips for Sharp Photo Mugs
Crisp photos make all the difference on a ceramic mug. This guide walks you through the essentials—resolution, cropping, smartphone photography, and how wraparound designs work—so your mug looks pin-sharp from the first brew. It’s written for customers designing personalised mugs with Utterly Printable, where we print in full colour on 11oz ceramic using a wraparound process. Our recommended image resolution is 300 DPI at the size you intend to print. Follow the steps below to avoid pixelation and get great results first time.
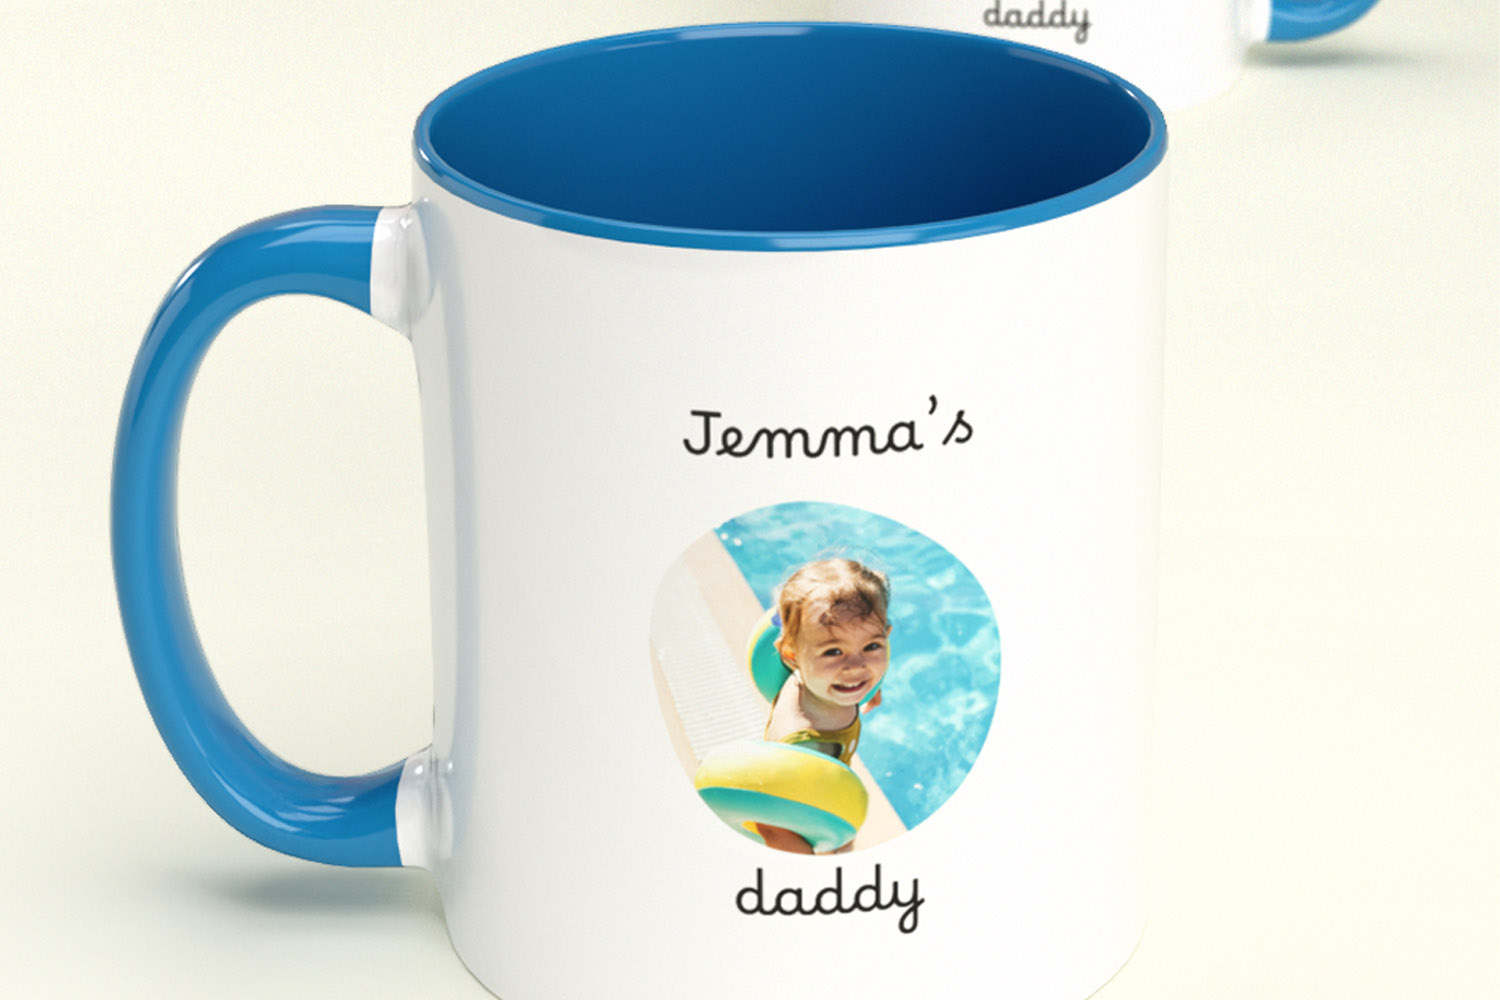
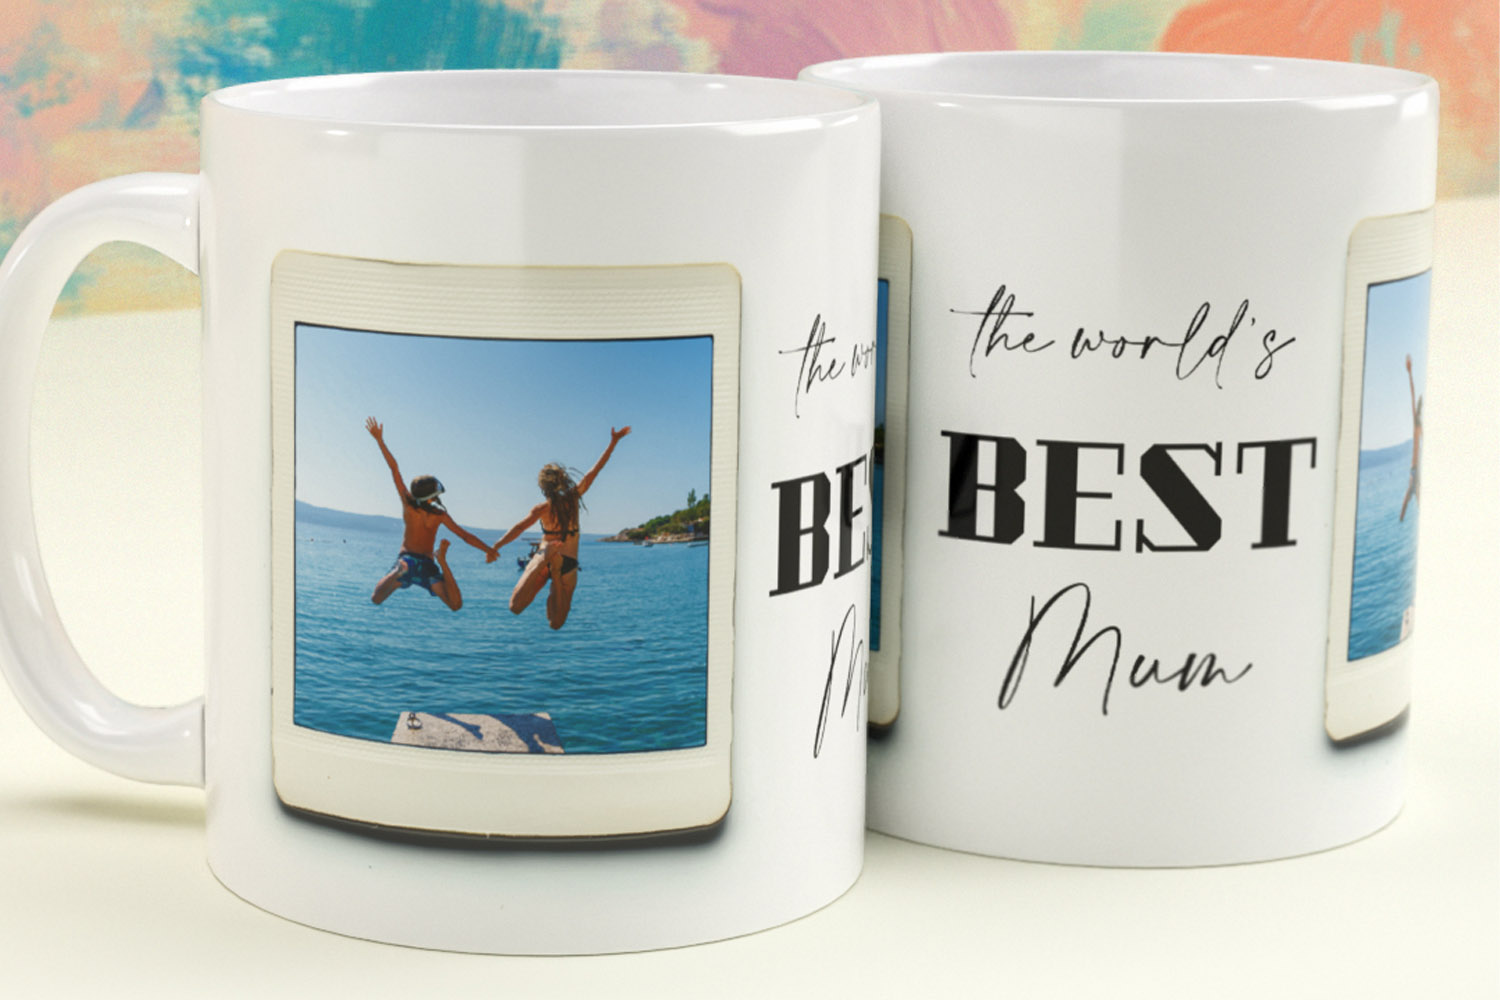
Personalised mugs featuring your own photo and message make a thoughtful gift, perfect for celebrating special moments every day.
1) What “300 DPI” really means (and how to hit it)
“DPI” stands for dots per inch. In practical terms, think of it as how many image pixels are available for each inch of printed space. For mugs, 300 DPI is the sweet spot for smooth detail and clean text.
Quick conversion rules you can use right now
- 300 DPI or 118 pixels per centimetre.
Multiply the width/height you expect to print (in cm) by 118 to get a sensible pixel target. - Examples (rule-of-thumb):
- 10 cm high design ~1180 px high
- 20 cm wide wrap section ~2360 px wide
These are guidelines to help you judge quality; your exact print area is shown in our online designer’s live preview.
Don’t upscale if you can avoid it
Upscaling (artificially making a small image bigger) won’t invent real detail and can soften edges. If your image falls short of 300 DPI at the size you want, try one of these:
- Reduce the printed size of the photo inside the layout.
- Choose a layout with a smaller photo window or a centred image rather than full wrap.
- Swap in a higher-resolution original (not a screenshot, not a WhatsApp download).
Aim for clean, true detail
Because our mugs are printed via full-colour, wraparound sublimation on glossy ceramic, fine edges and small text benefit from proper source detail. 300 DPI helps preserve micro-contrast so faces, logos and type look crisp after printing and curing.
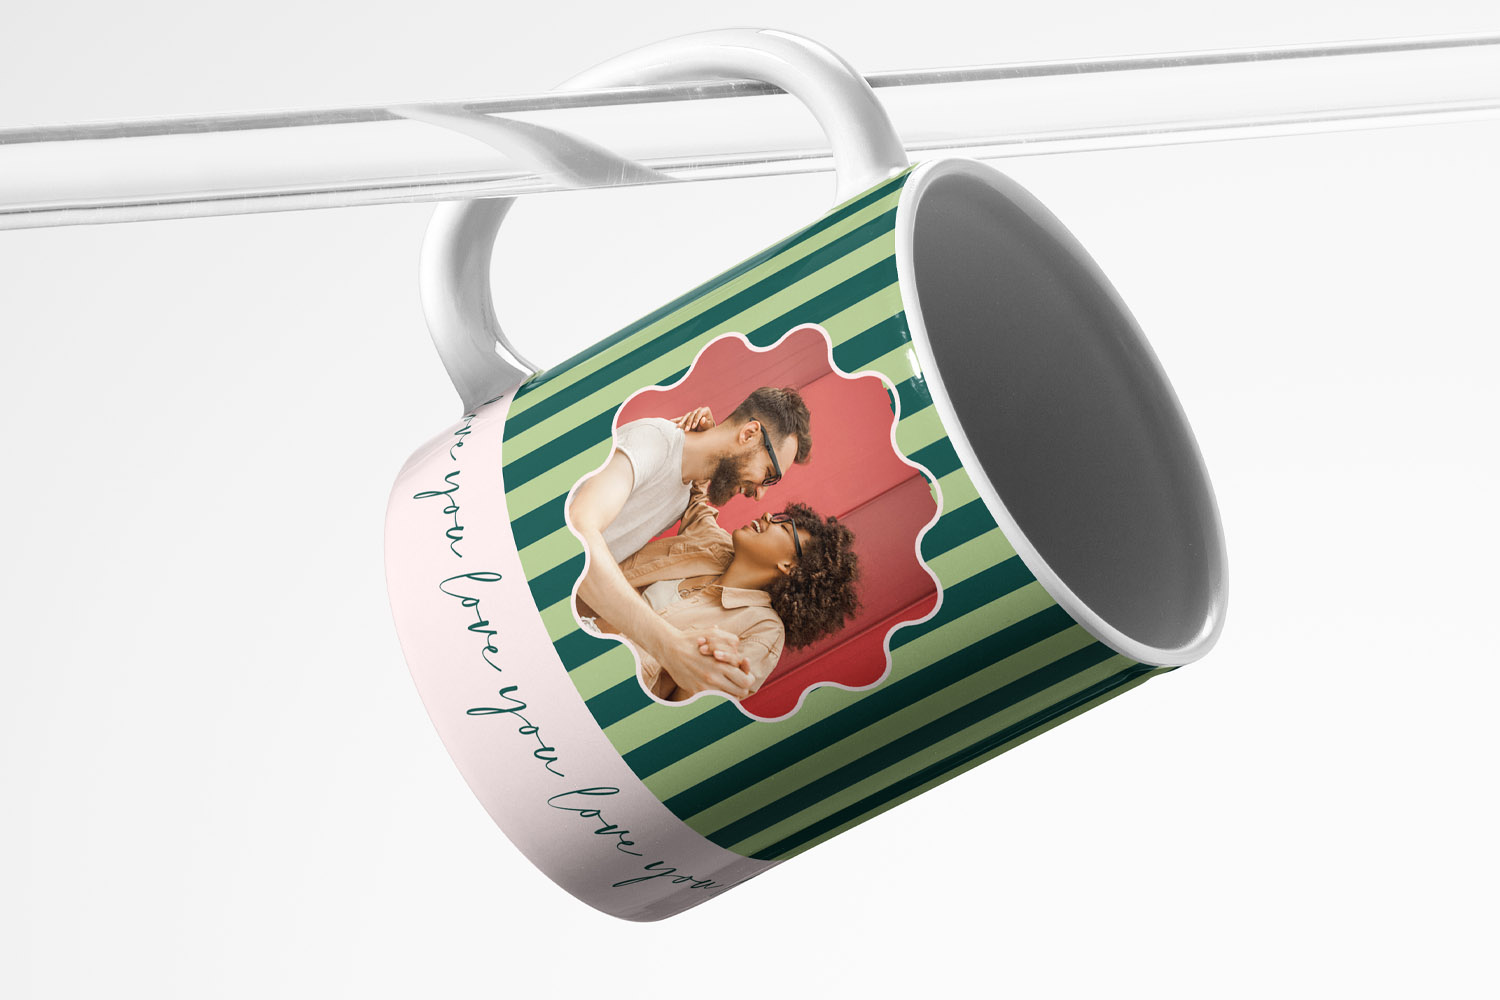
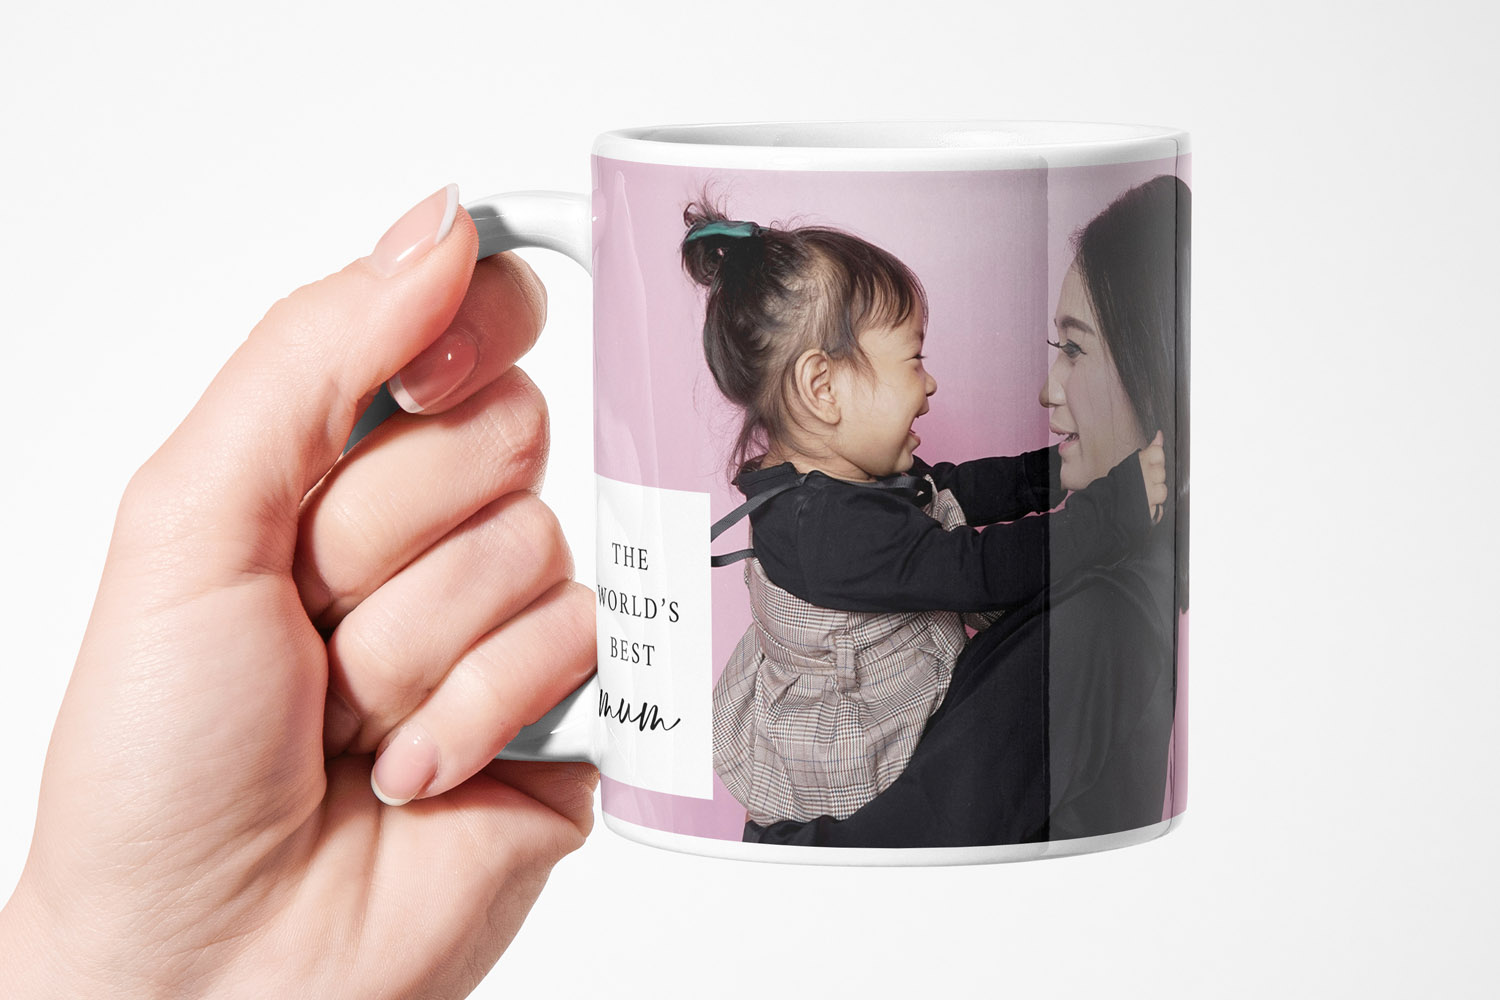
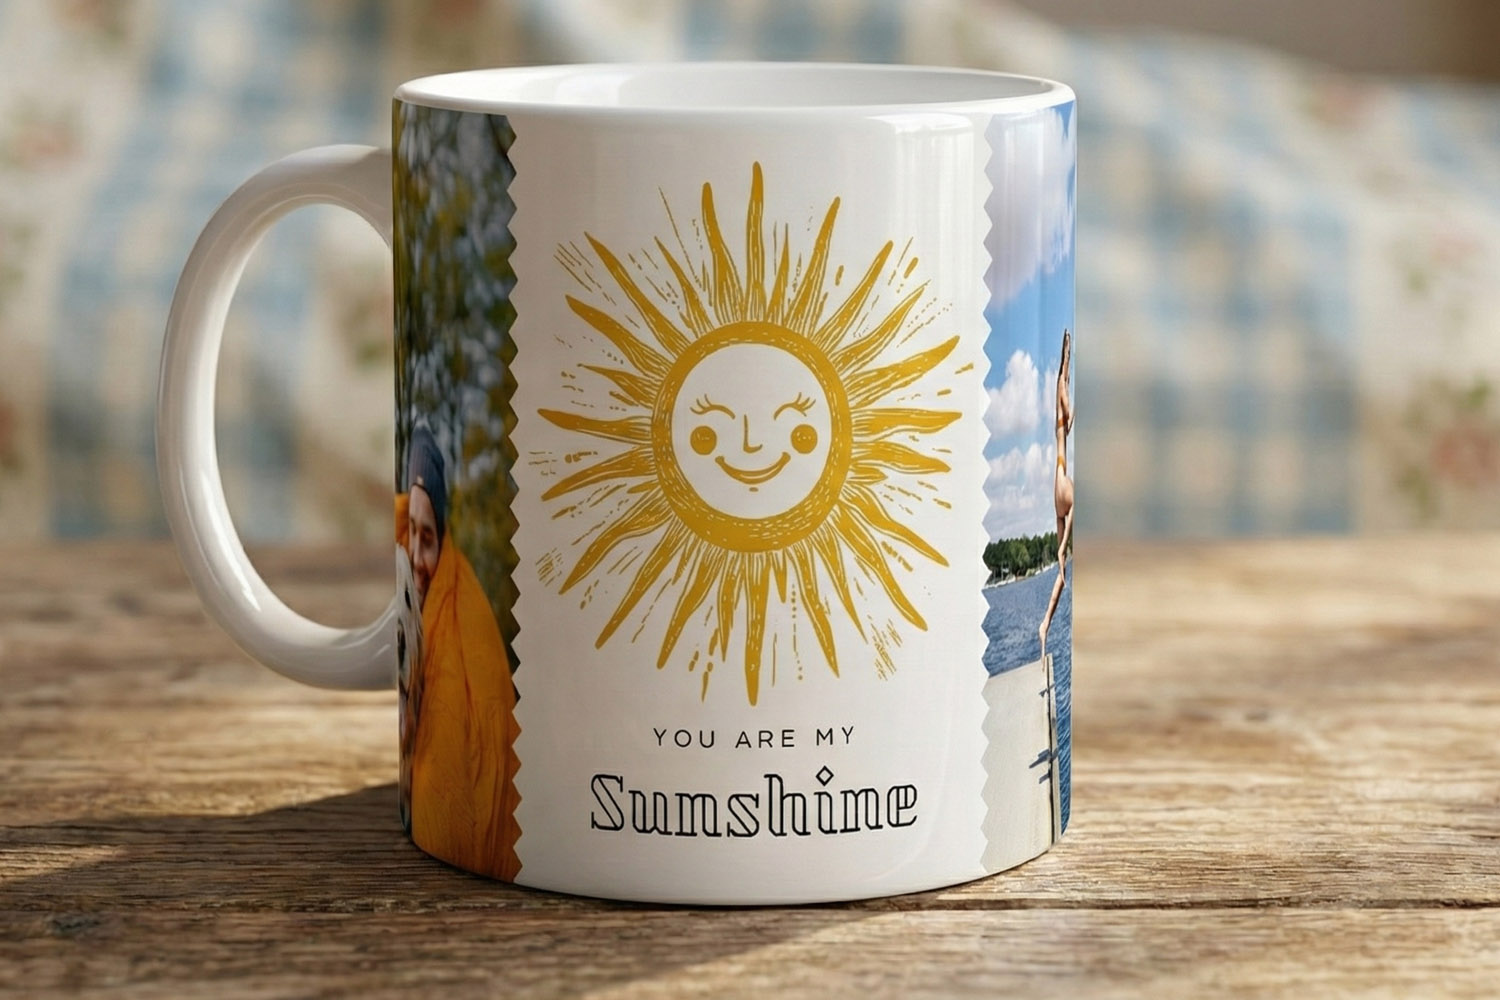
Personalised mugs featuring a custom photo and stylish striped pattern, perfect for gifting or adding a unique touch to your kitchenware.
2) Preparing your image: crop, size, and export like a pro
Start with the best original
Whenever possible, work from the file straight from your camera or phone’s camera roll, not from social media. Downloads from messaging apps are usually compressed and may look soft or blocky when printed.
Crop before you scale
- Crop to the composition you want (rule of thirds, centred portrait, symmetrical logo, etc.).
- Maintain the subject’s breathing room: don’t crop too close to faces or to text around the handle seam.
- Then check the pixel dimensions after your crop—are you still at (or above) the 300 DPI target for the final print size?
Smartphone photo tips
- Use the rear camera in good daylight; avoid heavy digital zoom and “Portrait mode” blur for group shots.
- Tap to focus and nudge exposure up slightly for mid-tone detail; wipe the lens (it matters).
- Avoid night-mode smearing. If you must shoot indoors, steady the phone and keep ISO/noise low.
- Export/share at full size. Avoid “medium” or “small” sharing options that shrink the file.
Logos, illustrations and text
- Supply the highest-resolution raster you have. If your logo is vector (e.g., SVG, PDF, AI), export a large PNG/JPEG at the exact size you’ll print (300 DPI).
- Go for bold or “thick” fonts in our designer. On a glossy ceramic surface, ultra-fine lines can appear lighter.
- Prefer solid colours or gentle gradients; avoid harsh posterisation by exporting at the highest quality setting.
A note on sharpening and noise
Gentle output sharpening can help, but keep it subtle—over-sharpening creates halos that stand out on a glossy finish. Likewise, heavy noise reduction can smear skin texture. View your image at 100% on a decent screen to judge.
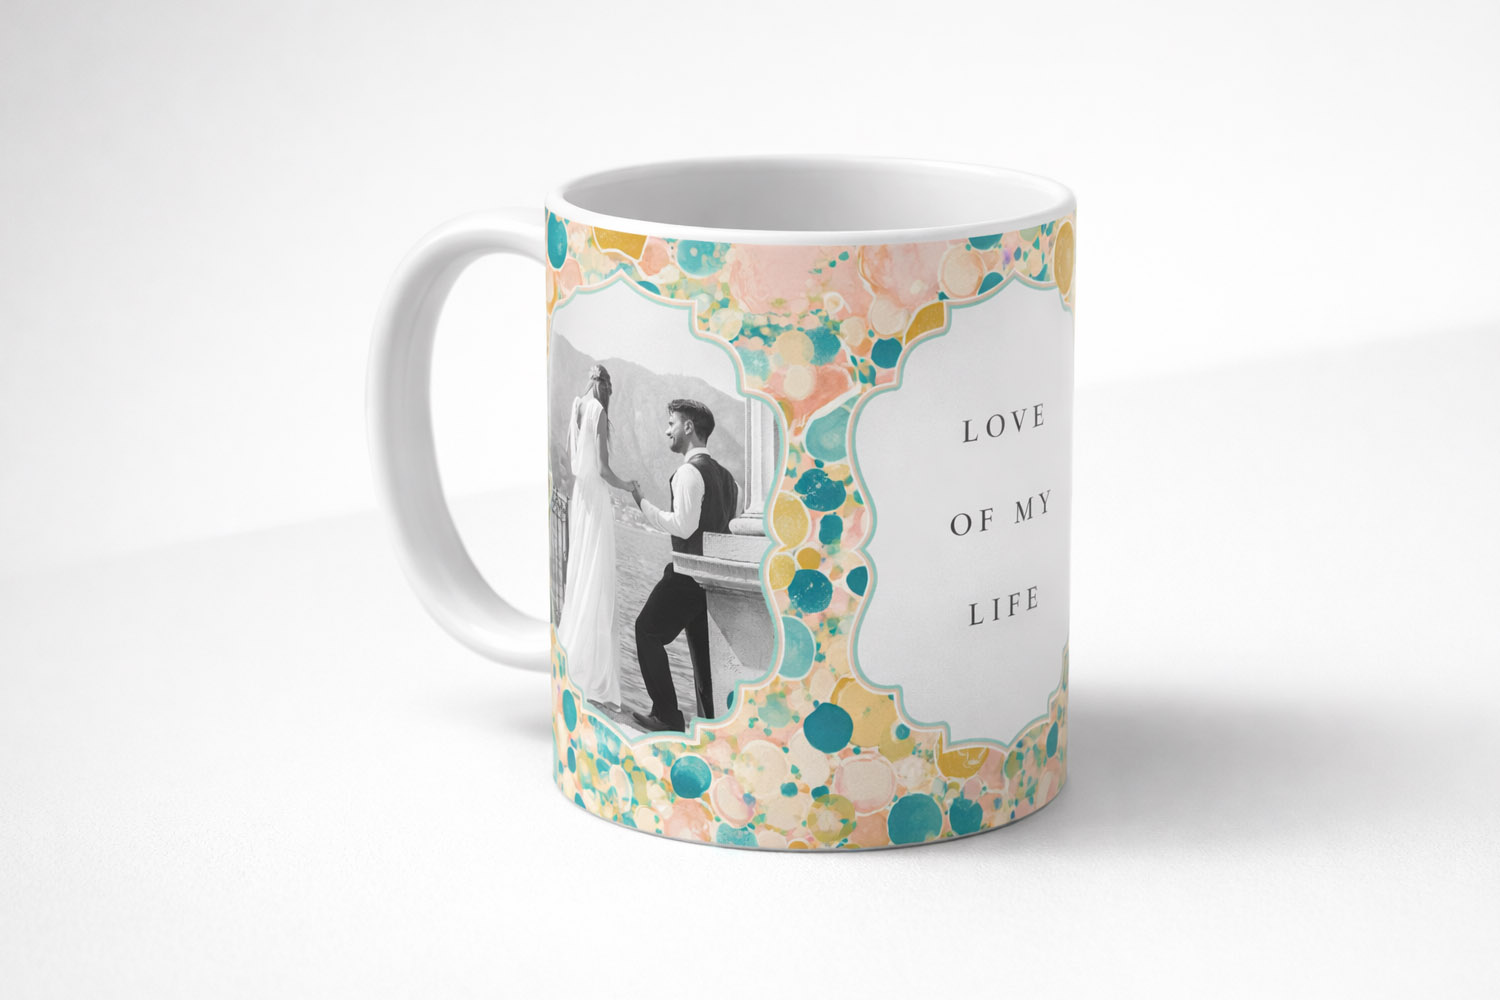
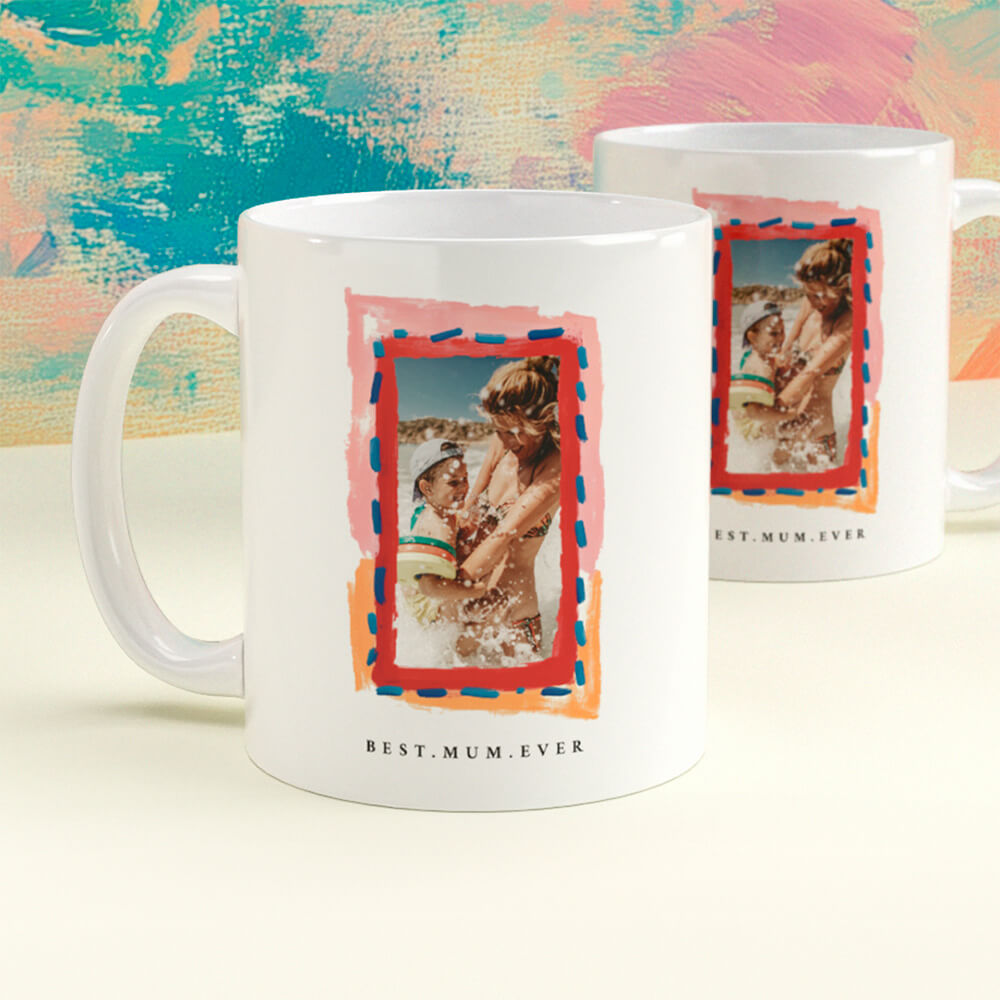
Celebrate special moments with this personalised mug, featuring a wedding photo and pastel bubble design, perfect for cherished memories.
3) Wraparound templates on mugs: safe areas, seams and ceramic reality
Our mugs print around the outside, not inside the cup (the interior and handle colours are purely decorative). The online designer shows the live wraparound preview and boundaries so you can position elements with confidence.
Designing for the wrap
- Mind the seam near the handle. Avoid placing key text or faces right at the wrap join—give important elements a little breathing room.
- Top and bottom safety: leave a small margin so nothing crucial sits tight to the rim or base. This helps account for the gentle curvature and keeps designs comfortable to hold and view.
- Centre for symmetry: for single portraits or monograms, centring on the opposite side of the handle often looks tidy in both left and right-handed use.
Why ceramic can reveal blur differently from paper
- Glare and curvature: a glossy, curved surface highlights edges and reflections; softness can be more obvious in strong light.
- Sublimation behaviour: colour dyes infuse into a polymer coating on the ceramic. Well-prepared, high-resolution images maintain detail, but low-resolution or over-compressed files can look extra mushy compared with a matte paper print.
- Practical takeaway: supply clean, well-exposed, 300DPI images; keep text bold enough to read at arm’s length; and rely on the live preview to check placement.
Real-world checks before you hit “print”
- Zoom to 100% on your computer. If type or eyelashes look jagged or blurry on-screen, they’ll print that way.
- If you’re unsure, reduce the printed size of the photo block a touch—shrinking the photo increases effective DPI.
- Our online designer offers a live wrap preview, and you can request a free digital proof before checkout for peace of mind.
Looking for design inspiration while you prepare your photos?
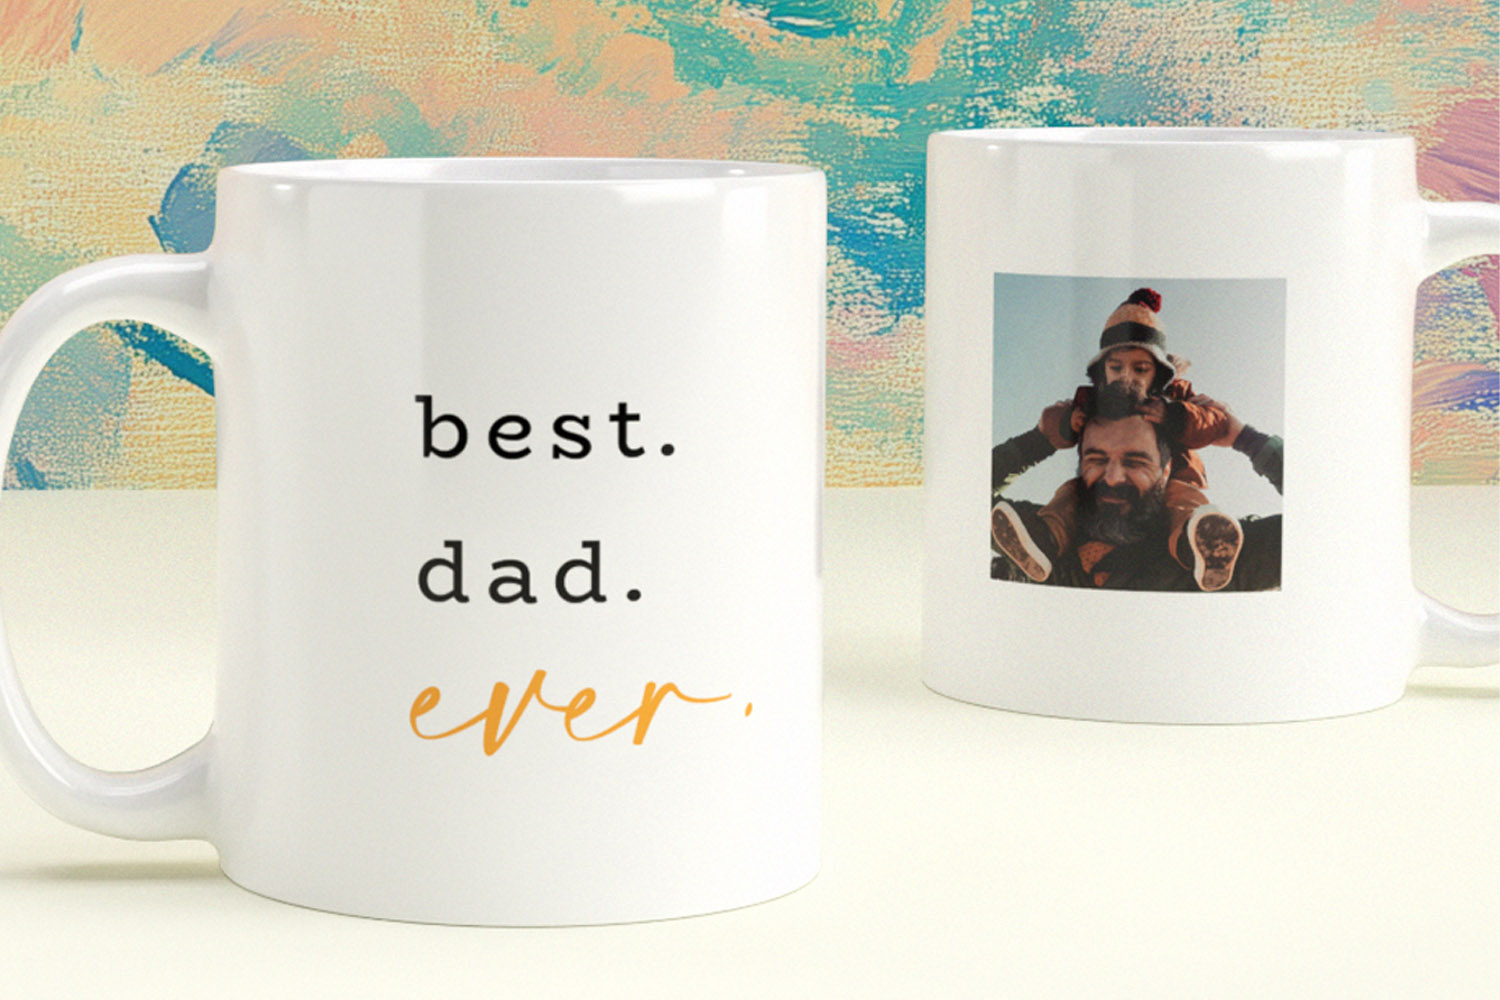
Browse gifts such as personalised mugs for Mum, thoughtful personalised mugs for Dad, cosy personalised mugs for Grandma, and classic personalised mugs for Grandad. Once your images are prepared, create your design in minutes on our personalised mugs page.
FAQs: resolution and upload for photo mugs
Short answers that solve the most common issues
Yes—300 DPI at the size you intend to print is the safest way to avoid pixelation on a glossy ceramic mug. It keeps edges clean and faces natural.
As a rule-of-thumb, aim for somewhere around 2400 px wide by ~1200 px high or better for a typical 11oz wrap. Treat these as guidance: use the live preview in the designer to confirm fit and quality.
Usually, yes. That’s plenty for a wrap design at 300 DPI, provided the photo is well-lit, in focus and not heavily cropped or compressed.
Cropping throws away pixels. After cropping, recheck the pixel dimensions—if they’re too small for a 300DPI print at your intended size, either shrink the photo area in the layout or choose a layout with a smaller photo block.
Not ideal. Screenshots and images forwarded via messaging apps are often downscaled and heavily compressed. Whenever possible, upload the original file from your camera roll or camera.
Dishwasher and Microwave Safety for Personalised Mugs: What You Need to Know
Discover everything you need to know about dishwasher and microwave safety for personalised mugs, including practical care tips and why sublimation printing keeps designs vibrant. Learn how to enjoy your custom mug daily while preserving its quality and colour.
How sublimation printing works for personalised mugs
Discover how sublimation printing creates vibrant, long-lasting designs on personalised mugs, from photo upload to finished product. Learn about colour accuracy, durability, and care tips so you can confidently design your own custom ceramic mug with Utterly Printable.
Left-Handed vs Right-Handed Mug Designs: A Practical Guide
Discover the practical differences between left-handed and right-handed mug designs in this guide, including tips for photo, logo, or message placement on personalised mugs, and advice on choosing the best orientation for gifts, branding, or everyday use.
What Size Is a Standard Personalised Mug? Full Dimensions Explained
Curious about the size of a standard personalised mug? This article explains the full dimensions, capacity, and practical features of the classic 11oz (330 ml) ceramic mug, including its fit for coffee machines, cup holders, and everyday use.
Products related to mugs:


Personalised Mugs