How to Prepare Your Photos for the Sharpest Possible Magnet Print
If you’re planning to print a favourite snap on a magnet, a little prep goes a long way. This guide explains how to ready your images for crisp, true-to-life results on Utterly Printable’s flexible Magnecote® magnets—covering 300 dpi resolution, pixel sizes for each magnet, smart cropping for square vs rectangular formats, lighting and colour tips, and the common pitfalls that make prints look soft. When you’re set, you can upload directly on our photo fridge magnets page.
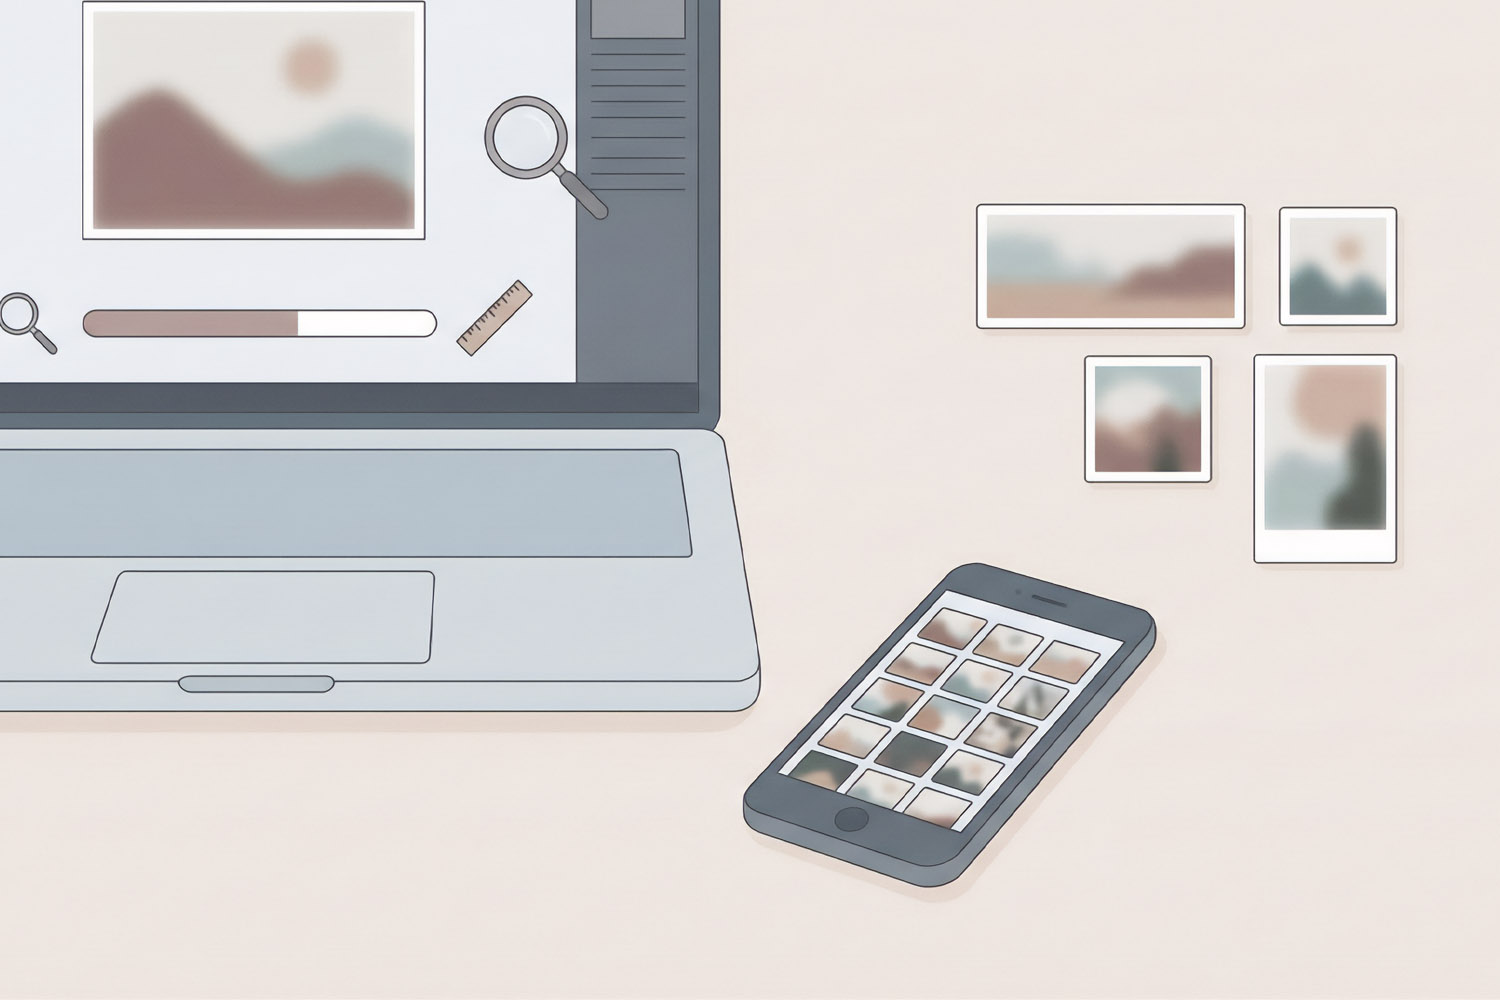
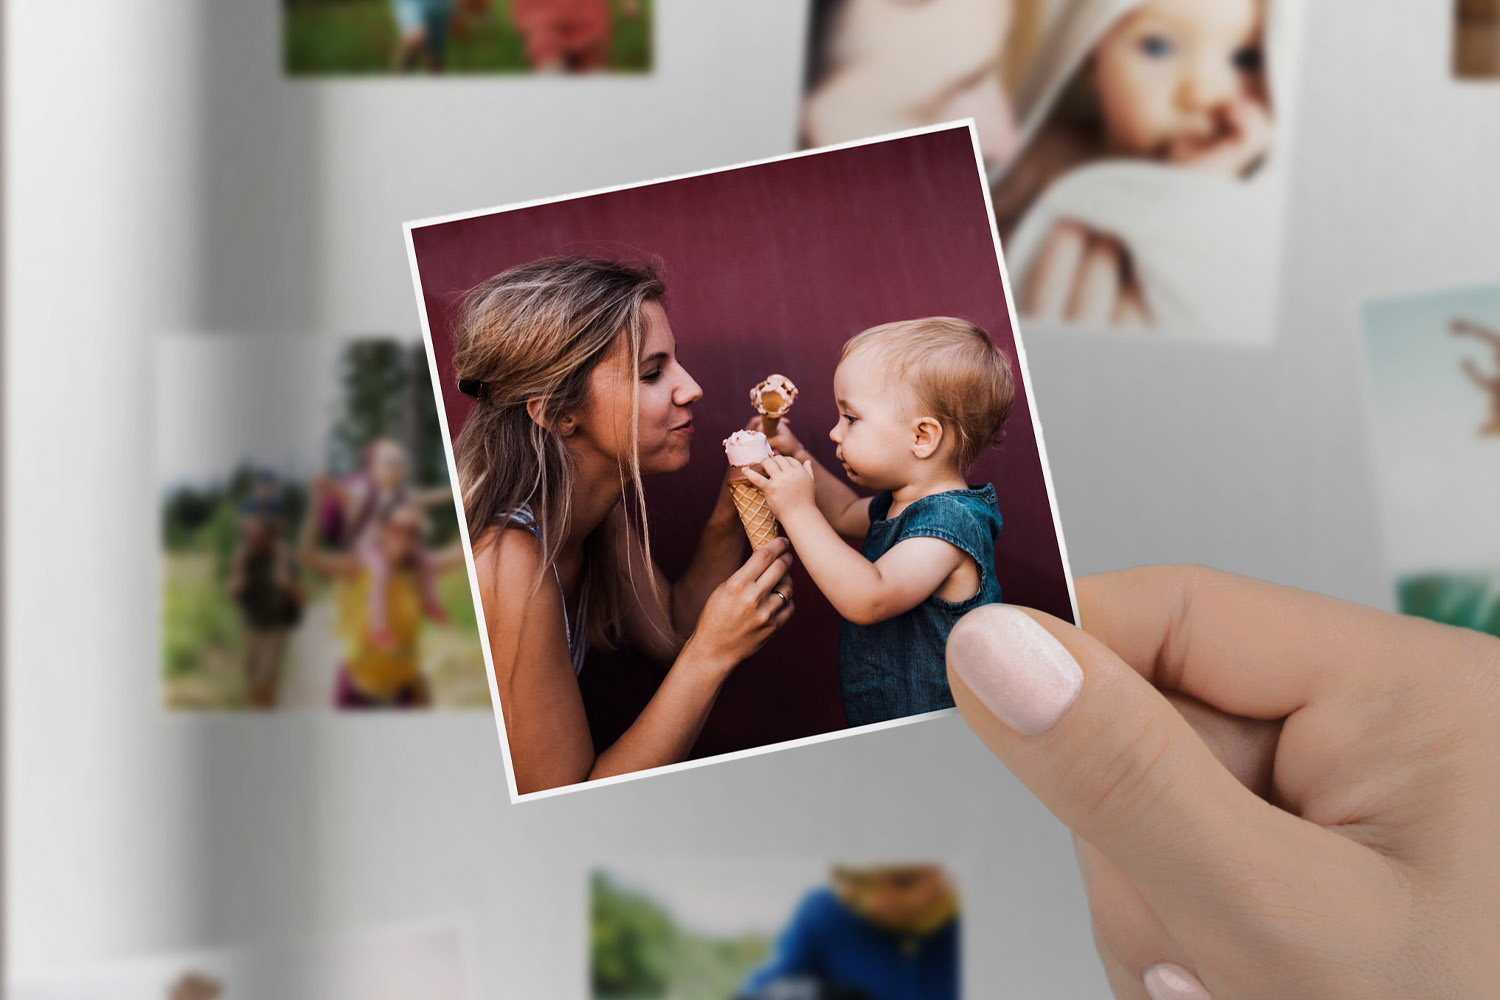
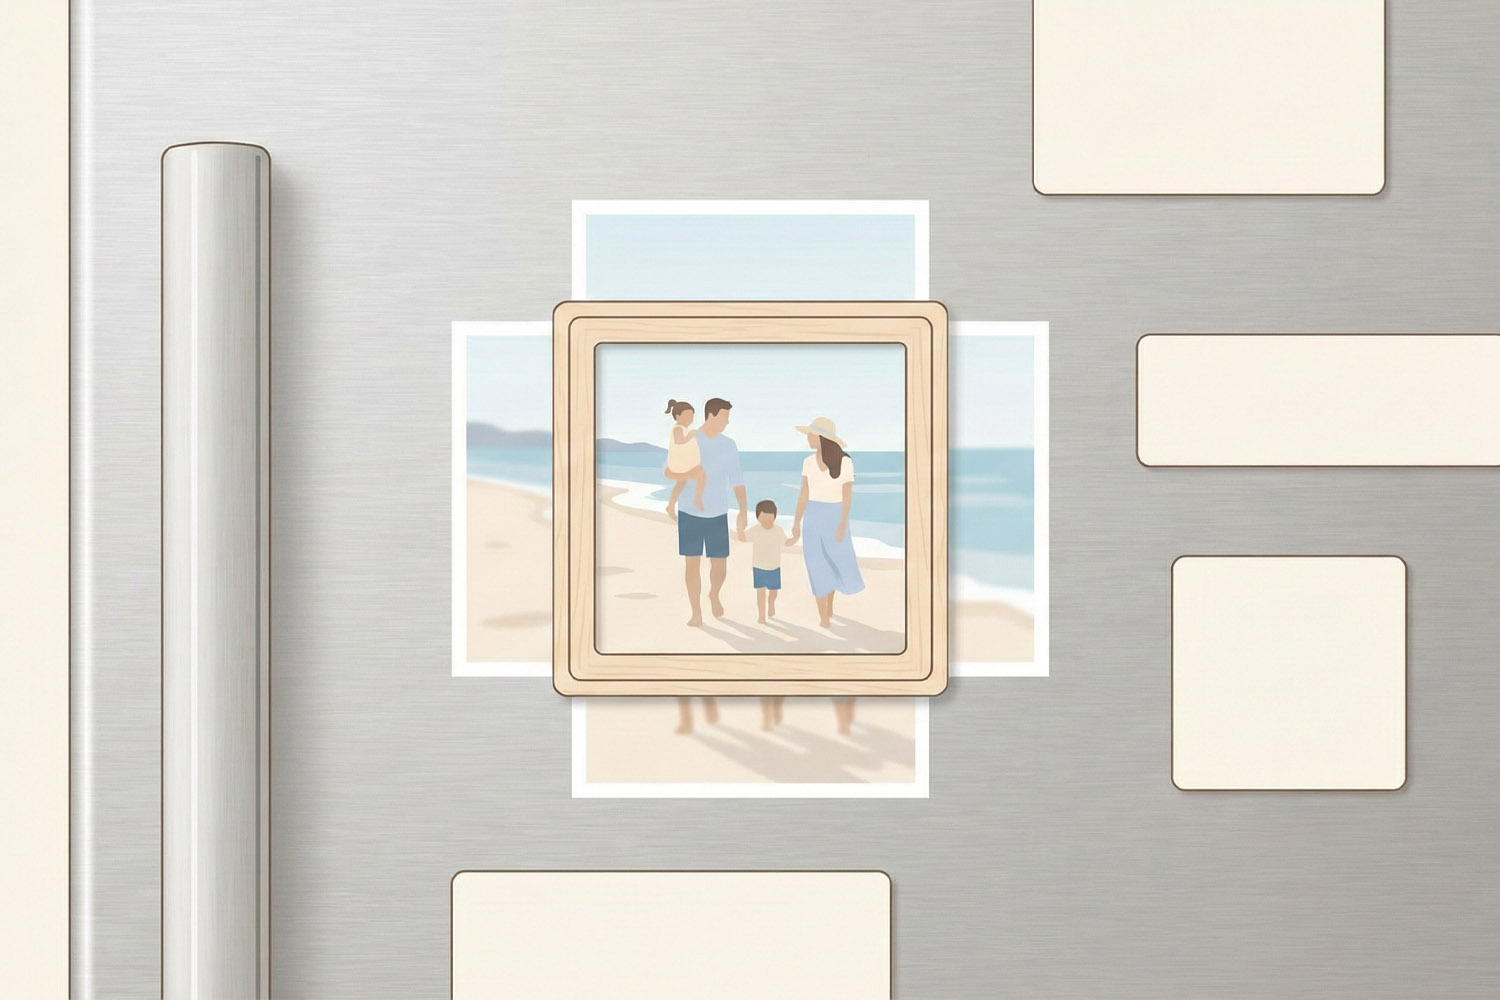
Personalised fridge magnets created from your favourite digital photos, with easy selection from your laptop or smartphone gallery
Start with the right resolution (300 dpi) and the correct pixel size
For tack-sharp printing, aim for 300 dpi at the chosen magnet size. If you already have a photo, you can check whether it’s large enough by dividing its pixel dimensions by 300 to get inches (then × 2.54 for centimetres). As a quick reference, here are the minimum recommended pixel sizes for Utterly Printable’s magnets at 300 dpi:
- Business card (8.5 × 5.5 cm) – about 1005 × 650 px
(8.5 cm ÷ 2.54 = 3.35 in; 3.35 × 300 about 1005 px) - Square 9 × 9 cm – about 1063 × 1063 px
- A6 (10.5 × 14.8 cm) – about 1240 × 1748 px
(swap width/height for landscape) - Square 14.8 × 14.8 cm – about 1748 × 1748 px
A file that exceeds these values is fine (the system can downscale cleanly); problems arise when the file is smaller. Printing a low-resolution image at a larger size is the most common cause of “why does my photo magnet look blurry?”.
Two-minute resolution check
- Choose your magnet size.
- Open the image on your computer/phone to view its pixel dimensions.
- Compare to the list above. If you’re short, either pick a smaller magnet or choose a higher-resolution photo.
File type & colour: colour: For online photo printing, a high-quality JPEG saved in sRGB colour space is a safe bet. Avoid over-compressed files; if you’re exporting, use a high quality setting to preserve detail.
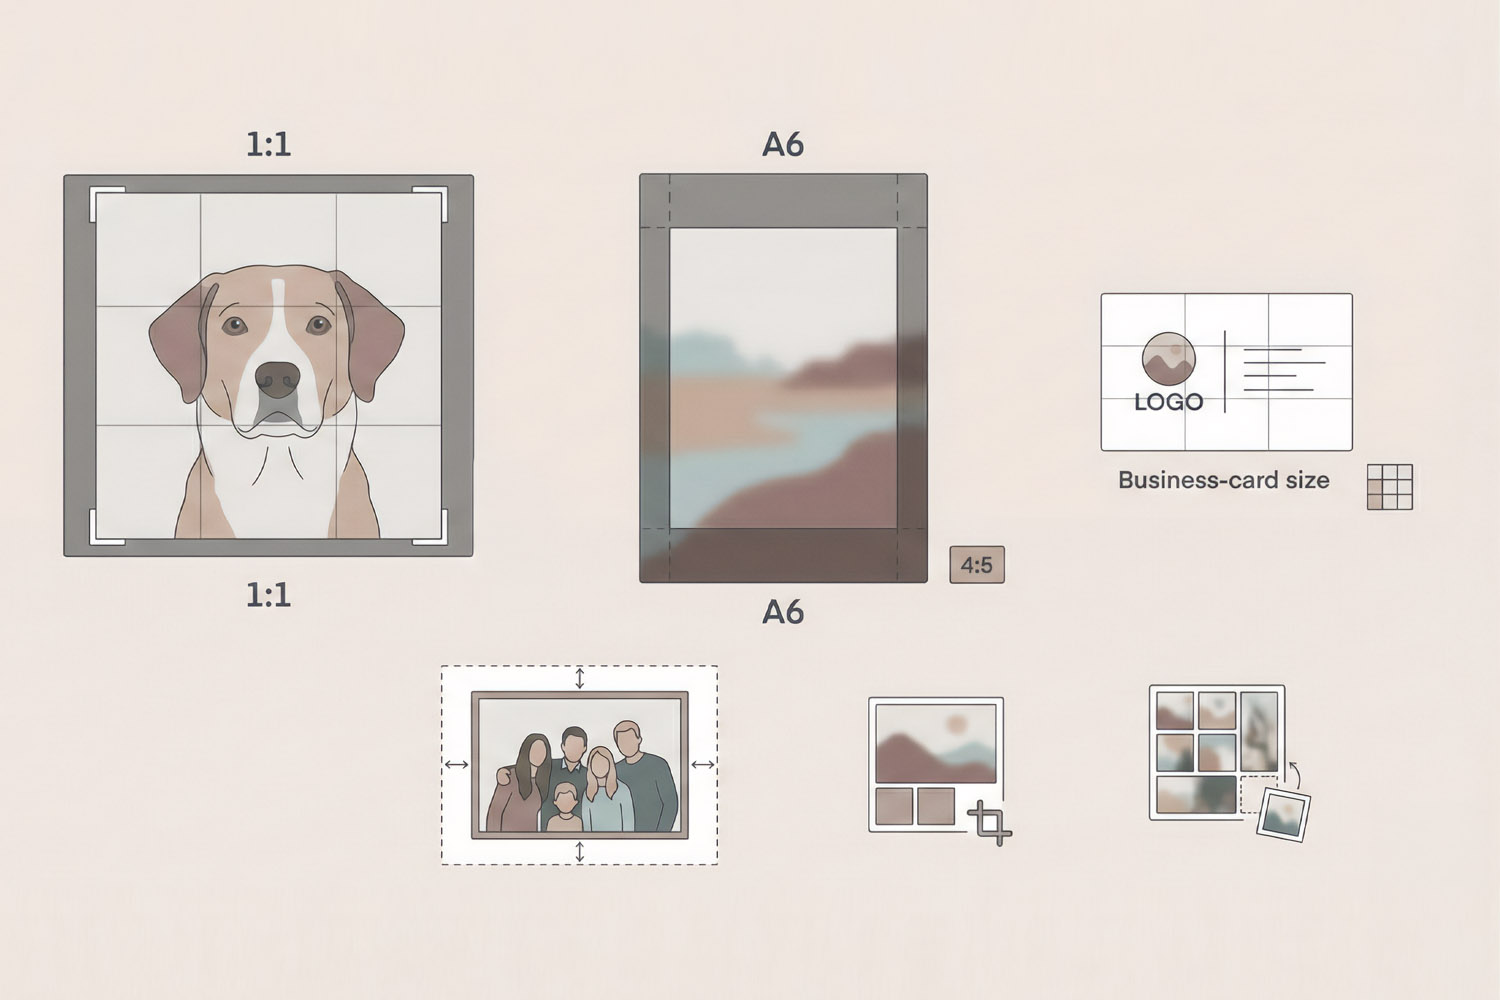
This helpful guide for personalised fridge magnets illustrates ideal photo cropping, aspect ratios, and business card size formats.
Crop with purpose: square vs rectangular magnets
Utterly Printable’s range includes both square and rectangular magnets, so a thoughtful crop is key:
- Square formats (9 × 9 cm & 14.8 × 14.8 cm):
These suit portraits, pets and Instagram-style images. If your original is not square, set your crop tool to 1:1 before you upload. Keep faces away from the very edge; squares can feel tight if you crop too close. - A6 rectangle (10.5 × 14.8 cm):
This is a taller rectangle than a smartphone’s 4:3 or 3:2 photo. Expect a little trim at either the top/bottom (portrait) or sides (landscape). Compose with the subject centred or on the rule-of-thirds intersections to keep key details safe. - Business card (8.5 × 5.5 cm):
Great for logos, text-led designs and close-ups with strong shapes. Because it’s small, use simple compositions and larger type. Avoid cramming in fine detail.
Leave breathing room
Whatever the size, avoid placing eyes, text or key edges right against the border—allow a little margin so the photo feels balanced after trimming.
Instagram crops & aspect ratios
Instagram posts are usually square (1:1) or portrait 4:5. Square posts will fit square magnets perfectly. Portrait 4:5 crops will need extra trimming for A6; re-crop to suit the exact magnet ratio before you upload so you control what’s kept.
Collages made easy
If you’d like multiple photos on one magnet, use the online designer on the photo fridge magnets page to build a tidy grid with consistent spacing. Keep each photo large enough to remain clear at arm’s length.
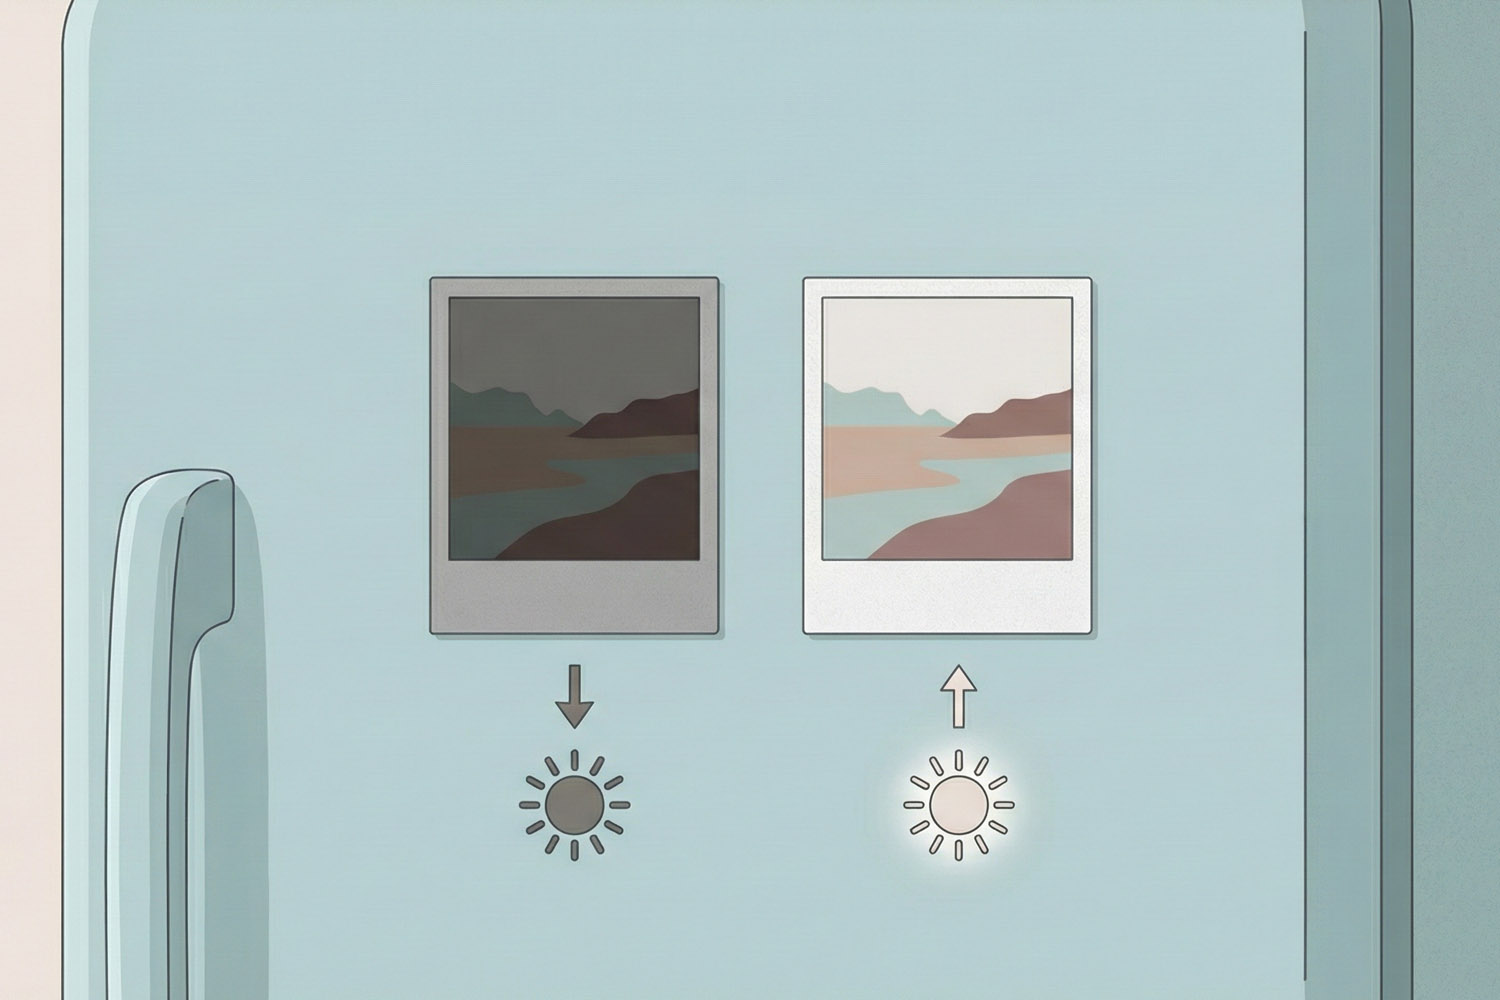
Personalised fridge magnets displayed on a blue fridge, highlighting the difference between low and high-quality photo prints
Light, colour and finishing touches that print beautifully
Your screen shines light through pixels; print reflects ambient light. The goal is a clean, well-lit file that the press can reproduce faithfully on matte-satin Magnecote®.
Lift the exposure, mind the contrast
Underexposed phone photos tend to print murky. Nudge exposure or shadows up until faces look natural and detail appears in darker areas, while keeping bright parts from clipping. Aim for clean mid-tones—they carry most of the detail in print.
Neutral white balance
If indoor lighting has pushed colours too warm or cool, use the white balance eyedropper on something neutral (a white shirt, grey wall) so skin tones look lifelike.
Colour that sings on matte-satin
Utterly Printable prints on 668 gsm Magnecote® with a matte-satin top coat, which keeps glare low and colours rich. High-contrast photos with a clear subject reproduce especially well on this surface. Subtle, low-contrast images can look tasteful too—just avoid files that are so flat that details blend together.
Gentle sharpening only
If you edit, apply a light output sharpening pass to restore crisp edges after resizing. Over-sharpened halos will be visible on print, so keep it subtle.
Text and graphics
If you’re adding captions or a date to your photo, use solid, high-contrast type at a legible size. On the small business-card magnet, favour bold fonts and keep wording short.
Common pitfalls to avoid
- Low-resolution screenshots (from messaging apps or social media): these are heavily compressed and often too small.
- Very dark images: raise exposure and shadow detail before uploading.
- Heavy filters that crush blacks or desaturate skin: dial them back for print.
- Mismatched crops: re-crop to square for square magnets; reshape portraits for A6.
- Tiny text or complex collages on small sizes: simplify for readability.
Practical notes
- Magnets adhere best to ferromagnetic surfaces like classic fridges, whiteboards and metal cabinets. Some stainless-steel doors contain little iron and aren’t magnetic.
- You can mix sizes in a single order, which is handy for building a neat fridge gallery from one upload session.
- For complementary keepsakes, you might like our durable personalised mugs or our smart personalised notebooks.
FAQs: getting crisp results on photo fridge magnets
A few quick answers to common questions about image prep, resolution and what to expect from the print finish.
A. We recommend 300 dpi at print size. As a guide: 9 × 9 cm needs ~1063 px square; A6 needs ~1240 × 1748 px; 14.8 × 14.8 cm needs ~1748 px square; and business-card size needs ~1005 × 650 px.
A. Phone screens are small, bright and sharpened. If the original file is undersized, over-compressed or slightly out of focus, that softness shows in print. Start with a high-resolution file, export as a high-quality JPEG, and avoid heavy filters.
A. Square Instagram posts are perfect for square magnets. For A6, re-crop your post to the A6 ratio before upload so you decide exactly what gets trimmed.
A. Often, yes—especially for indoor or evening shots. Lift exposure and shadow detail until faces and mid-tones look natural. Avoid pushing highlights so far that bright areas blow out.
A. A high-quality JPEG in sRGB colour space is a sensible default for online printing and will preserve tones and gradients well.
For uploading and to see the full product details, head to photo fridge magnets.
Where to start: When you’re happy with your image prep, upload your photo on our photo fridge magnets page. For thoughtful gift sets, consider pairing with personalised mugs or jotting memories in our personalised notebooks.
Troubleshooting Photo Magnet Design Issues: Cropping, Orientation & Composition
Struggling with photo magnet design issues like awkward cropping, sideways faces, or missing details? This guide covers how to choose the right cropping, orientation, and composition for Utterly Printable photo fridge magnets, ensuring your images look polished and intentional.
What Makes a High-Quality Photo Fridge Magnet? A Detailed Buyer’s Guide
Explore what makes a high-quality photo fridge magnet in this concise buyer’s guide, highlighting key features such as magnetic materials, print finishes, colour fidelity, and the advantages of flexible Magnecote¬Æ magnets for lasting, vibrant photo displays.