How to Personalise Birthday Party Invitations Online: A Step-by-Step Guide
Designing your own birthday party invitations should feel simple, reassuring and even a little fun. This guide walks you calmly through Utterly Printable’s online editor—from picking a template to adding photos, colours and QR codes—so you finish with an invitation that’s clear to read, true to your style and ready to print or download. If you’re planning a milestone celebration, you can start with our range of 18th birthday party invitations and follow the same steps below.
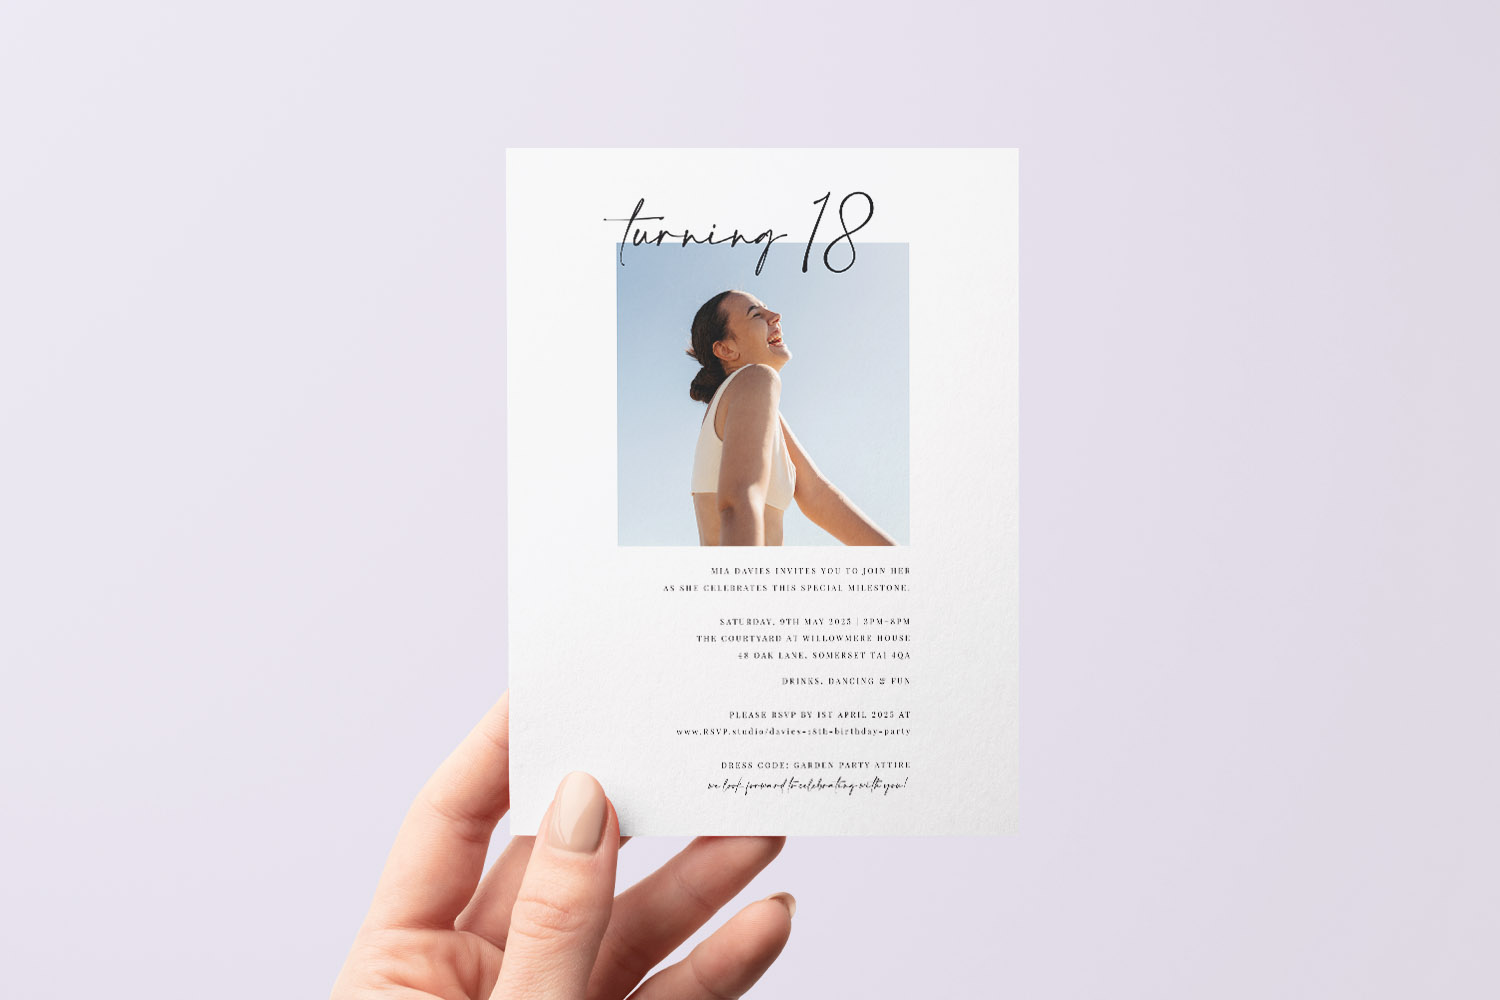
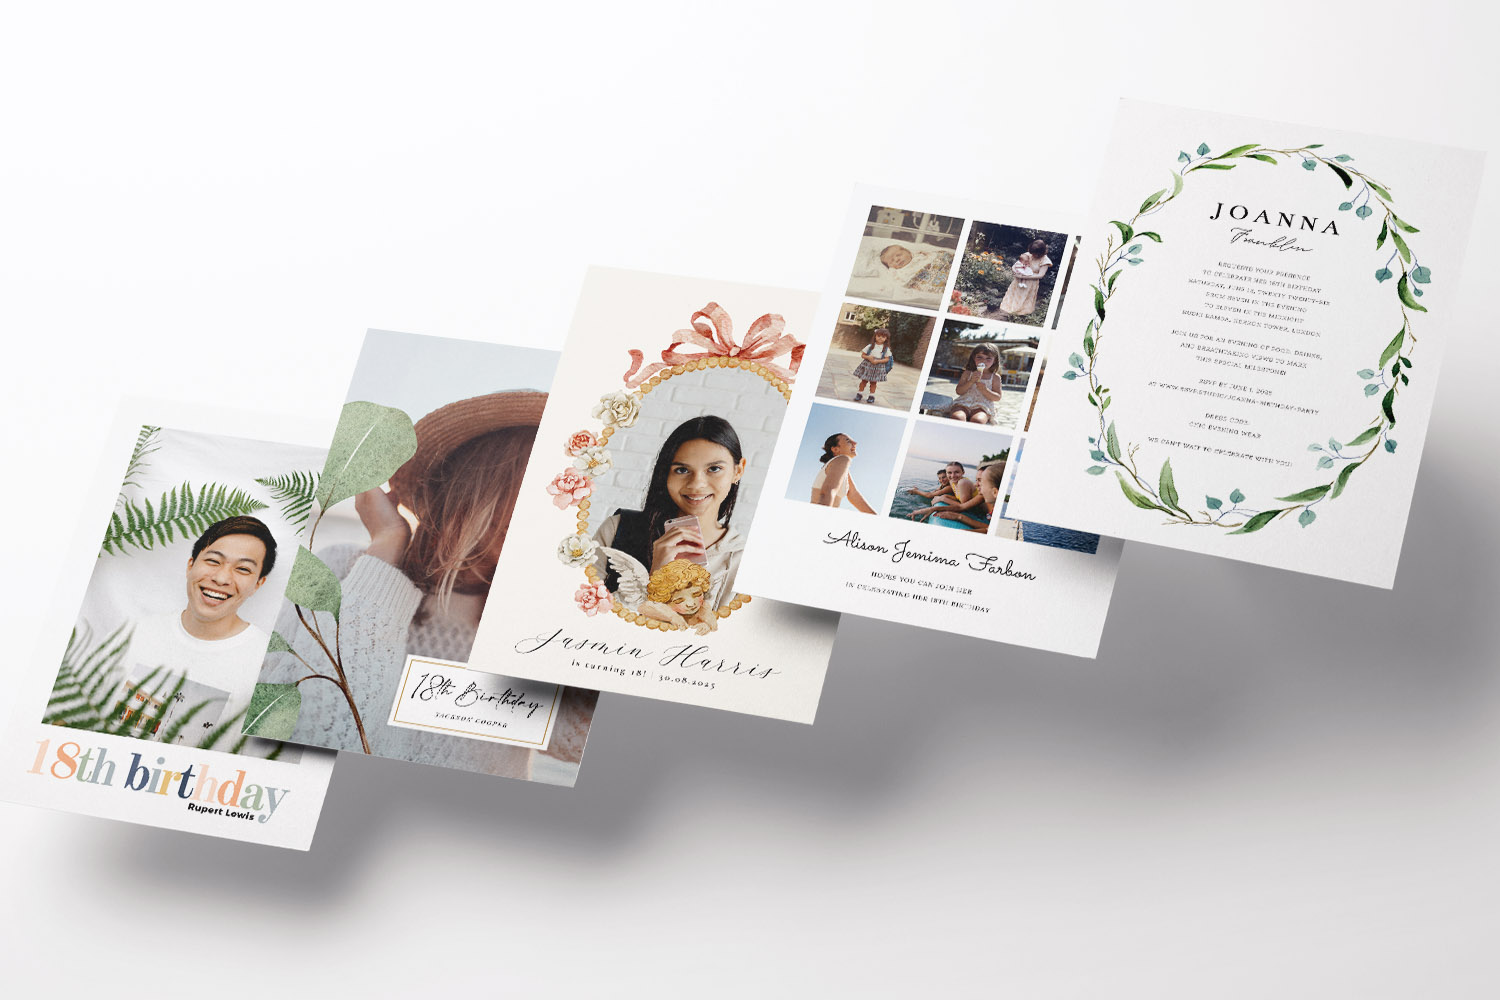
The screen shows a user opening a birthday invitation design and selecting text to personalise it directly in the online editor.
Choose your starting template and format
Before you dive into the editor, choose a design that broadly matches the mood of your event. This saves time later and keeps your layout clean.
- Match the tone: Hosting something lively? Browse the playful picks in our fun 18th birthday invitations.
Want your photos front and centre? Try the photo 18th birthday invitation templates.
Not sure yet? Have a look at all 18th birthday invitation styles to get a feel for fonts, colour-ways and layouts. - Pick a size and orientation: Square, A5, A6 and 5×7” are all popular and work brilliantly in the post or as a digital file. Portrait layouts suit longer venue details; landscape works nicely for wide photos and simple, bold wording.
- Think about how you’ll send it:
If you’re posting, a printed card on sturdy stock feels special. If you’re going fully digital, choose a photo-led template that crops well on phone screens and consider adding a QR code for quick replies.
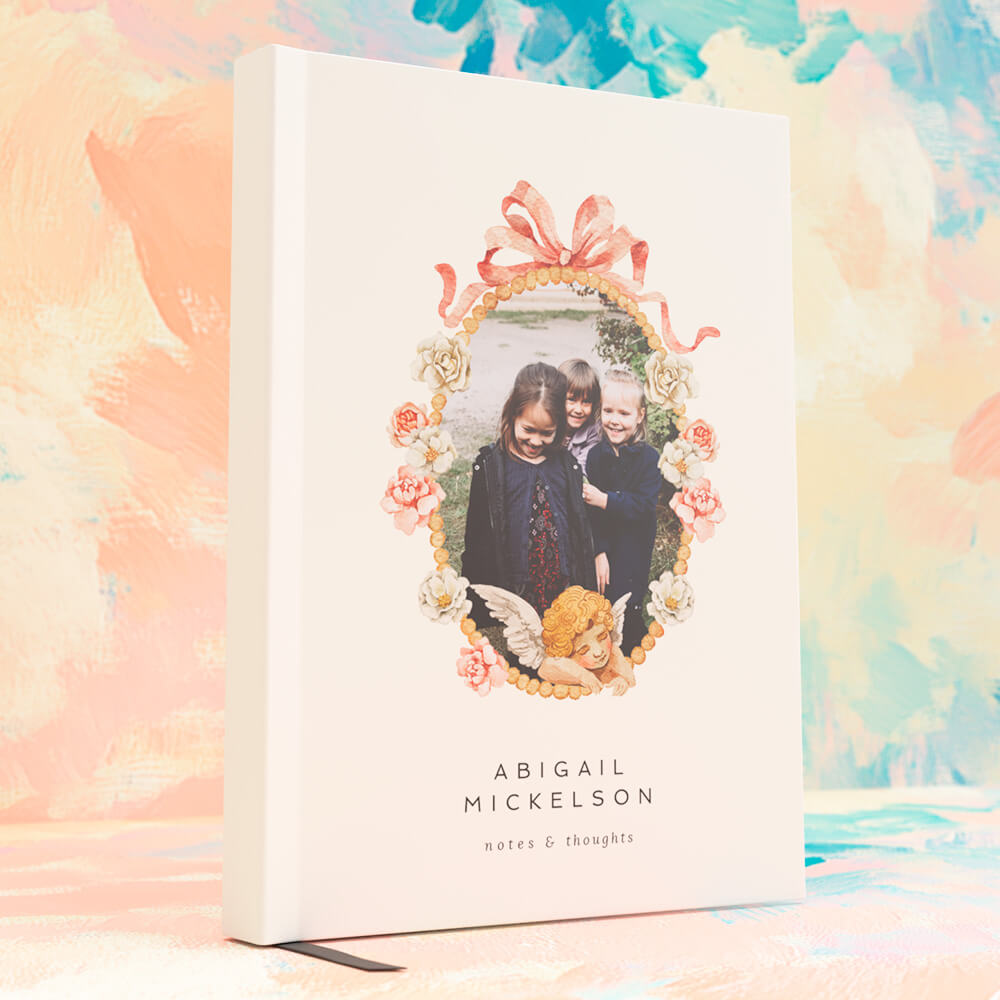
The user selects a birthday invitation design, opens the editor, and adds a personal photo to create a customised card.
Personalise your invitation in the editor (step-by-step)
Utterly Printable’s editor is designed for straightforward, human-friendly tweaks. You don’t need design software or prior experience—just follow this order and you’ll avoid most layout headaches.
1) Add the essentials first
Work through the key fields before styling anything. Typical details include:
- Event title (e.g. “Olivia’s 18th Birthday”)
- Name of the birthday person and age
- Date and start time (add an end time if needed)
- Venue name and address
- RSVP name, email/phone and an RSVP deadline
- Any dress code or brief note (e.g. “Smart casual” or “Please let us know about allergens”)
Tip: Enter numbers and dates consistently (e.g. “Saturday 12 July, 7.30pm”). Consistency is the quickest way to make a design feel polished.
2) Build a clear text hierarchy
Aim for three levels of text at most:
- Headline: the event title or name—make this the largest text.
- Details: date, time and venue—medium size, regular weight.
- Supporting info: RSVP, dress code—smaller size.
Keep at least 2–3 points of size difference between each level so the eye can scan quickly. Avoid overusing italics or all caps.
3) Add and crop your photos
Upload one or more images directly in the editor. For best results:
- Use bright, well-lit photos; avoid heavy filters that can dull in print.
- Crop tightly around faces for small photo slots; choose wider images for full-bleed layouts.
- If you’re printing, opt for high-resolution images. If sharing digitally, test the preview on your phone to ensure faces aren’t obscured by any text.
4) Adjust colours for contrast and cohesion
Choose colours that support legibility:
- Dark text on light backgrounds reads best.
- If your photo has strong colours, echo one of them for headings or accent lines.
- Keep body text in a single colour for a calmer look. Avoid very pale text on white.
5) Reposition and align elements
Drag text boxes and images into place, but keep alignment in mind:
- Align edges wherever possible; misaligned boxes make a design feel messy.
- Leave comfortable margins—especially near edges—to prevent a cramped look.
- If your template has guides, use them; they’re there to keep spacing even.
6) Insert a QR code for quick replies
Add a scannable QR code that links to your preferred RSVP form (for example, a hosted RSVP page) or a simple email address link. You can also point guests to directions, a playlist or a gift list. Place the QR code away from small text and ensure there’s clear space around it.
7) Add motifs or icons sparingly
A small balloon, confetti or typographic flourish can add personality. Keep embellishments simple and avoid overlapping important text.
8) Check the back page (if your design includes one)
Some templates offer a reverse side where you can add a map, extra photo, or short note. Keep the front crisp and put secondary details on the back if offered.
9) Preview on desktop and mobile
Use the preview to check line breaks, spacing and readability. Names with longer characters can push onto new lines—catch this here and tweak as needed.
10) Save your design
Your design stays in your account, making it easy to return later, create a matching thank-you card, or reorder with updated details.
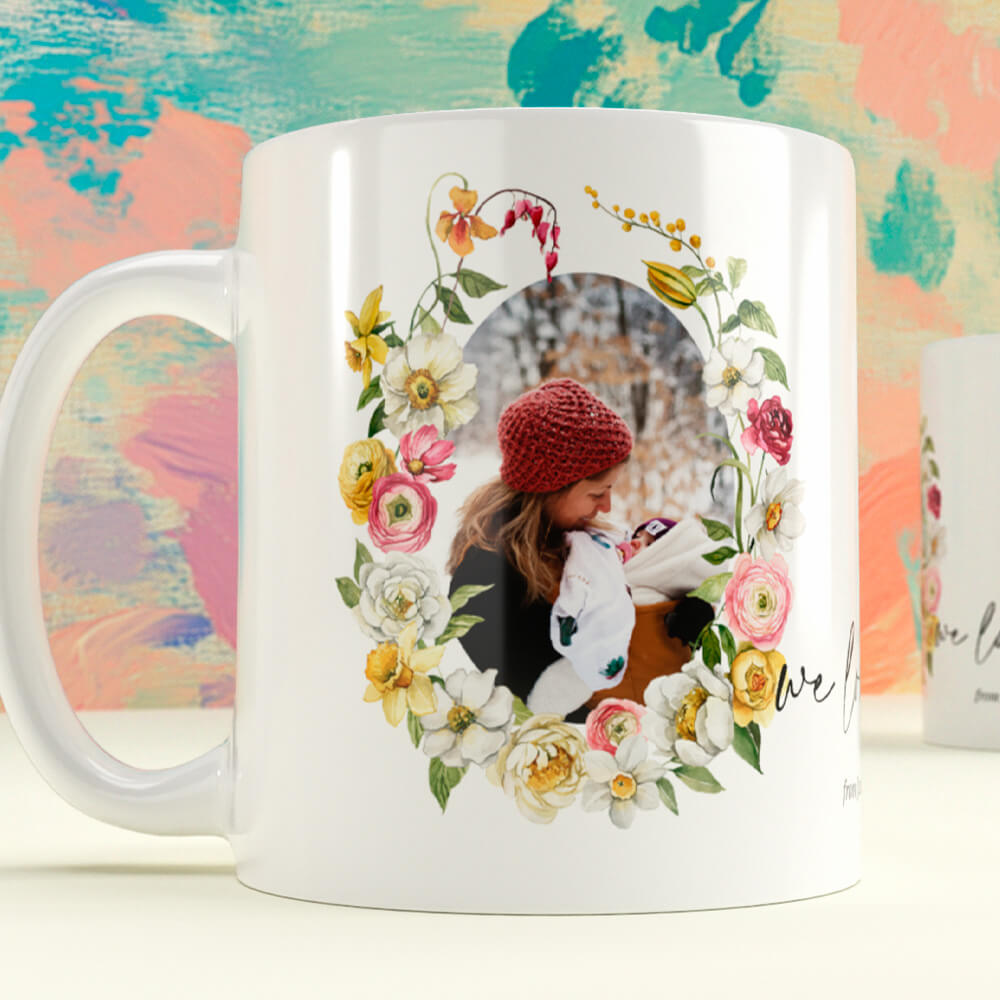
The screen shows a user generating and placing a QR code onto a birthday invitation design to enable quick access to event details or RSVPs.
Proof, print or download—finishing with confidence
Once you’re happy with the layout, the final steps ensure what you send looks as good as it does on screen.
Request and review your digital proof
You’ll receive a free digital proof by email before anything is printed. Read every detail slowly, preferably on a larger screen. Ask a family member or friend to check spellings, dates and phone numbers—fresh eyes spot little mistakes.
Choose print or download (or both)
- Professional print: Ideal when you want a keepsake card with weight and texture. You can select from premium stocks—smooth, textured or a silk-touch option that’s great for photos—and add matching white envelopes.
- Download-only: Prefer to print at home or share via email/WhatsApp? Choose a high-resolution PDF. It’s quick and eco-friendly, though colours can vary between home printers.
Pick a size that suits your message
A5 and 5×7” give more breathing room for longer wording or a larger photo; A6 and square formats are neat for concise layouts. If you’re sharing digitally, test that key text remains readable on a small screen.
Plan your send-out
Utterly Printable offers fast UK turnaround, including an express option when you’re short on time. If you’re on a tight schedule, set your RSVP date accordingly and use a QR code or short link for replies.
Sustainability in mind
If you’re printing, stocks are responsibly sourced and recyclable, and you can opt to minimise paper use by selecting a download or ordering the exact printed quantity you need.
A final pre-send checklist
- Names spelled correctly, and the right age?
- Date, day and time consistent?
- Venue address and post code complete?
- RSVP details, deadline and QR code tested?
- Mobile preview checked for line breaks?
If you can tick those off, your invitation is good to go—printed, downloaded or both.
FAQs: Personalising birthday invitations online
These quick answers cover the common questions we hear when people personalise their birthday invites online—especially for milestone moments.
Most people can complete a first draft in 10–20 minutes. Allow extra time to fine-tune spacing, crop photos and check the proof before printing or downloading.
Yes. Upload a single hero image or build a small collage, depending on the template. Use clear, well-lit photos and avoid heavy filters; they can print flatter than expected.
Include a clear RSVP line with a name and email/phone, plus a deadline. For speed, add a QR code that links to your online RSVP form so guests can reply in seconds.
Absolutely. The editor lets you adjust colours and type styles within the template so your invite matches your theme. Stick to two fonts at most and keep body text dark for legibility.
Choose bright, high-resolution images and avoid screenshots. Photo-led designs benefit from a smooth or silk-touch stock that keeps images crisp. If you’re unsure, order a single printed sample first.
Helpful links mentioned naturally in this guide
Explore 18th birthday party invitations to get started.
Choose a playful vibe with fun 18th birthday invitations.
Put photos first with photo 18th birthday invitation templates.
Or browse all 18th birthday invitation styles if you’re undecided.
Birthday Invitation Etiquette: Dress Codes, Dietary Notes & Practical Details
Planning a birthday party? This guide to birthday invitation etiquette covers how to clearly communicate dress codes, dietary notes, and practical details, ensuring your guests feel welcome and informed-whether you’re sending printed cards or digital invites.
How to Word Birthday Party Invitations (Examples for Every Style)
Learn how to craft birthday party invitations for any occasion, from formal dinners to casual BBQs. This guide offers key invitation details, tone advice, and templates, helping you create clear, inviting birthday invites that encourage quick RSVPs.