Best Photos to Use on Your Personalised Christmas Cards
A brilliant Christmas card starts with the right photograph. Whether you’re planning a quick snap by the tree or a full family portrait, the image you choose has to look good in print and sit naturally in a festive design. This guide walks you through choosing (or taking) a photo that reproduces beautifully, avoids common pitfalls, and feels joyfully seasonal—so you can upload with confidence to your personalised Christmas cards.
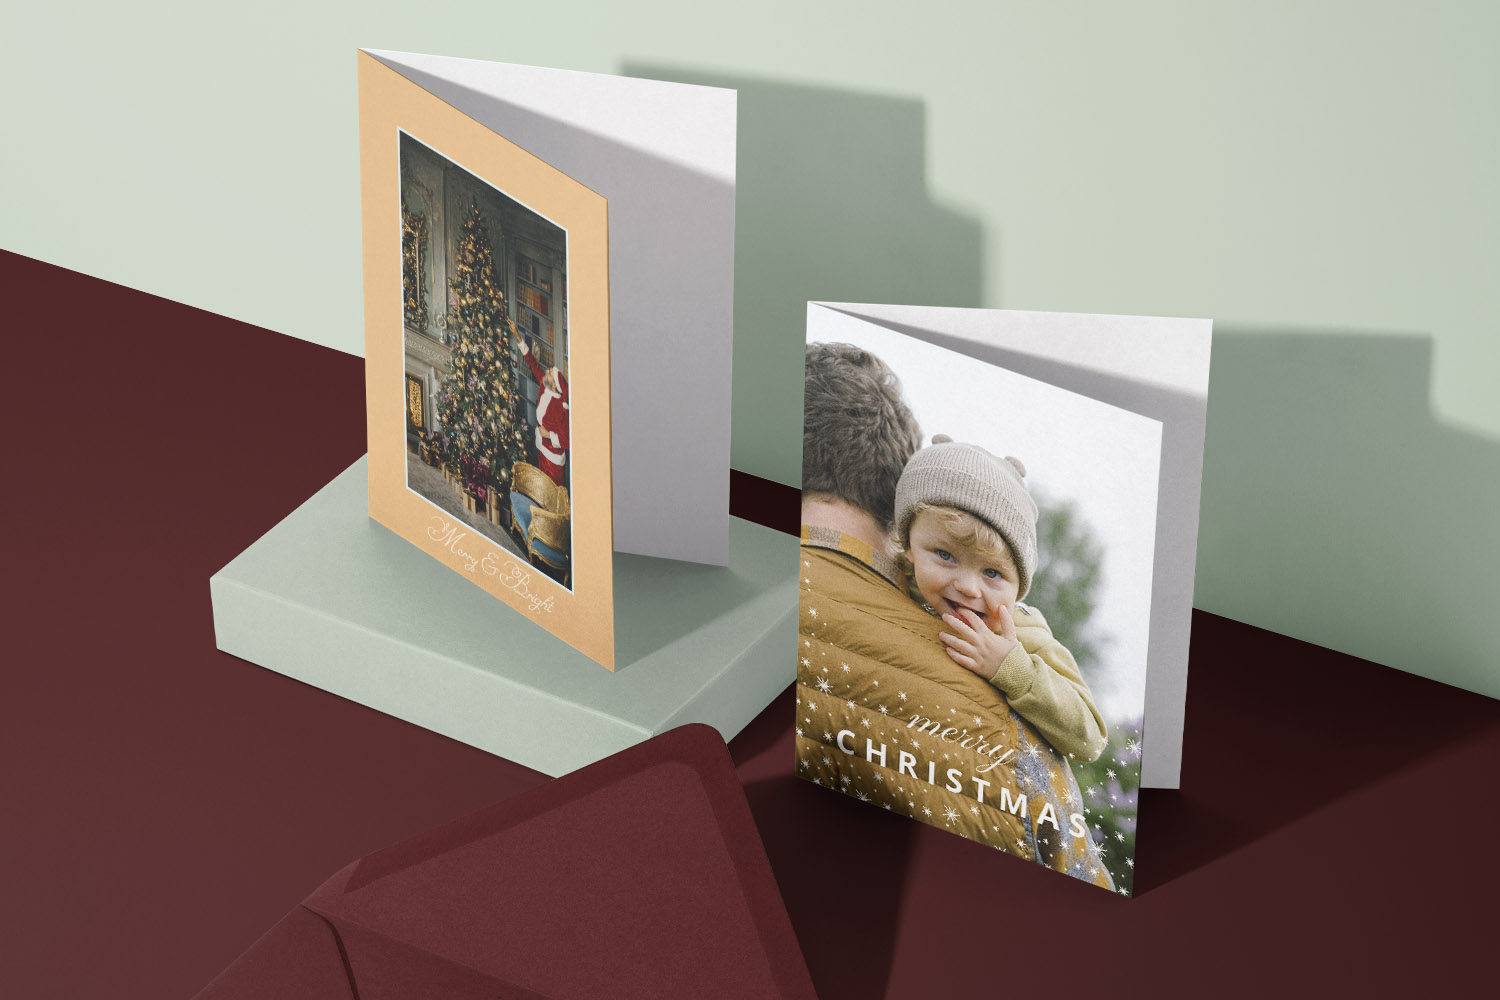
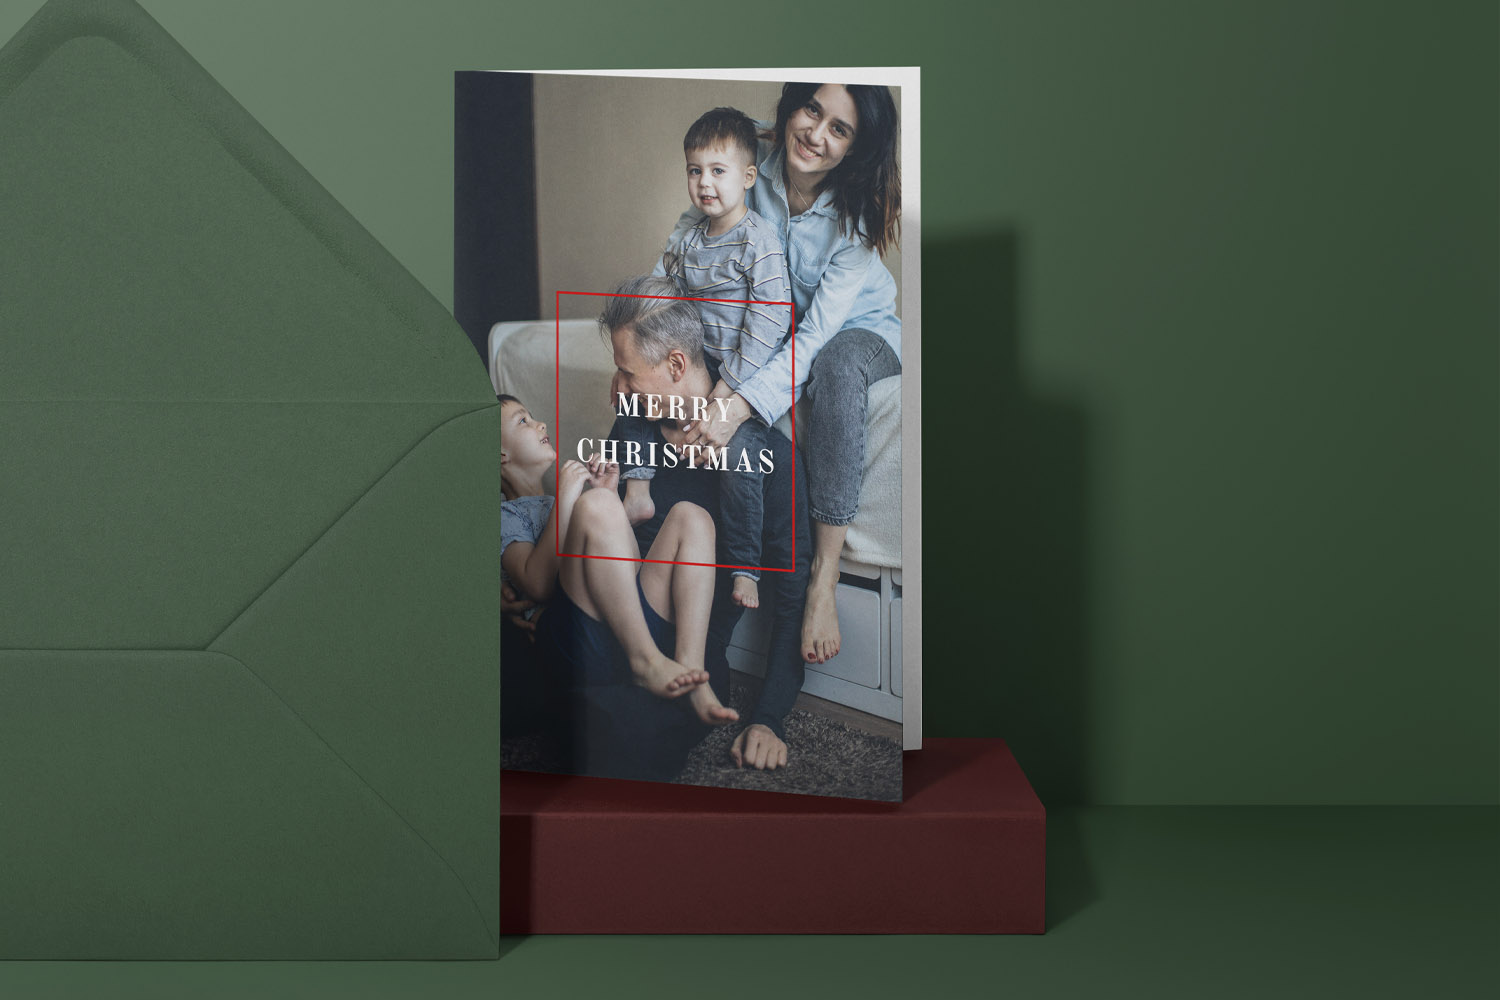
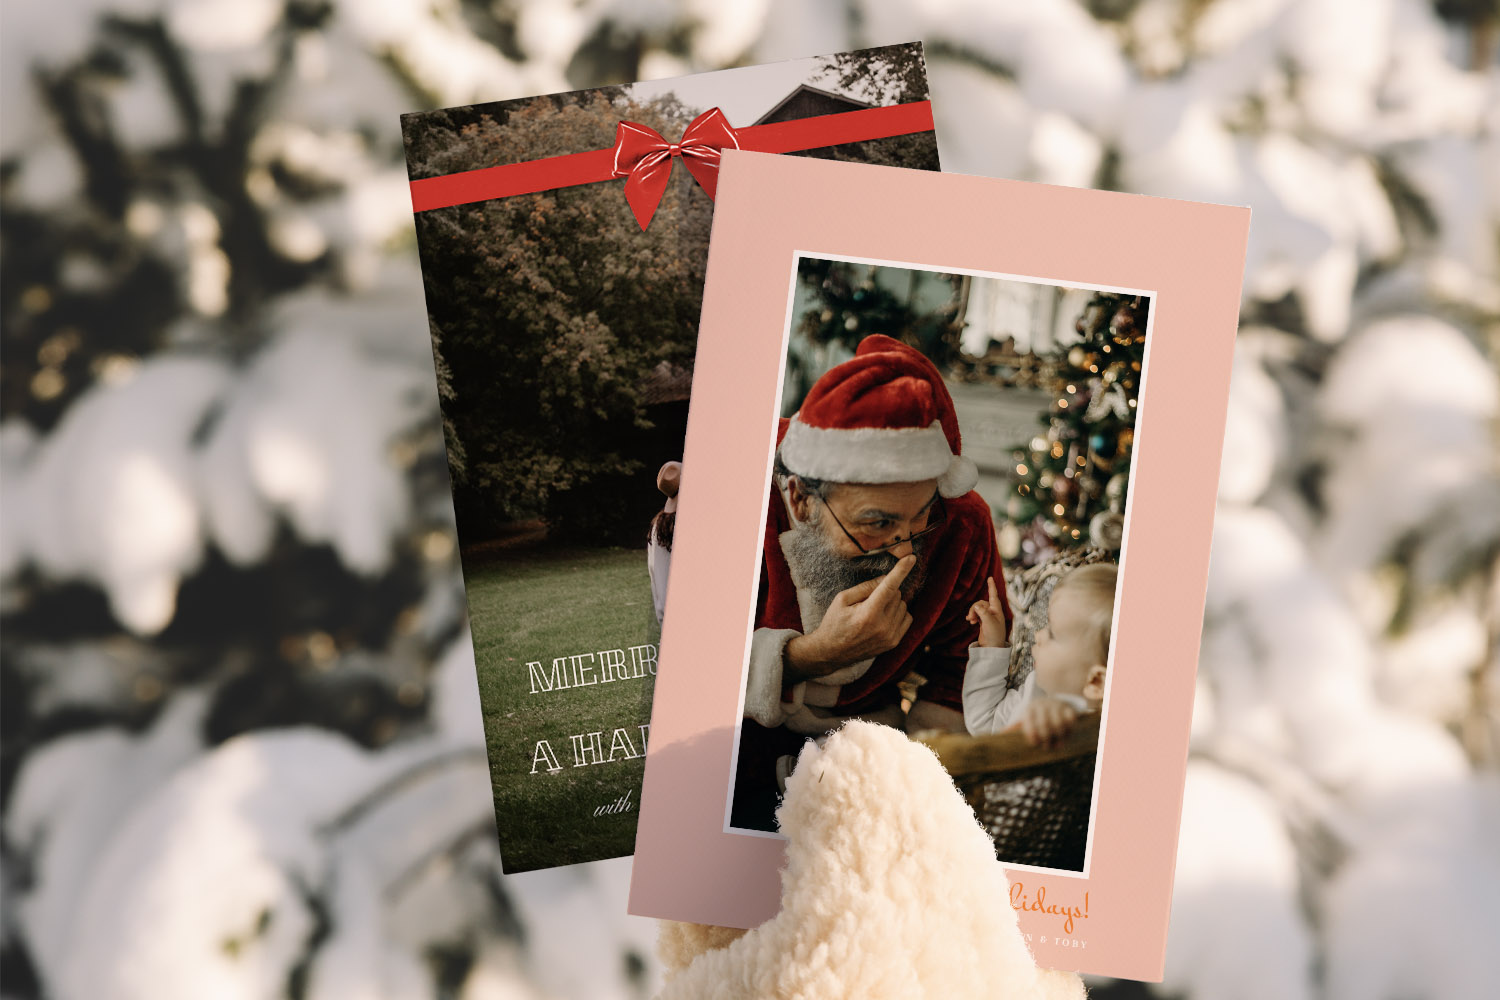
Two Christmas cards shown, one with a classic tree illustration and one with a custom family photo, perfect for festive greetings.
1) What makes a Christmas card photo work in print
Strong card photos share a few traits: clear subjects, simple backgrounds, warm light and enough resolution to print crisply. Keep these practical points in mind before you pick your favourite image.
Tell one story. Decide what the photo is “about”: your growing family, a new baby, your first home, or the year you adopted a dog. Let that story guide the frame—remove distractions and keep the focus on faces and connection.
Choose candid vs staged (and when to use each).
- Candid photos feel relaxed and genuine—great for children and pets who shine when they’re just being themselves.
- Staged portraits work when you want eye contact, symmetry and everyone in the frame. Keep direction light (“Let’s all lean in and look at Mum!”) to avoid stiffness.
Mind your background. Quiet backgrounds help text and design elements breathe. A softly lit tree, a neutral wall, a simple front door, or a frosty garden hedge all work. Avoid cluttered shelves, visible cables and laundry baskets—your future self will thank you.
Light is everything. Aim for soft, warm light that flatters skin and boosts festive mood:
- Indoors: Stand near a window with the light coming from the side; turn off harsh overheads. Add a warm lamp or the Christmas tree for a cosy glow.
- Outdoors: Shoot at golden hour (shortly after sunrise or before sunset). If it’s cloudy, even better: the sky is a giant softbox.
Resolution and sharpness (simple rules). For crisp printing, bigger is better. As a rule of thumb, aim for at least 2000–3000 pixels on the longest edge; more is welcome. Avoid screenshots and images downloaded from social media—these are heavily compressed and can look fuzzy in print.
Match the photo to the layout. If you plan to use a portrait layout, take a portrait image; for square designs, frame with extra space around the subjects so you can crop comfortably. Leave room around faces for any greetings or motifs on the card.
Top compositional nudges.
- Bring heads close together; closeness reads as warmth.
- Keep eyes on the top third of the frame.
- If including pets or toddlers, go down to their eye level.
- Watch the edges: no half-cut hands or tails.
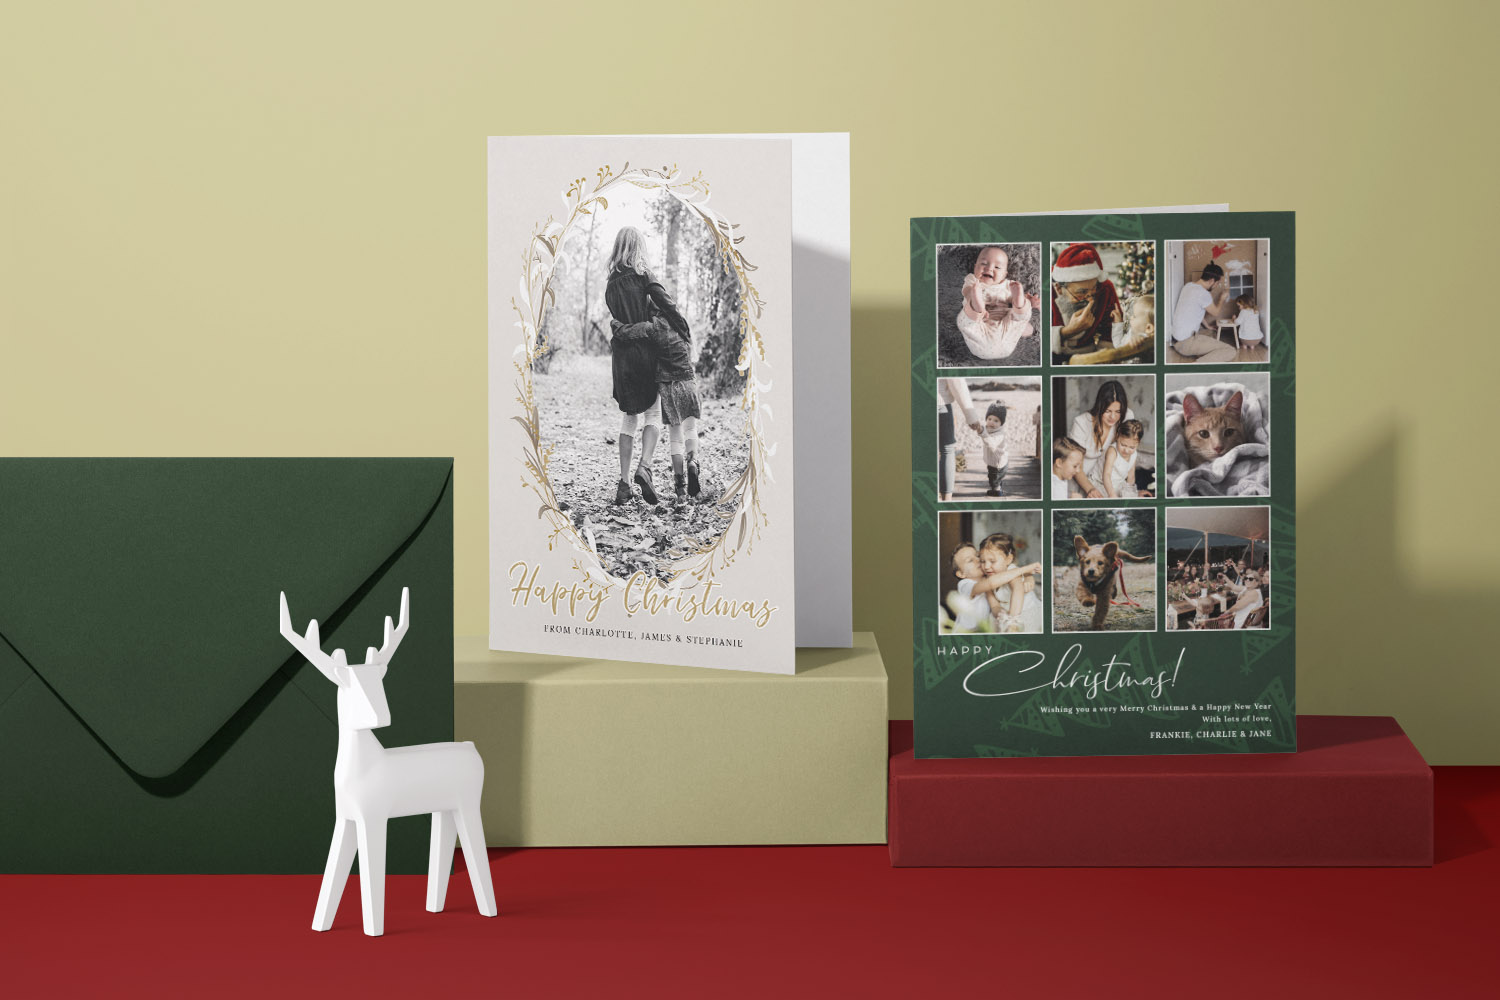
Personalised Christmas cards with a family photo and festive greeting, shown with a matching green envelope for a thoughtful holiday touch.
2) How to take a great family photo (without the stress)
You don’t need a studio. With a little planning, you can capture something you’ll be proud to send.
1. Pick a setting that feels seasonal but simple.
- By the tree: Use fairy lights for sparkle, but keep ornaments tidy and colours cohesive.
- On the doorstep: Wreaths and winter scarves read instantly Christmassy.
- In the garden or park: Evergreen hedges, holly, or a crisp winter sky make a fresh, uncluttered backdrop.
2. Dress to complement your card design. If your chosen design is classic red and green, pick outfits in muted berries, forest greens, creams and navy. For modern minimalist templates, think charcoal, camel, denim and soft whites. Aim for co-ordinated, not matching—one patterned piece, everyone else in solids.
3. Seat and stagger. Use steps or a bench to create natural layers. Keep shoulders overlapping slightly so the group feels connected. If including grandparents, seat them centrally with children nestled close.
4. Keep children and pets comfortable. Take photos right after a snack, keep sessions short, and bring a tiny prop (a bauble, a soft toy). For dogs, ask a helper to stand just behind the camera with treats at the ready.
5. Try both candid and posed. Start with a quick posed frame (everyone looking), then immediately prompt a moment (“Whisper your favourite biscuit to Dad”, “Tickle monster in 3…2…1”). The in-between laughter often produces the winning shot.
6. Use simple camera settings.
- Phone: Clean the lens; tap on faces to focus; increase exposure slightly if faces look dark.
- Camera: A shutter speed of 1/250s or faster keeps kids sharp. A mid-range aperture (around f/4–f/5.6) gets everyone in focus.
7. Mind the colour temperature. If your indoor images look very orange, step closer to a window and switch off mixed lighting. Outdoors, snowy scenes can look blue—nudge warmth up a touch when you edit.
8. Take more than you think you need. Shoot small bursts; vary angles (straight-on, slightly higher, slightly to the side); and check focus on faces before you finish.
9. Plan the “B shot”. If the main image is a tight family portrait, take a second, wider scene (tree decorating, wrapping paper chaos, a snowy walk). Many designs let you add a secondary image inside or on the back, and it’s lovely to include a more documentary moment too.
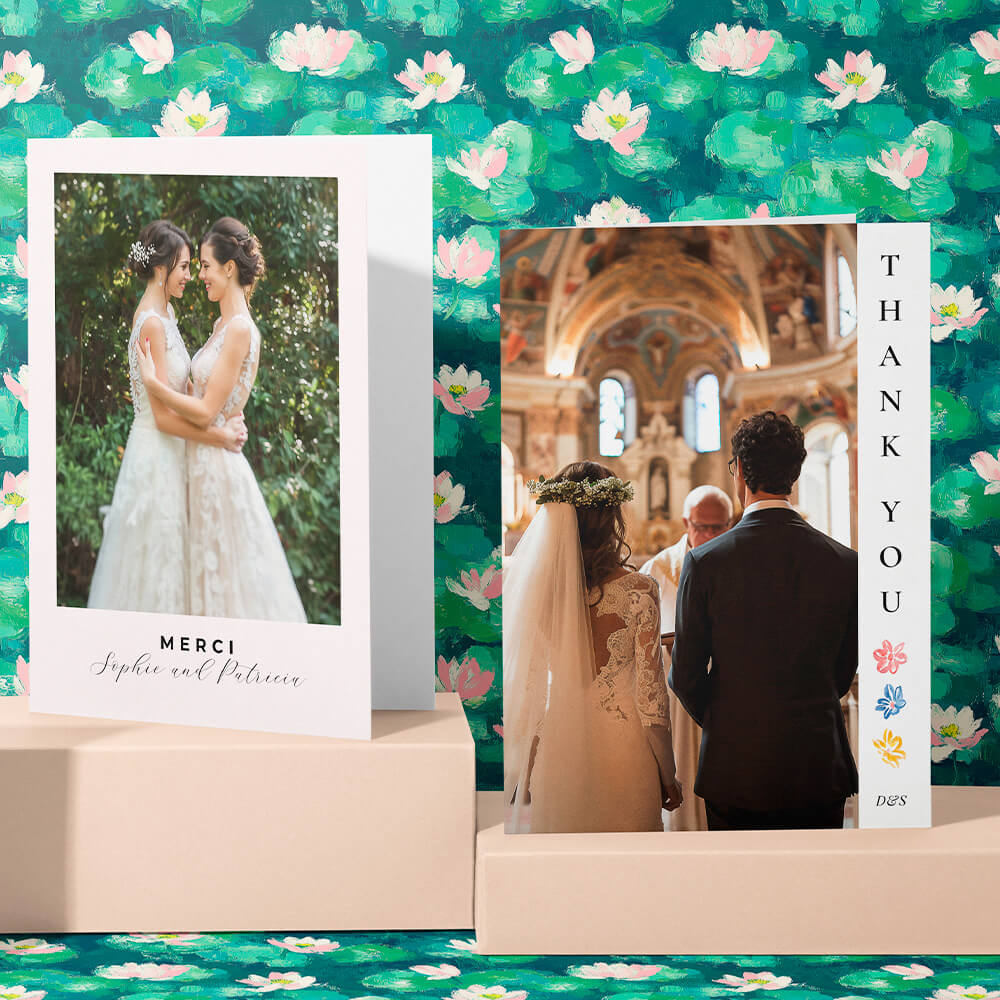
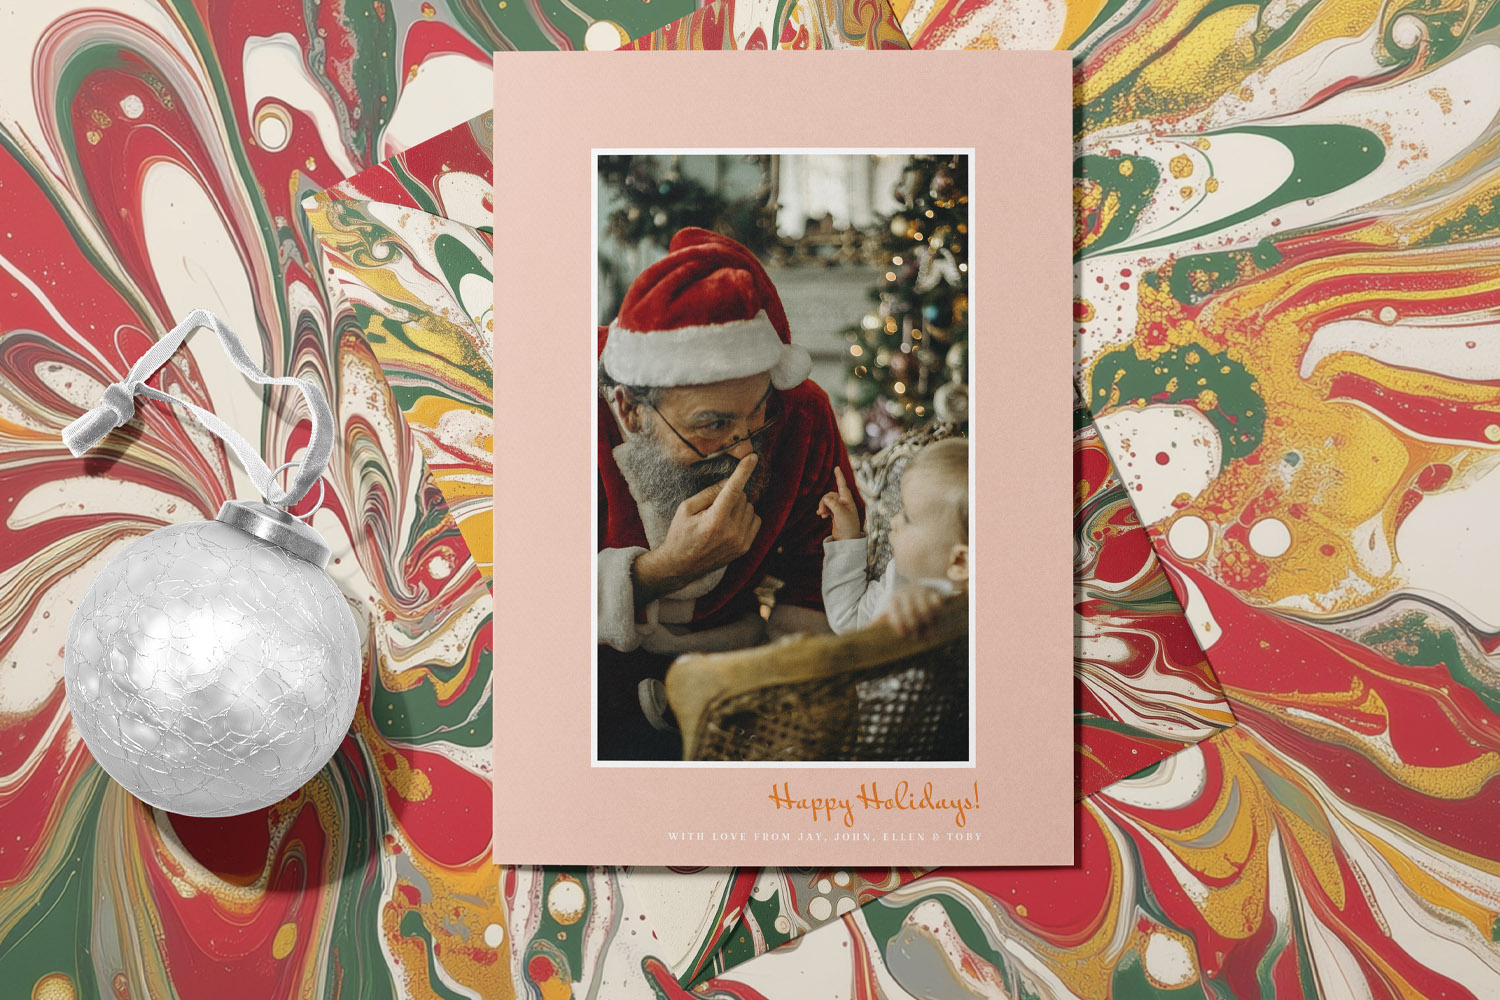
Personalised Christmas cards with elegant photo designs, perfect for sharing festive memories with loved ones during the holiday season.
3) Editing and preparing your image for upload
A few careful tweaks can elevate your photo from good to great—and ensure it prints cleanly.
Crop with intention. Keep a little breathing room around faces. If your design includes text on the image (e.g., “Merry Christmas”), leave space where the type will sit. Avoid cropping at joints (wrists, ankles, necks); it looks awkward.
Check exposure and contrast. Lift shadows slightly so eyes are bright, but resist heavy contrast or HDR effects. Texture and clarity sliders can make skin look harsh—use sparingly.
Warm it up—gently. A hint of warmth (a tiny increase in colour temperature) makes winter skin tones and fairy lights feel inviting.
Tidy the frame, not personalities. Clone out tiny distractions (a plug socket, a bright ornament in the corner). Don’t over-smooth skin or “face-tune”—natural expressions print best and age well.
Mind the file quality. Export or save at the highest available quality. Avoid screenshots, WhatsApp forwards and images pulled from social media—compression destroys fine detail. Go back to the original in your camera roll or photo library whenever possible.
Resolution recap (quick guide).
- 5×7 inch card front aim for ~1500×2100 px or higher
- 6×4 inch area aim for ~1800×1200 px or higher
- Square card front aim for ~1500×1500 px or higher
These are minimums; if your photo is larger, that’s great.
Before-you-upload checklist.
- Faces are sharp and well-lit
- Background is tidy, colours feel cohesive
- Crop matches your chosen layout (portrait/square/landscape)
- Original, high-resolution file ready (not a social-media download)
When you’re happy, upload your image to our range of personalised Christmas cards. If you’d like to share the same photo beyond the mantelpiece, consider thoughtful photo gifts such as personalised mugs for grandparents or sleek acrylic photo blocks for a modern desktop display.
Christmas card photo FAQs
These answers focus on producing a flattering, print-ready image without fuss. They’re based on simple, repeatable practices you can apply with any modern phone or camera.
Both work. Posed shots guarantee eye contact and a tidy frame; candid photos feel relaxed and authentic. If in doubt, take one of each and choose whichever looks best in your chosen design.
Indoors, late morning by a window gives soft, neutral light. Outdoors, aim for golden hour (just after sunrise or before sunset). Midday sun can be harsh; move into open shade if you must shoot then.
Dim the tree slightly, switch off harsh overheads, and bring a lamp closer to faces. On a phone, tap on a face and slide exposure down until the lights have detail and skin still looks bright.
Get a helper with treats standing right behind the camera. Go to the dog’s eye level, shoot a burst of frames, and embrace a bit of personality—a slightly tilted head or wagging tail adds charm.
Borrow colours from your card design: deep greens, burgundy, navy and creams for classic looks; soft neutrals for minimalist layouts. Avoid bright, competing logos and too many patterns at once.
How to Take a Great Christmas Photo at Home (Beginner-Friendly Guide)
Learn how to take beautiful Christmas photos at home with this beginner-friendly guide, offering easy tips for natural lighting, simple staging, and capturing genuine smiles using your phone-ideal for creating warm, memorable holiday cards.
Sending Personalised Christmas Cards Abroad: Postage, Timing & Tips
This guide offers practical tips for sending personalised Christmas cards abroad, covering postage, timing, and addressing to help you create heartfelt greetings for loved ones overseas while minimizing costs and avoiding delays for a stress-free experience.
What to write in a personalised Christmas card: messages for every recipient
Discover thoughtful ways to write personalised Christmas card messages for everyone in your life. This guide shares practical frameworks and tips to help you craft warm, meaningful greetings for family, friends, colleagues, neighbours, and new acquaintances with confidence and ease.