How to personalise wedding thank you cards online (step-by-step guide)
Designing your wedding thank you cards should feel easy, reassuring and a little bit joyful. This guide walks you through Utterly Printable’s editor—from choosing a template to exporting a digital proof—so you know exactly what will happen before you click into the designer. Along the way, we’ll show how to upload multiple photos, switch layouts, customise fonts and colours, add a QR code, reposition text, and save your work for later (including the ability to make edits after ordering, right up until printing begins). If you’re ready to browse, you can jump straight to our wedding thank you card templates.
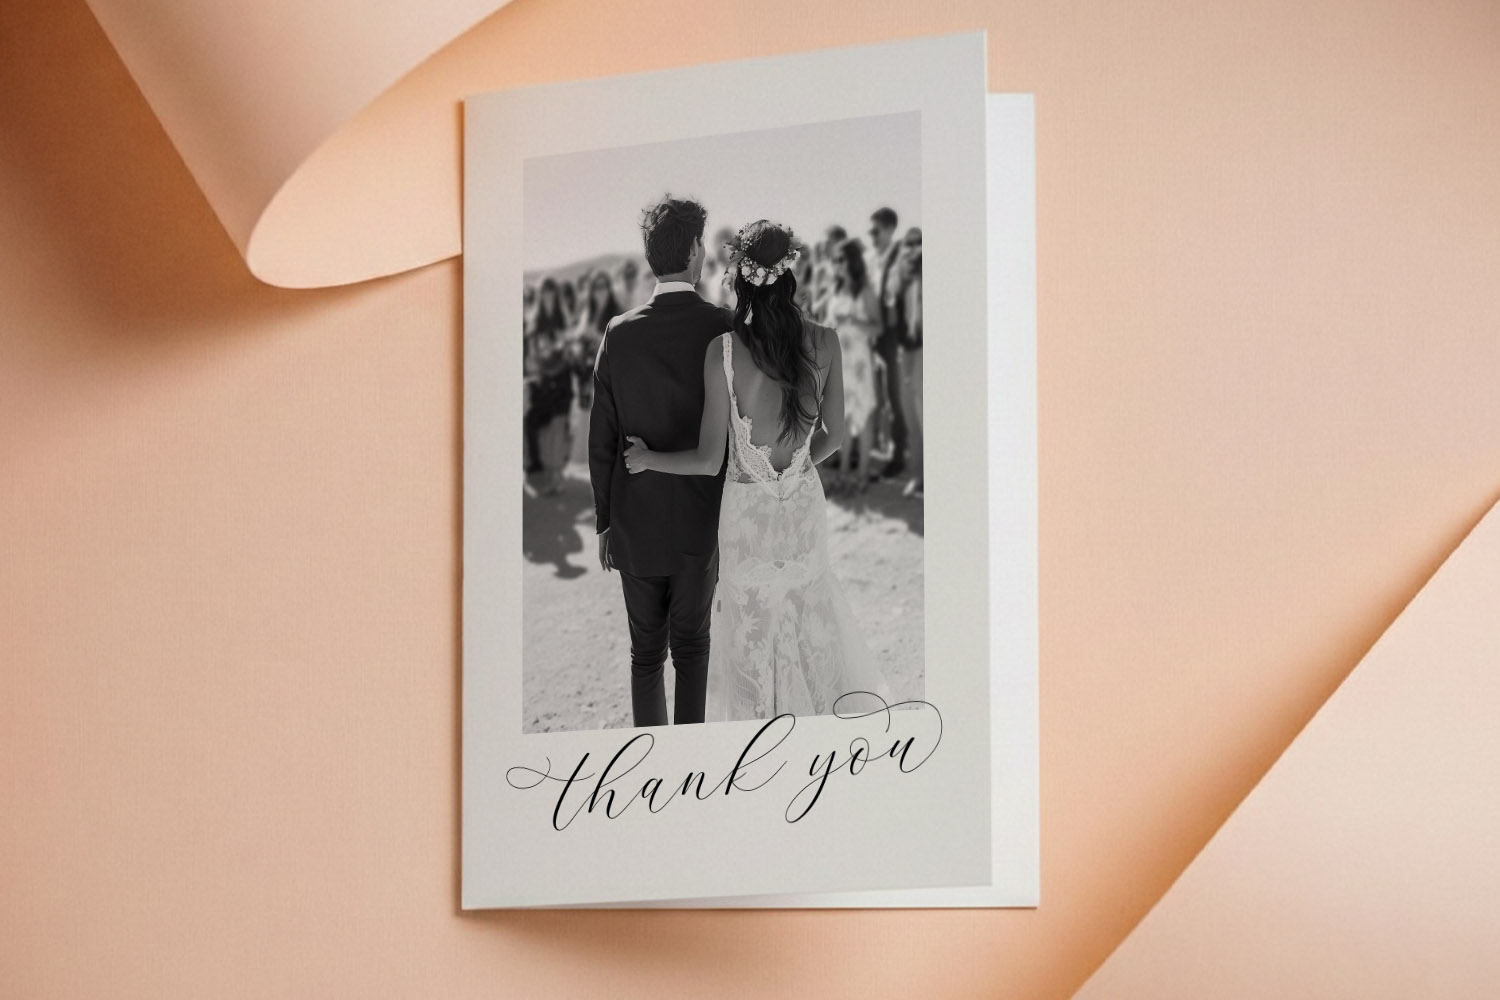
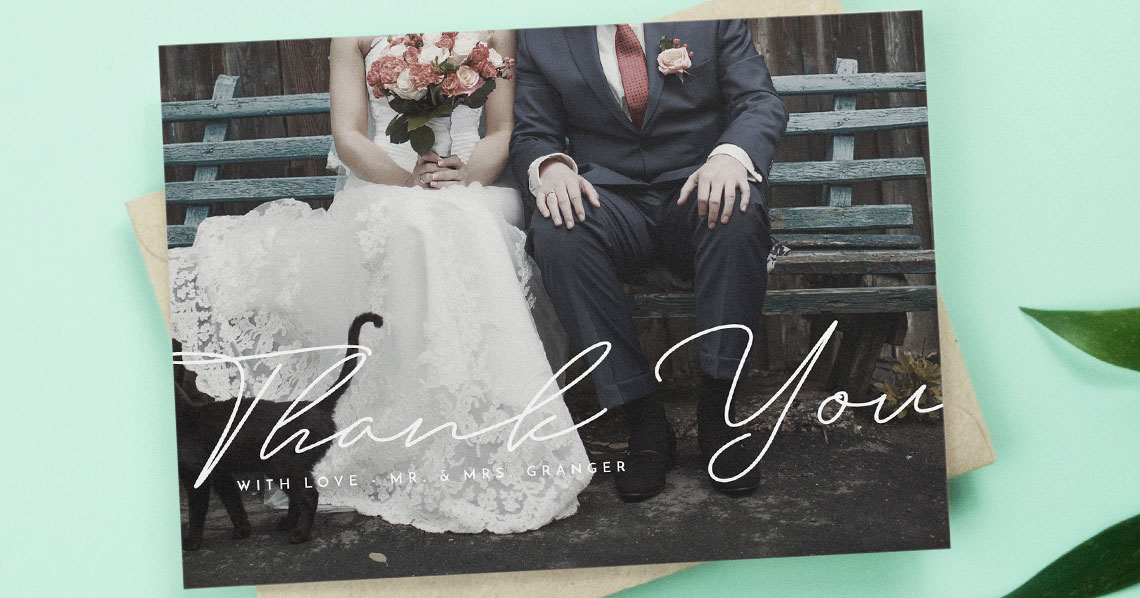
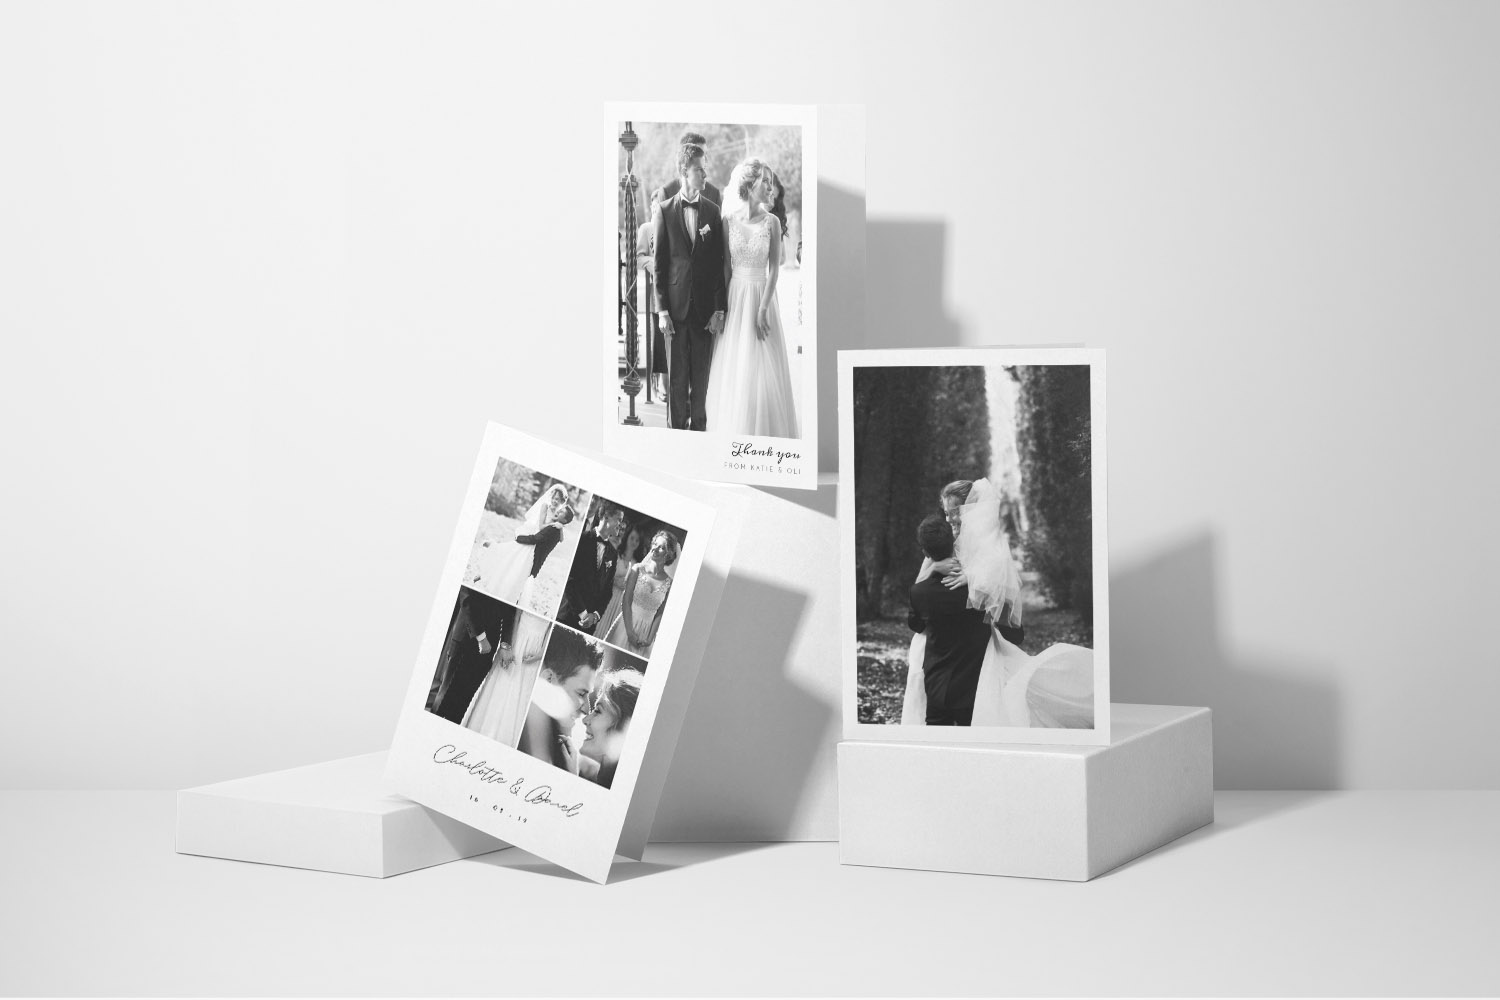
Elegant wedding thank you cards with a personalised black and white couple photo, perfect for expressing gratitude to your guests.
Step 1: Choose your starting template
Begin in the gallery of wedding thank you card templates. You’ll find classic, modern and photo-forward designs, plus styles to match a floral or rustic theme. If you’re after botanicals, try our floral wedding thank you cards. Want to showcase your favourite shots? Head to the photo wedding thank you cards. Or browse by look and feel on the main wedding thank you card styles page.
Tip: If you later decide a different layout suits you better, you can return to the gallery and pick another template at any time. Save the one you’re working on as a draft first so you can compare options.
Step 2: Pick format, size and orientation
Utterly Printable offers flat postcards or traditional folded cards in A5, A6, square 148 × 148 mm and 5″ × 7″ formats. Folded designs come as top-fold landscape or side-fold portrait. If you plan to handwrite longer notes, a folded card gives you more space inside. For quick, efficient posting with a printed message, a flat postcard keeps things simple.
Step 3: Consider paper and print approach
All cards are professionally printed in the UK on FSC-certified card stocks. Choose from smooth House (350gsm), textured Premium (324gsm, Fedrigoni), Photo Silk Touch (400gsm, folded only), or Super Thick (650gsm, flat cards). Printing is carried out on Canon iX presses for crisp type and vibrant photos, and folded cards are scored in production to prevent spine cracking. Prefer to handle printing yourself or to send digital thanks? You can also download a high-resolution, print-ready PDF.

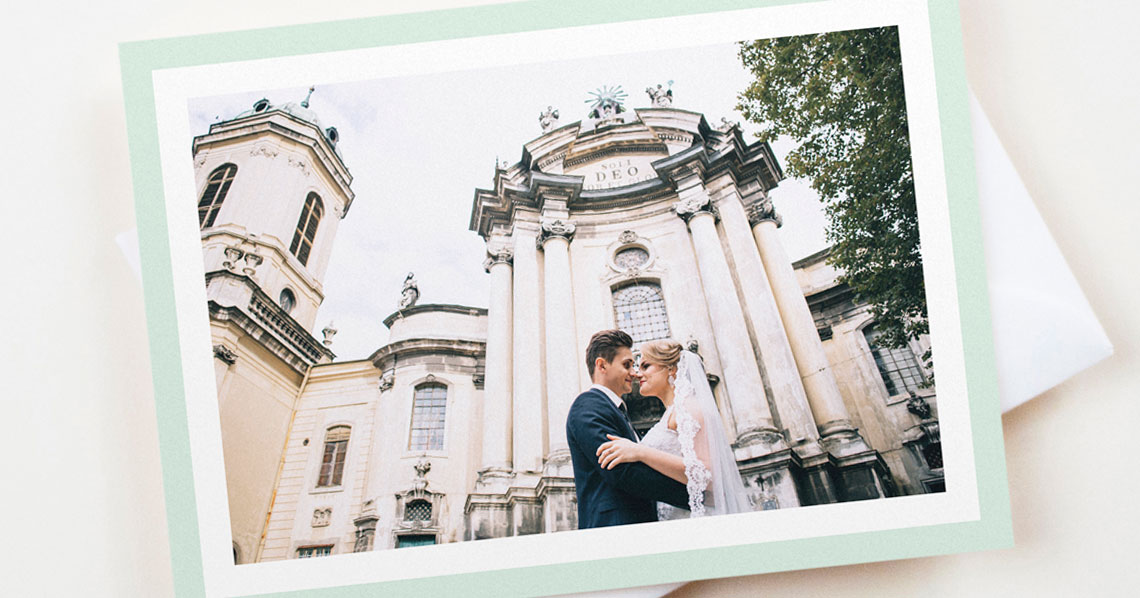
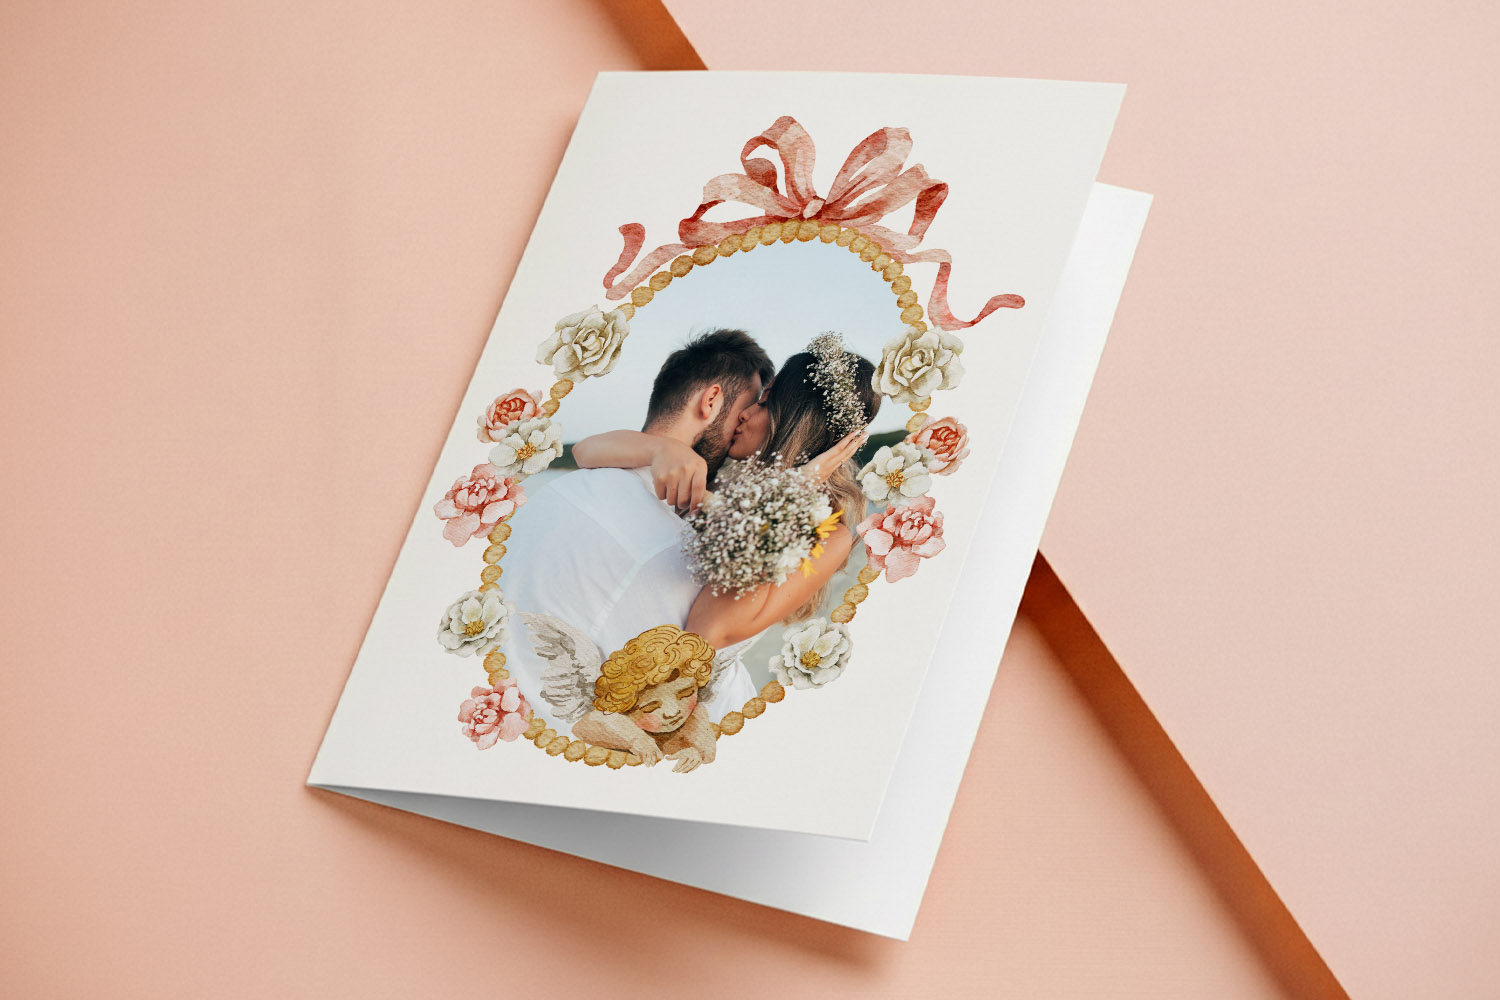
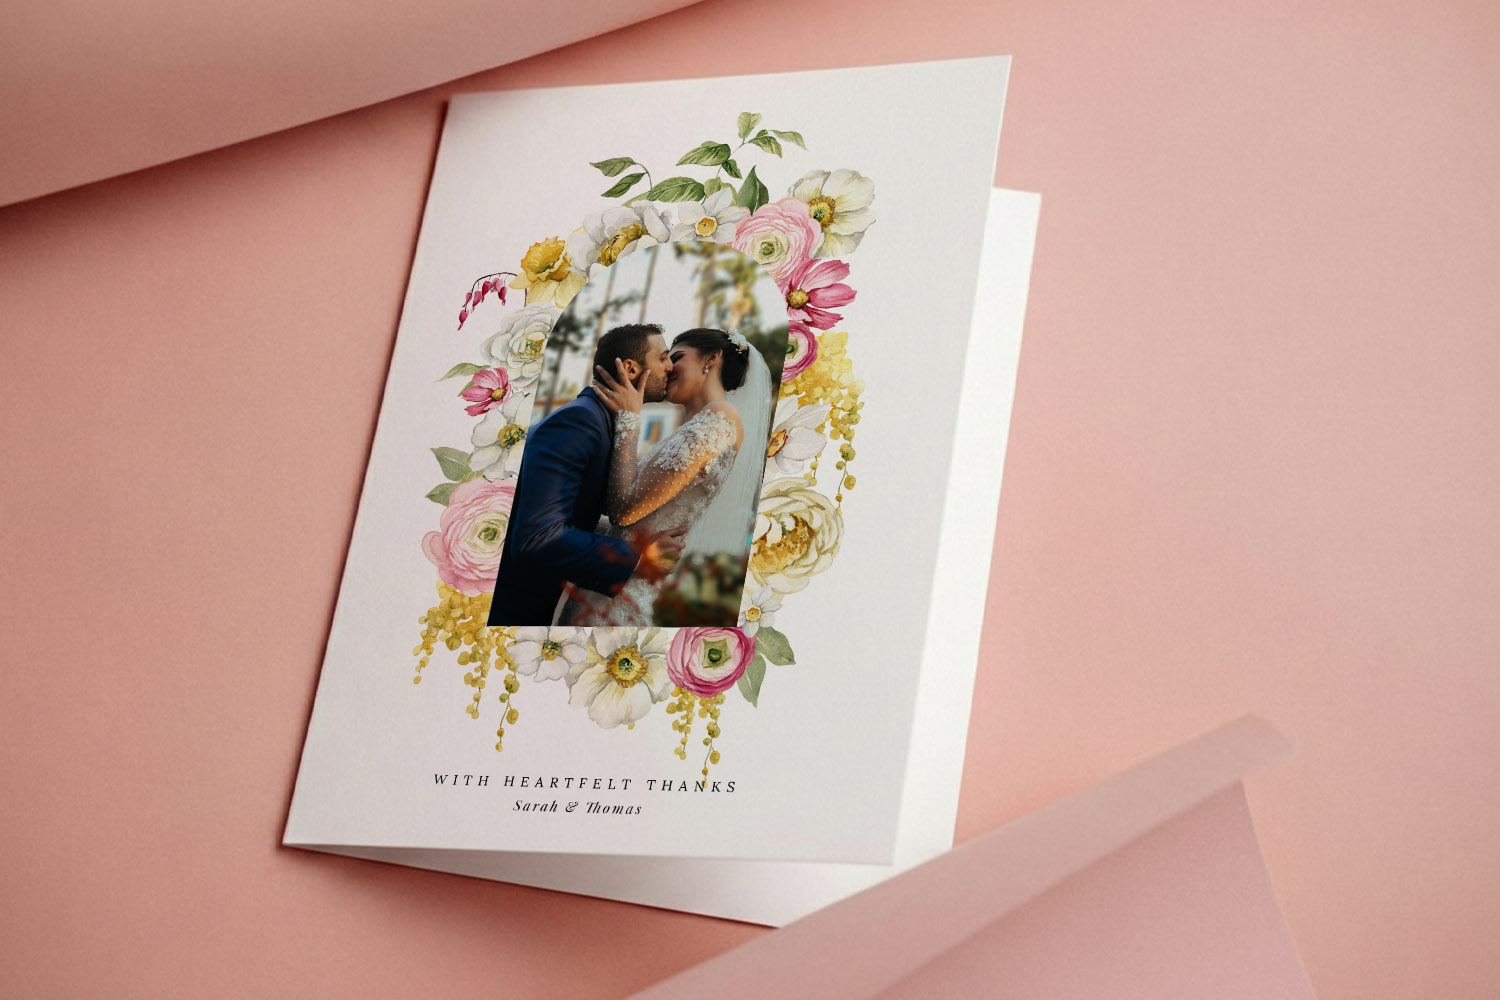
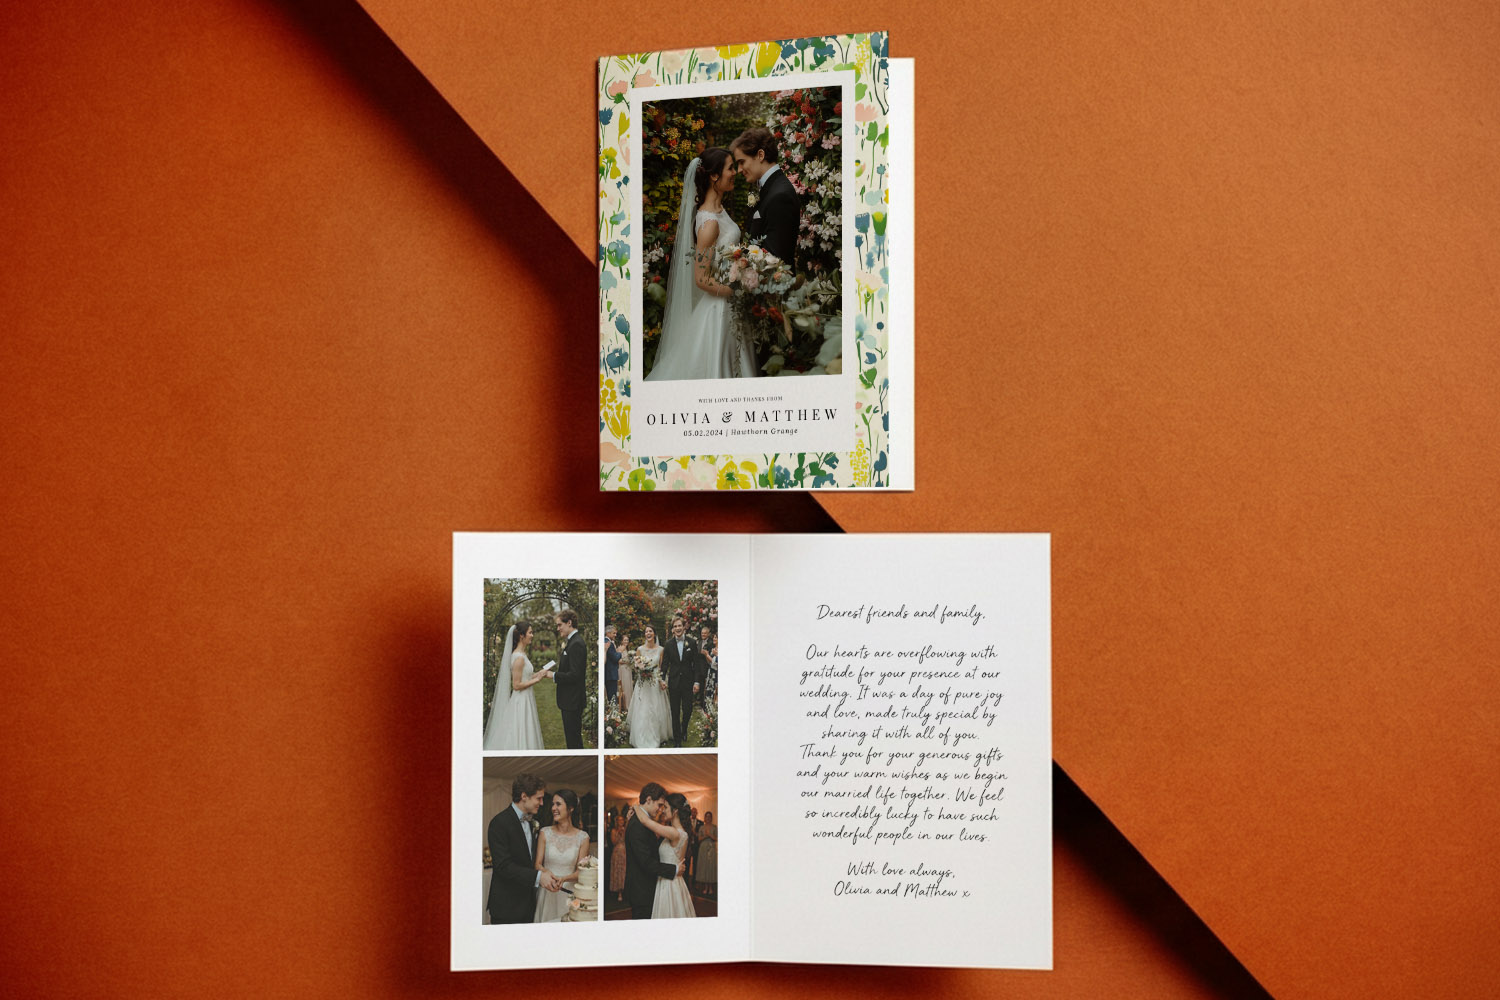
Elegant wedding thank you cards featuring a custom couple photo framed by delicate flowers, perfect for sharing your gratitude in style
Step 4: Upload multiple photos (as many as you like)
Open your chosen template in the editor and upload images straight from your device. There’s no hard limit—add as many photographs as you wish. Many templates support multi-image collages; you can place photos on the front, inside or back without extra cost. Drag images into frames, crop within the editor, and swap them out until the layout feels balanced.
Pro tip: If you’re mixing portrait and landscape images, start with a photo-led template from the photo collection; it will give you flexible frames designed for variety.
Step 5: Switch layouts without starting over
If the structure isn’t quite right, try an alternative template layout from the gallery. Save your current design first; it will remain in your account as a draft, so you can iterate confidently and keep favourites for later.
Step 6: Customise fonts, colours and wording
Every design can be tailored to your voice. Edit the message, names, wedding date and any inside text blocks. Choose new fonts, adjust sizing and linespacing, and change colours to match your palette. Keep readability front-of-mind: strong contrast between text and background will make your words shine—especially on textured stocks.
Step 7: Reposition and refine text blocks
Click into any text area to drag, align and nudge. Use alignment tools to centre headings and keep margins consistent. If your message wraps awkwardly, widen the text box or tweak line breaks. Aim for even spacing above and below key elements (names, thank-you line, and sign-off).
Step 8: Add a QR code (optional but brilliant)
The editor can generate a QR code and place it anywhere on the card. Popular uses include linking to an online photo gallery, shared drive, or a short video thank-you. Keep the QR code at least 8–10 mm wide and give it breathing space for reliable scanning. Subtle placement on the back or inside page keeps the front design clean.
Step 9: Use inside and back pages well
Folded formats give you two inside pages; flat postcards have a reverse. Consider a short, personal message on the inside left and a favourite candid photo on the right. On postcards, a neat block of text plus a small QR code on the reverse works beautifully.

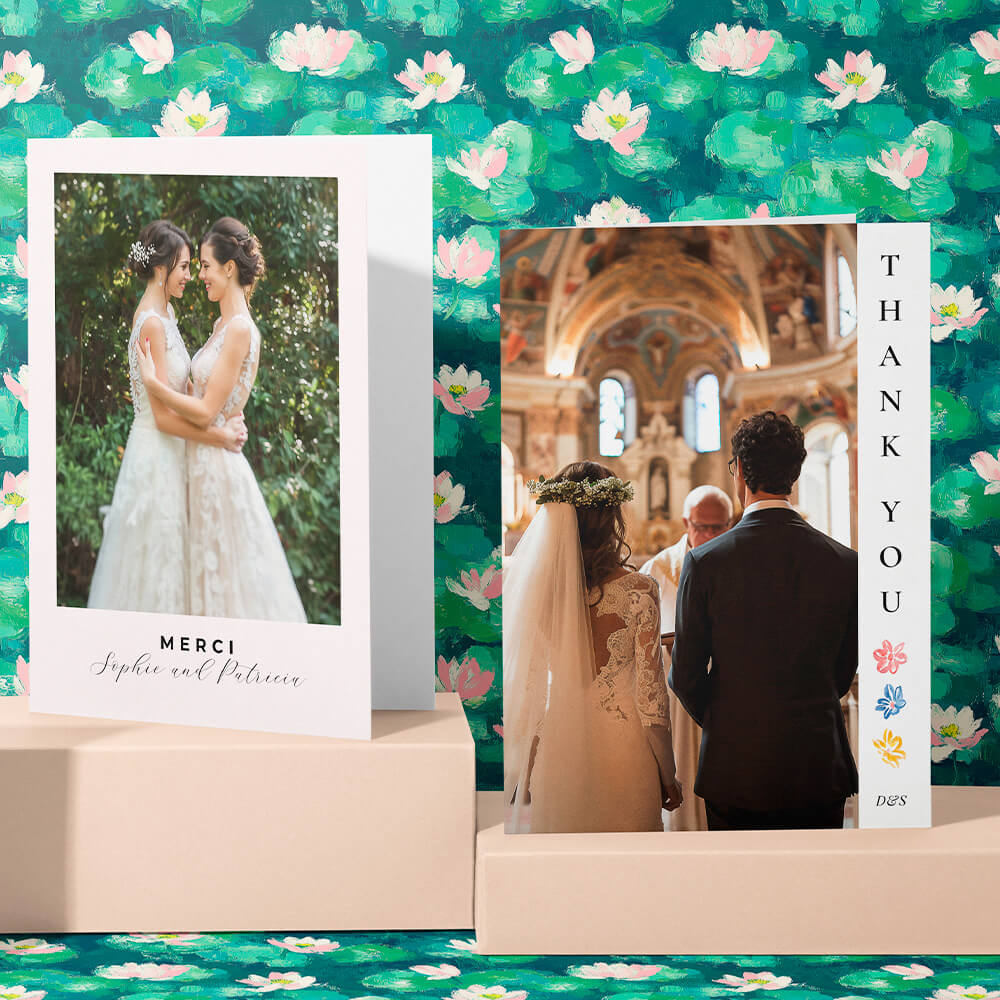
Elegant wedding thank you cards featuring a heart-shaped photo and floral design, perfect for expressing gratitude to your guests.
Step 10: Proof like a pro (and export a digital proof)
Before ordering, download a free, watermarked digital proof PDF from within the editor. View it at 100% zoom to check sharpness, spelling and spacing. Run a final spellcheck on names and tricky words (favourite, stationery, address lines). Read the card aloud—rhythm and punctuation issues are easier to spot that way. If you’re unsure about colour or paper feel, order a printed sample of your design; it’s a low-stress way to confirm everything is perfect on your chosen stock.
Typos to watch for: guest names, apostrophes in “thank you for…”, dates (day/month swaps), postcode spacing, and URLs for QR codes.
Step 11: Save and return—edits allowed until print begins
You can save your card at any time and come back on another device. Crucially, after you’ve placed the order, you may still reopen and tweak your saved design until the printing stage begins. This safety net makes last-minute adjustments less stressful.
Step 12: Order: print & delivery or downloadable PDF
Choose professional printing for a polished, keepsake finish. Envelopes are available at checkout. Standard turnaround is fast (around three working days), with an express 1–2-day option for mainland UK. If you prefer to handle distribution yourself, select the high-resolution PDF download for DIY printing or for sending digital thanks.
Step 13: Final checks before you press “Buy”
- Confirm the correct format (flat or folded), size and orientation.
- Doublecheck paper stock selection.
- Ensure photos are high-resolution and not overly cropped.
- Re-review the digital proof on both desktop and mobile.
- If time allows, order a printed sample before committing to the full run.
Next steps: Ready to start? Browse the full set of wedding thank you card designs, explore styles by aesthetic, or jump straight to our floral options and photo templates.
Wedding thank you card personalisation: FAQs
Quick answers to the most common questions about designing, proofing and ordering your cards online.
Yes—there’s no set limit. Many designs are built for collages, and you can place images on the front, inside or back without extra cost.
Absolutely. Generate one inside the editor, link it to your gallery or video, and position it anywhere (often the back or an inside page).
Flat postcards are a single, double-sided piece—efficient and cost-effective. Folded cards open like a greeting card and provide more room for handwritten notes.
A5, A6, square 148 × 148 mm and 5″ × 7″, in flat postcard or folded formats, with landscape top-fold or portrait side-fold options for folded cards.
Choose from smooth 350gsm House, lightly textured 324gsm Premium (Fedrigoni), 400gsm Photo Silk Touch for folded cards, or a luxurious 650gsm Super Thick for flats. All are FSC-certified and pen-friendly.
P.S. When you’re ready to get started, head to our full range of wedding thank you card templates, or browse by look with styles, including floral designs and photo-led layouts.
Adding QR codes to wedding thank you cards: share photo galleries & videos
Learn how QR codes on wedding thank you cards let guests revisit your celebration through photo galleries, videos, or updates. This guide shares what to link, design tips, and simple steps using Utterly Printable for a memorable touch.
Best Paper for Wedding Thank You Cards: Matte vs Silk, Textured vs Smooth
Choosing the best paper for wedding thank you cards can make your messages feel truly special. This guide compares matte, silk, textured, and super thick card stocks, helping you find the perfect finish for your photos, handwriting, and design style.
Choosing Photos for Your Wedding Thank You Cards
Selecting the right photos for wedding thank you cards creates a meaningful keepsake. This guide offers tips on choosing hero portraits, collages, candid shots, and group photos, plus practical advice for print-ready images and card design.
Wedding thank you card etiquette (UK): who to send, what to write & how to get it right
Discover the essentials of UK wedding thank you card etiquette, including who to send cards to, what to write for every situation, and how to choose designs that reflect your style, ensuring your gratitude is heartfelt and beautifully expressed.
Wedding thank you card sizes explained: A6, A5, square & postcard formats
Discover the best wedding thank you card sizes with this easy guide to A6, A5, square, postcard, and 5 √ó 7 formats. Learn which options suit your photos, messages, and postage needs, plus tips for layouts and paper choices.
What to Write in a Wedding Thank You Card (with Ready-to-copy Examples)
Discover what to write in a wedding thank you card with this friendly guide, featuring ready-to-copy examples, wording tips for every situation, advice on card sizes, and design ideas to help your gratitude feel personal, polished, and heartfelt.
When to Send Wedding Thank You Cards (UK Guide)
Discover the best time to send wedding thank you cards in the UK with this guide, covering modern etiquette, recommended timelines for different gifts, and helpful organisation tips to ensure expressing your gratitude is simple and stress-free.
Products related to wedding thank you cards:


Inspiration Hub
Wedding thank you cards let you show your appreciation with style. Discover blog posts on choosing the perfect design, writing heartfelt messages, and incorporating photos from your special day.