How to Take a Great Christmas Photo at Home (Beginner-Friendly Guide)
A warm, natural family photo is the heart of a brilliant Christmas card—and you don’t need a studio or fancy kit to capture one. This guide walks you through a simple, stress-free process using your phone, a window, and a few festive touches. It’s written for beginners, with plain-English tips you can try today. When you’re ready, you can drop your favourite shot straight into our range of personalised Christmas cards.
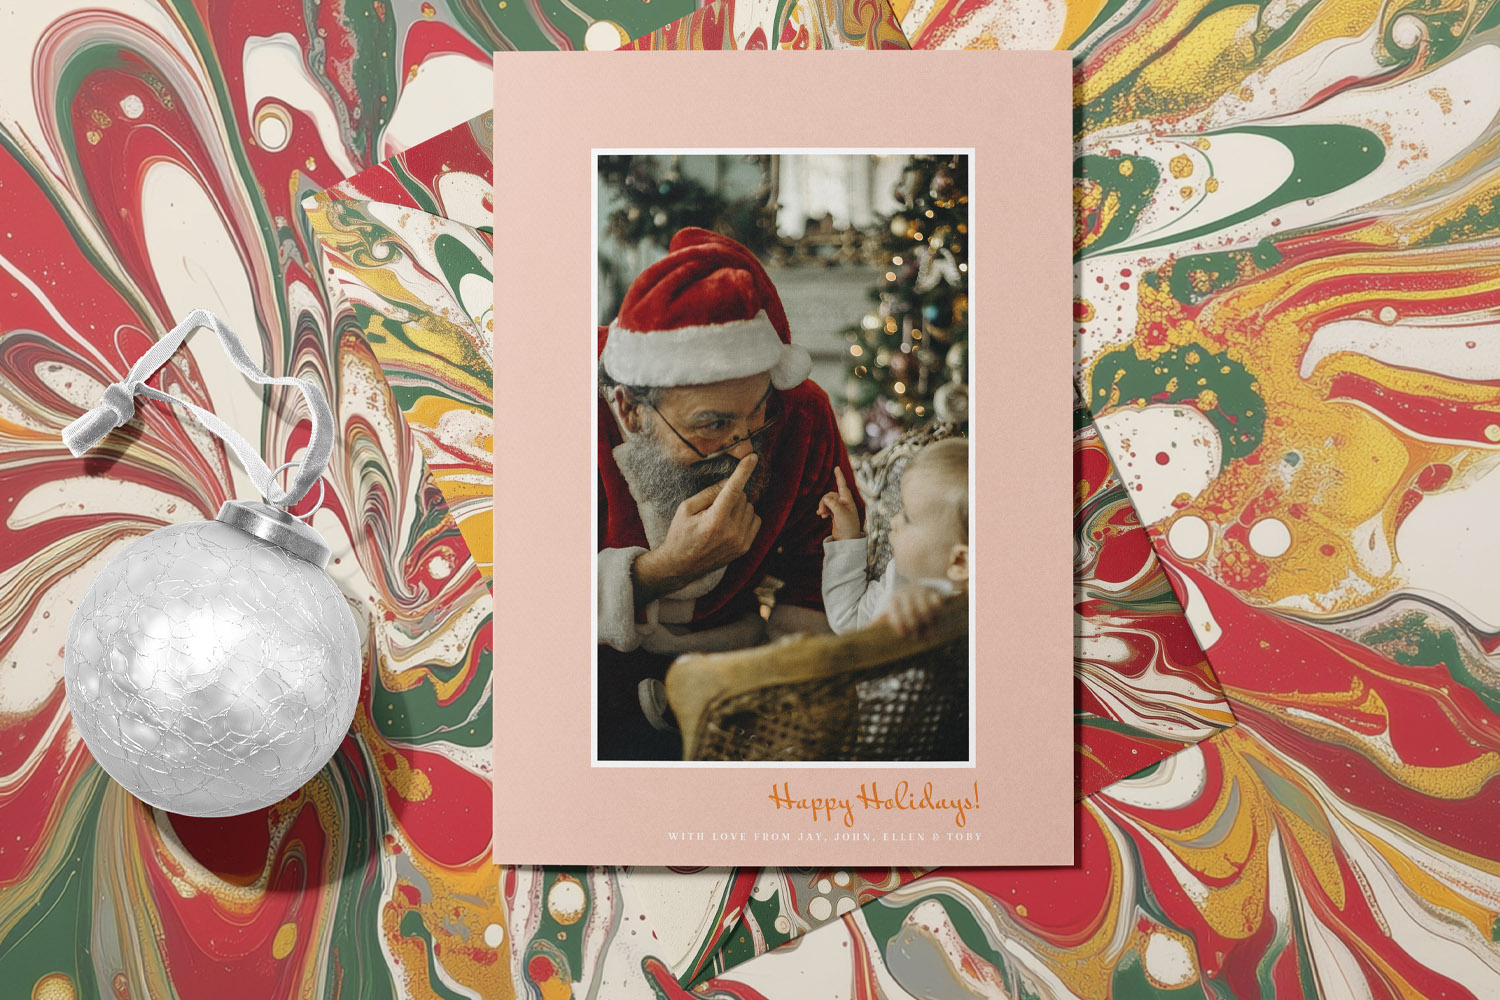
This Christmas cards design shows Santa with a child, framed by a pink border and festive marbled background, perfect for holiday greetings
Plan the shot: outfits, timing and location
Pick a simple colour palette. Two or three colours always look more pulled together than “everything at once”. Think cream + forest green + berry red, or navy + camel + white. Keep patterns minimal so faces stay centre stage.
Choose the brightest spot in your home. The easiest place to shoot is beside a window, ideally with soft, indirect daylight (north-facing windows are excellent; otherwise, late morning or mid-afternoon works well). Turn off harsh ceiling lights to avoid odd colour casts.
Declutter what the camera sees. Tidy just the frame. Slide furniture, baskets or toys out of view; a blank wall, the sofa back, or a tidy bit of floor near a window is perfect. If you love a backdrop, peg up a plain throw, duvet cover or linen sheet and pull it taut.
Dress for comfort, you can sit in. Soft knits, layers, and socks keep everyone relaxed—and relaxed people photograph better. Avoid logos and neon brights; they distract and can print oddly.
Plan for children (and pets). Shoot right after a snack, nap or walk. Prepare tiny prompts instead of “say cheese”: “Look at Mum’s nose!”, “Big group hug!”, “Everyone tickle Dad!”. Keep it playful and short.
Sketch your arrangement. Triangles are your friend: place taller people towards the middle, with head heights stepping down like a gentle staircase. Bring faces close—shoulders touching reads as affectionate and crops well on cards.

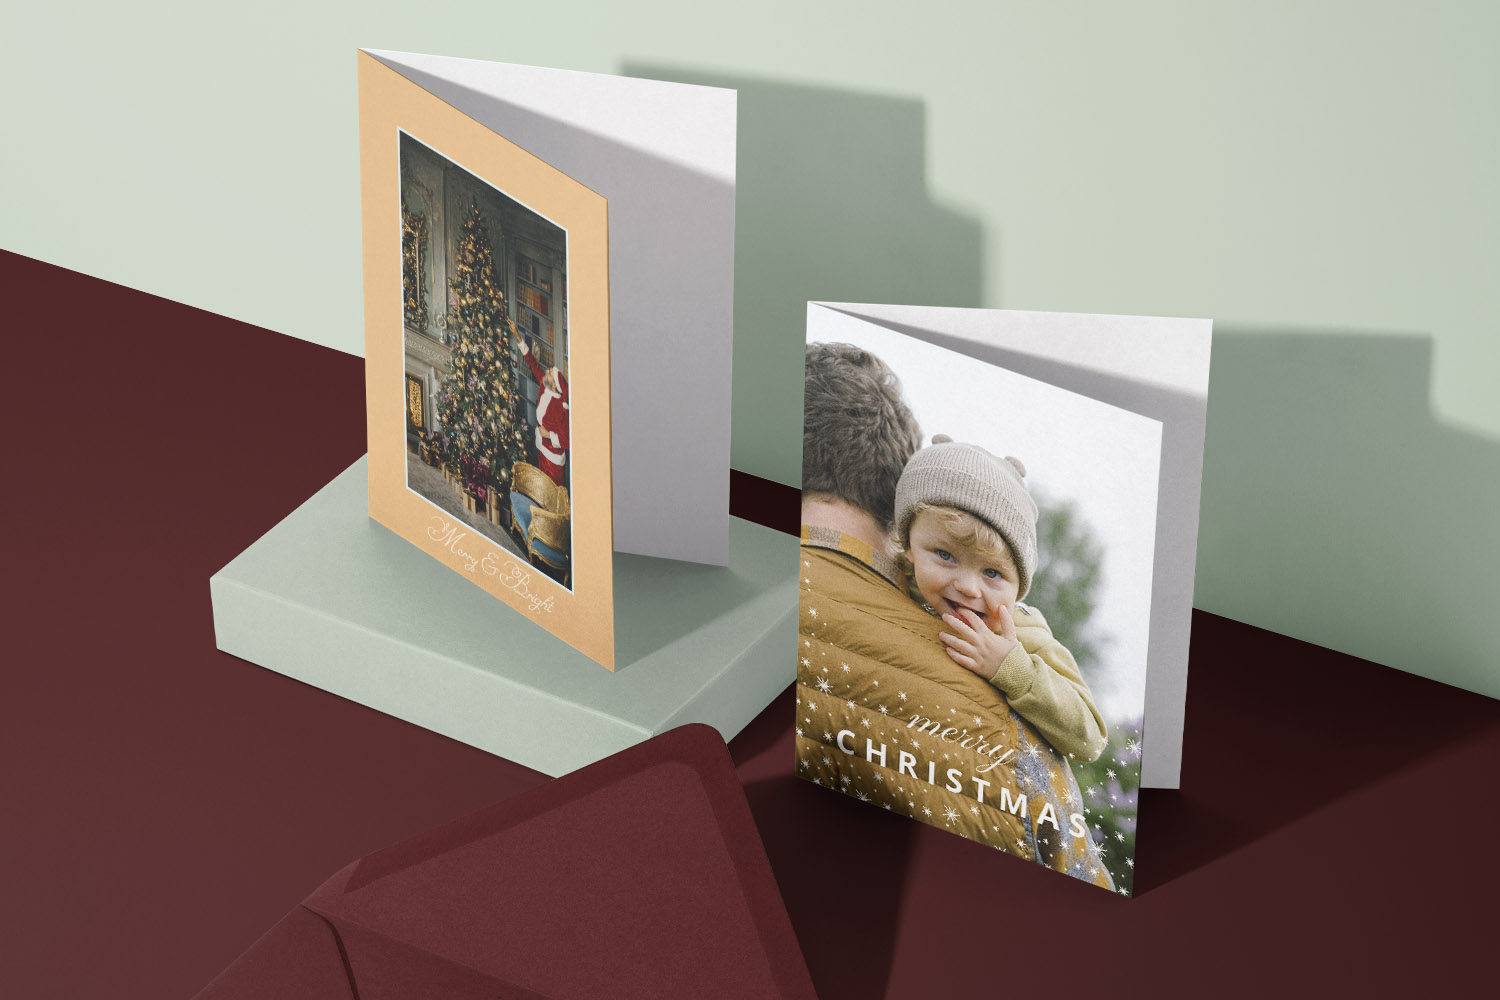
A selection of personalised Christmas cards featuring family photos and festive patterns, perfect for sending warm holiday wishes.
Make your home camera-ready: quick, cosy staging that works
Build a simple set near the window. Lay a blanket on the floor, pull the sofa towards the light, or sit on the arm of a chair. Keep 1–2 metres between your group and the background so it softens nicely.
Add just two festive elements. Over-styling feels busy. Choose, for example:
- A garland or sprig of eucalyptus on the mantle
- A couple of cushions or a tartan throw
- A handful of fairy lights behind you for gentle sparkle
Drape fairy lights behind the group (not on faces) to avoid glare and create pleasing blur.
Control the light. If sun is direct, a thin sheer (net curtain or white sheet) over the window makes a perfect diffuser. Switch off mixed lights (especially cool daylight bulbs plus warm tree lights) so your phone sets a clean white balance.
Props that photograph well. Mugs of hot chocolate, a favourite book, or one special ornament give hands something to do and make smiles natural. Keep props matte (shiny items can reflect and distract).
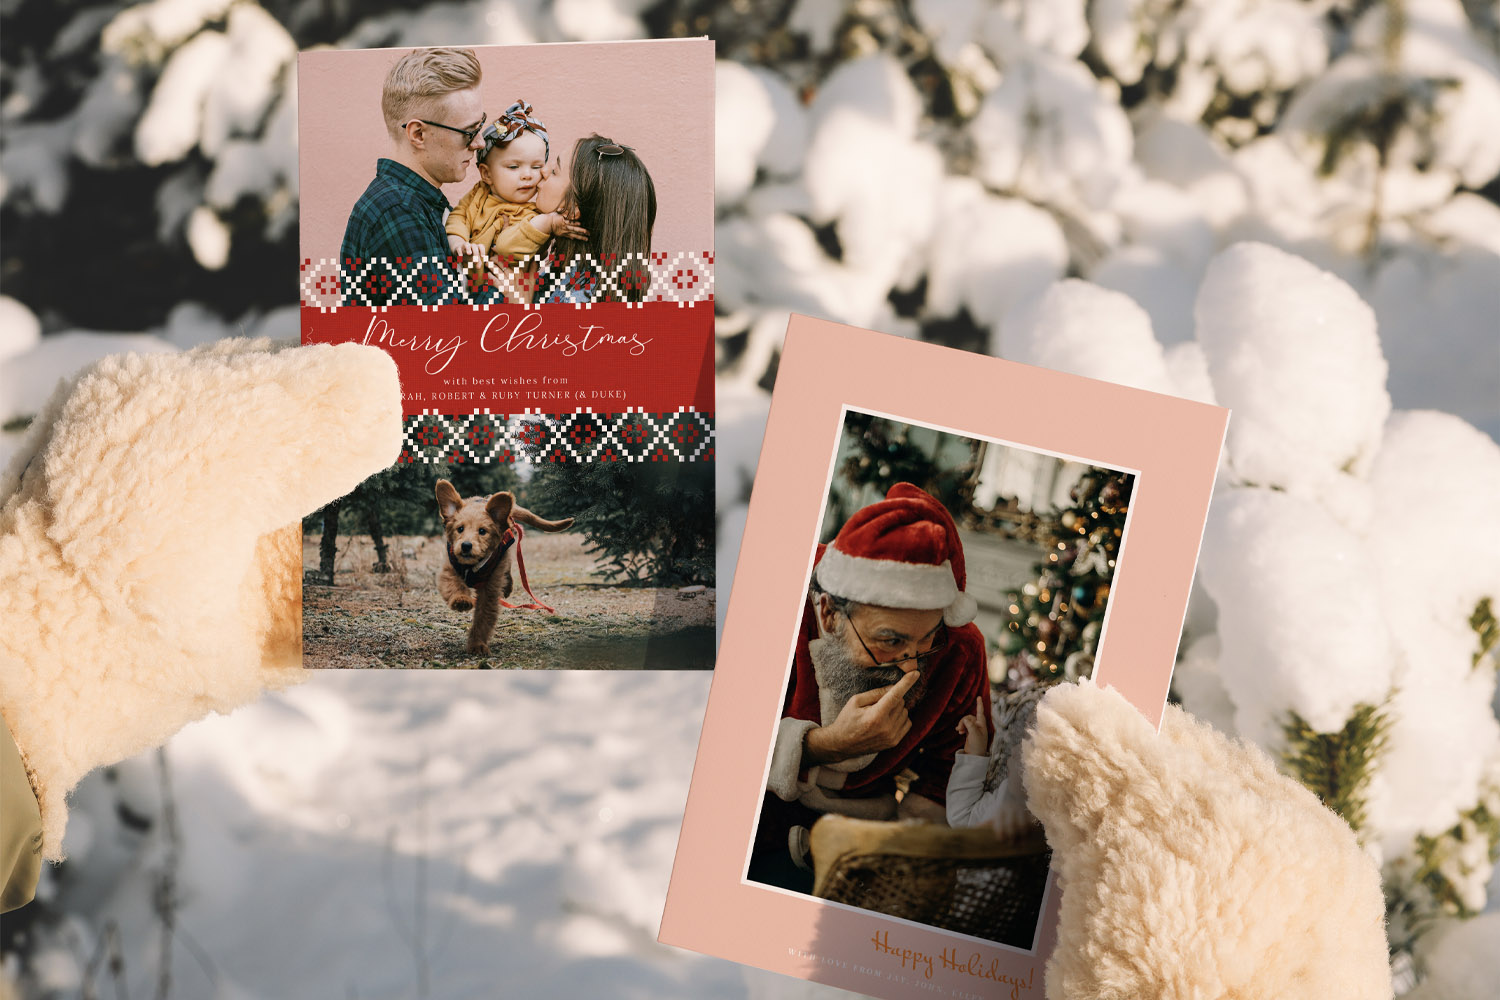
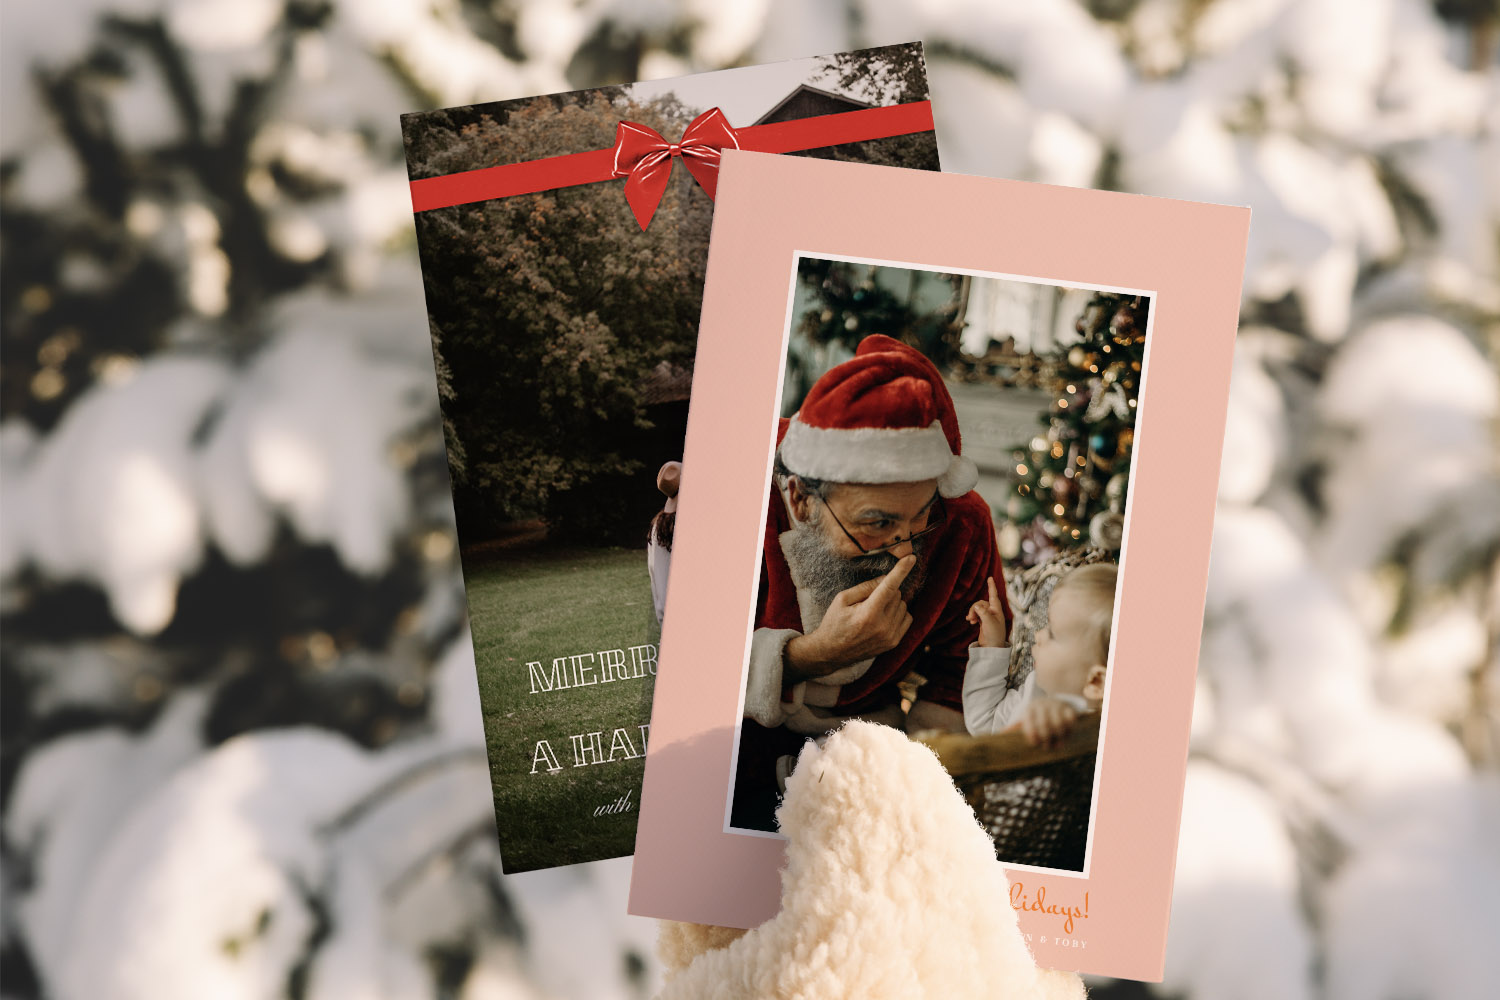
Two Christmas cards featuring festive family and Santa Claus themes, perfect for sending warm wishes during the snowy holiday season
Shoot with your phone like a pro (no jargon)
1) Prep the phone
- Clean the camera lens (a glasses cloth works wonders).
- In settings, choose the highest resolution and a 4:3 photo ratio (gives more room to crop for card layouts).
- Turn on grid lines. They help you keep horizons straight and place faces on the top third.
2) Place and frame
- Put the phone at eye level on a windowsill, stack of books, or tripod. Use the rear camera for best quality.
- Stand or sit with the window at roughly 45° to one side of faces. Turn everyone slightly towards the light until you see bright eyes and soft shadows.
- Leave a little headroom and keep the camera parallel to faces (tilting up the phone underemphasises chins; a tiny step higher and tipping down is flattering for groups).
3) Focus, expose, and steady
- Tap a face to focus. On most phones, a small exposure slider appears; drag it a touch down to protect highlights and keep skin tones rich.
- Lock focus/exposure (long-press on iPhone or tap hold on Android) to stop the camera hunting.
- Use the 3–10 sec timer so you can get into the frame and to eliminate press shake. Earbud volume buttons or a small Bluetooth remote also trigger the shutter.
4) Make it fun (and get real smiles)
- Give a quick prompt and shoot a short burst. Ask everyone to look at each other rather than the lens for one frame—it usually produces the keeper.
- With toddlers or pets, place a tiny treat or sticker just above the lens to draw eyes.
5) Avoid the common pitfalls
- Don’t zoom—step closer (digital zoom reduces quality).
- Watch the edges: keep faces in from the frame edge, especially if you’ll use full-bleed card designs.
- Beware mixed lighting: pick one light source (window or tree lights) for the main portrait. You can do a second, moodier tree-light photo afterwards.
6) Quick edit for print-friendly results
- Pick the best frame, then: straighten, crop slightly, and nudge exposure and contrast if needed. Keep colours natural; avoid heavy filters.
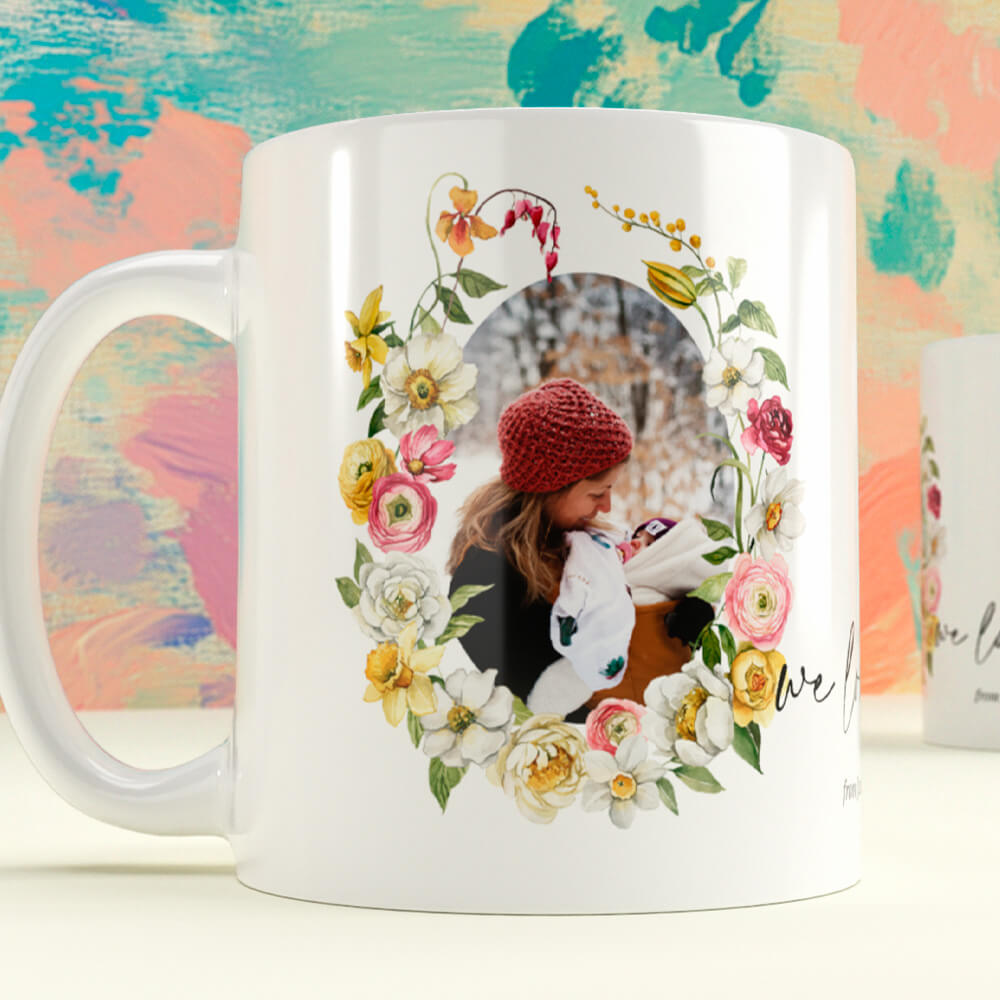
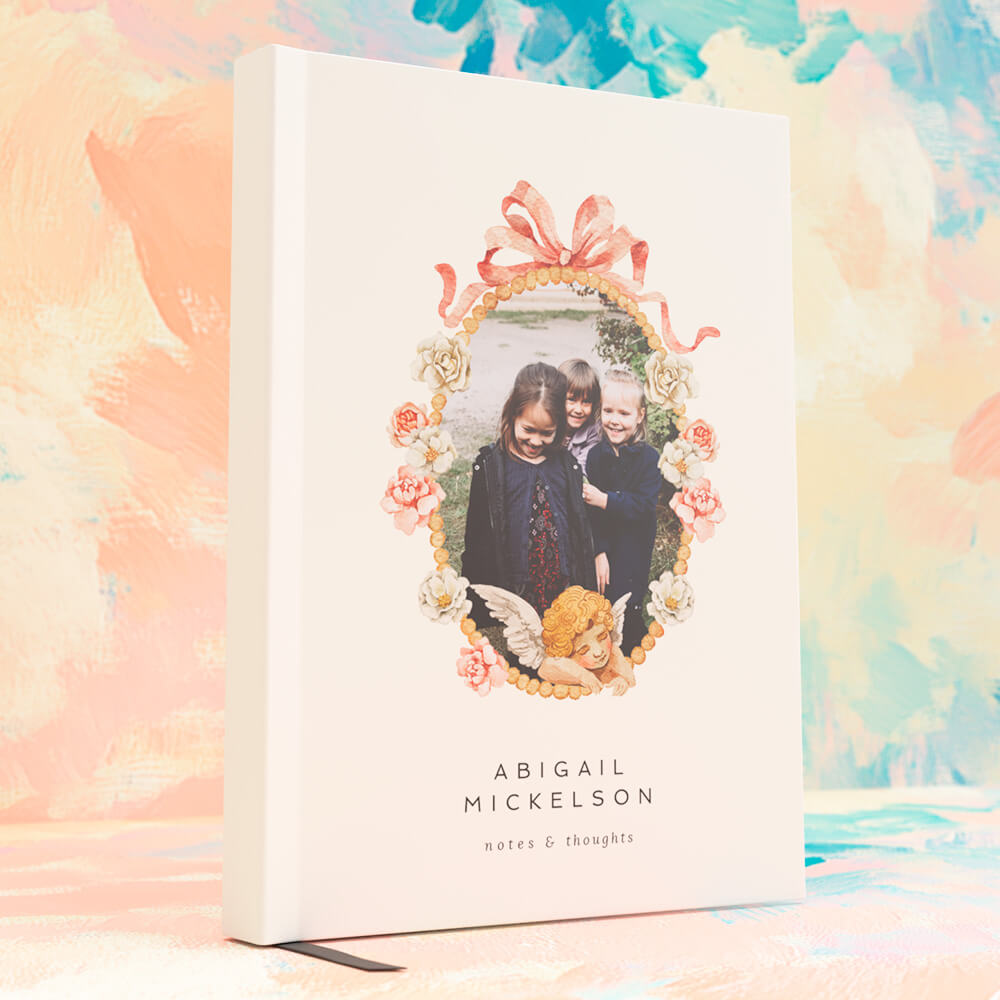
- Save/export at full size. Now you’re ready to drop it into our personalised Christmas cards. If you have extra favourites, they make charming simple framed prints for gifting grandparents, and a winter memory journal using our personalised notebooks. After the holidays, a matching set of thank you card designs is a thoughtful follow-up.
Christmas Photo FAQs
A quick set of answers to the questions we hear most, especially if you don’t feel “techy”.
Late morning or midafternoon usually gives bright but gentle light. If the sun is beaming directly through your chosen window, diffuse it with a sheer curtain or move a metre back from the beam.
Absolutely—but avoid mixing cool daylight with warm tree lights. Do your main family portrait in window light with the tree behind you and unlit, then switch off daylight and turn the tree on for a second, cosy shot with the lights sparkling in the background.
Place the group at about 45° to the window and turn faces gently towards it. If one side looks too bright, rotate slightly away until shadows soften. For a brighter, even look, stand facing the window.
Keep it playful and fast: place a tiny sticker above the lens, rattle car keys behind the phone, or hold a treat just out of frame. Shoot short bursts with the timer so your hands are free to engage.
Choose two or three colours and stick to them. Combine textures (knit, cord, denim) rather than lots of patterns. Avoid neon or large logos. If someone wears glasses, slightly tilt down the frames to reduce reflections.
Next steps: Take ten minutes to try the window light setup above, pick your favourite frame, then browse our personalised Christmas cards. If you’ve captured a few extra smiles, turn them into framed prints, start a seasonal diary with our personalised notebooks, and send a warm follow-up with our thank you card designs.
Best Photos to Use on Your Personalised Christmas Cards
Discover how to choose or capture the best photos for your personalised Christmas cards, with practical tips on lighting, composition, and editing to ensure your festive images print beautifully and reflect the warmth and joy of the season.
Sending Personalised Christmas Cards Abroad: Postage, Timing & Tips
This guide offers practical tips for sending personalised Christmas cards abroad, covering postage, timing, and addressing to help you create heartfelt greetings for loved ones overseas while minimizing costs and avoiding delays for a stress-free experience.
What to write in a personalised Christmas card: messages for every recipient
Discover thoughtful ways to write personalised Christmas card messages for everyone in your life. This guide shares practical frameworks and tips to help you craft warm, meaningful greetings for family, friends, colleagues, neighbours, and new acquaintances with confidence and ease.