QR codes for wedding RSVPs: how to use them properly
Bringing print and digital together is one of the easiest wins in wedding planning. A small QR code on your invitations or save the dates can send guests straight to your online RSVP, collect every menu choice and plus-one detail, and keep your headcount tidy without a single paper reply card. This guide explains exactly how to do it well with Utterly Printable’s RSVP.studio—from sizing and placement to guest scanning behaviour and accessibility.
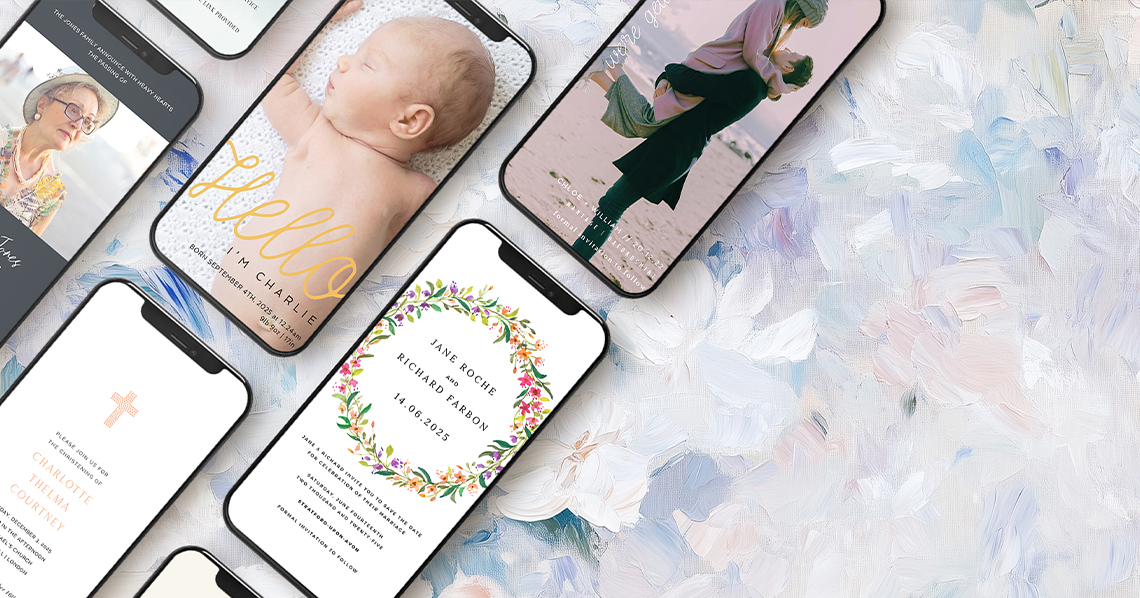
The user adds a QR code within the online editor to link guests to additional information.
1) What a QR-code RSVP actually does
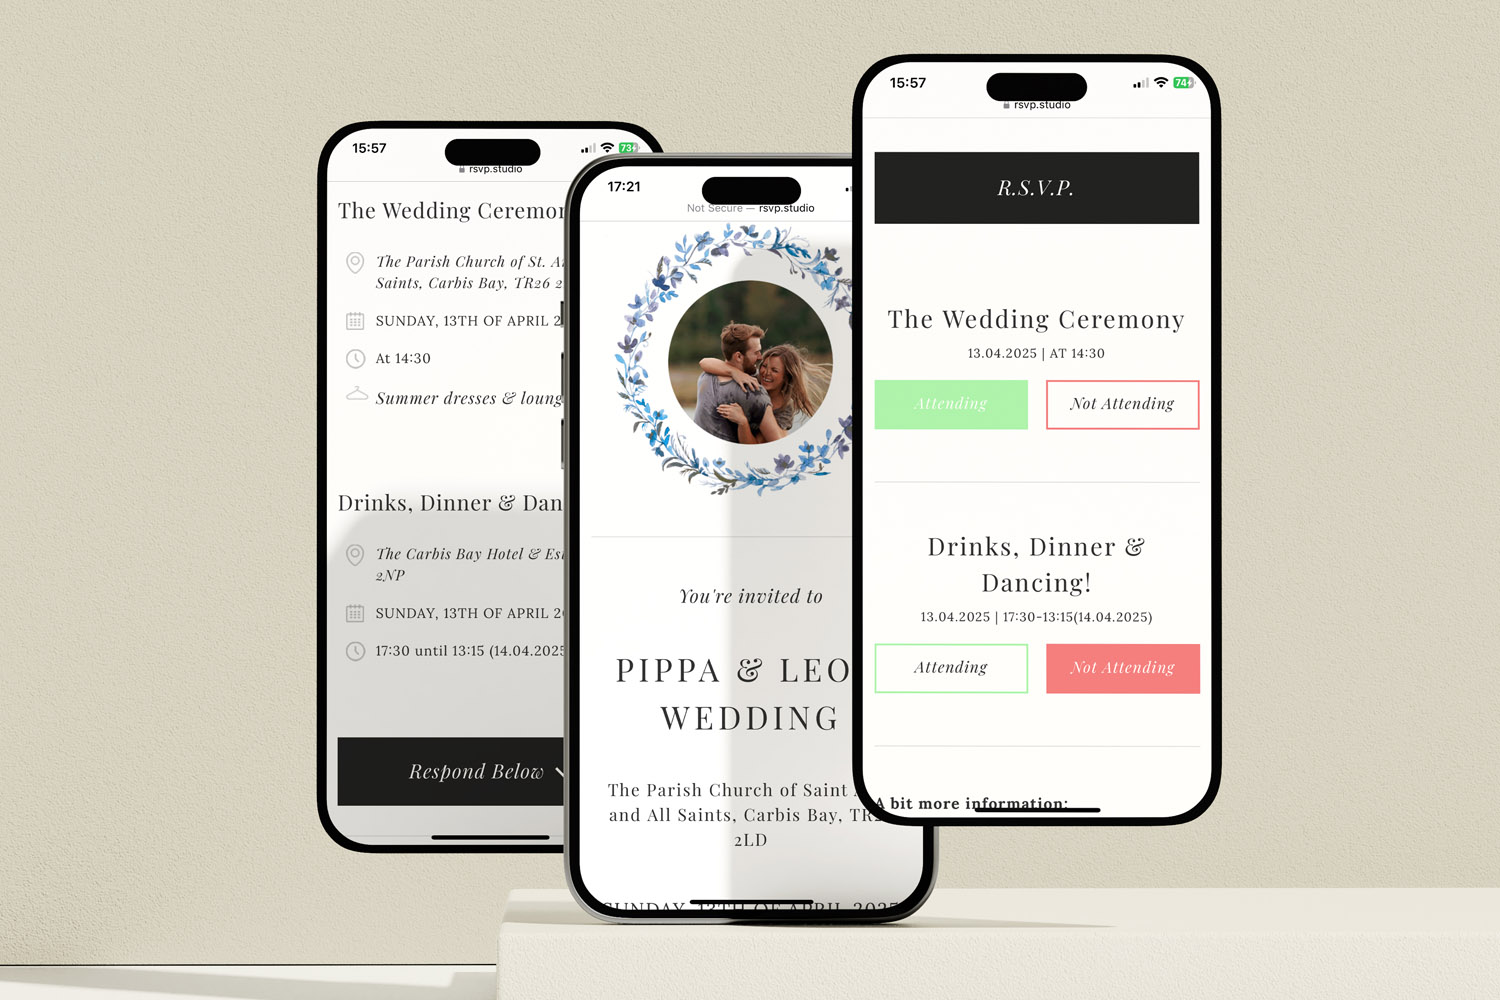
A QR code is simply a scannable doorway to a web address. When a guest opens their phone camera, points it at the code and taps the pop-up, they land on your RSVP page. With RSVP.studio, that page can confirm attendance, record menu choices, handle plus-ones and children, and even track sub-events such as a rehearsal dinner or next-day brunch—all under one link. Because the link works on any modern smartphone worldwide, you can put the code wherever it’s convenient: invitations, information inserts, or save the dates.
A few practical notes about scanning:
- iPhone and Android cameras scan natively: No special app required for modern devices.
- Older phones: a small number of guests may not know how to scan; include a short typed URL alongside the code as a fallback.
- Security: if you want to keep details private, you can add an optional password to your RSVP.studio page and share that password on the card or in a covering message.
- Edits: if you change event details later, the code still points to the same page; updates appear instantly.
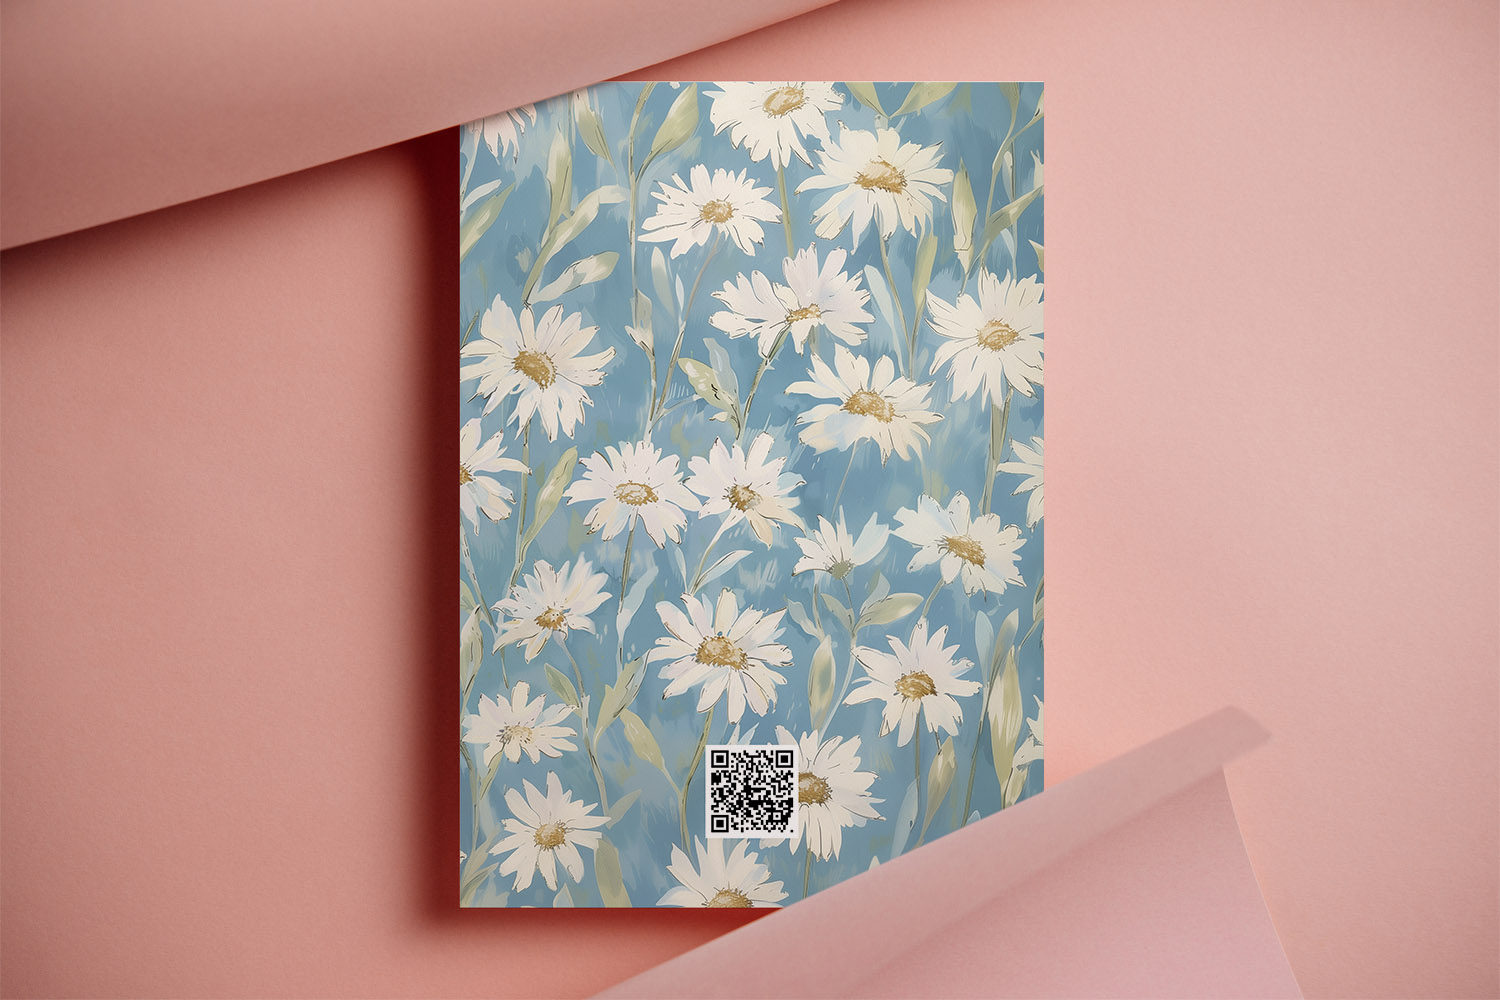
RSVP.studio weddings invitation card features a floral daisy design with a convenient QR code for easy guest responses and RSVPs.
2) Sizing, placement and design best practice
You don’t need a large, shouty square on your stationery for reliable scanning—just a well-made code, printed clearly and positioned thoughtfully. Use the following rules of thumb:
Minimum size (finished print):
- Invitations (A6 / 5×7”): 14–18 mm square usually scans comfortably at arm’s length.
- Larger formats (A5 / information cards): 18–22 mm square.
- Go larger if your code must sit on coloured or patterned backgrounds.
Quiet-zone (the clear margin):
- Leave a clean gap around the code—ideally 2–4 mm of empty space on all sides. If you draw a border or place the code in a box, ensure the blank margin still exists inside that box.
Colour and contrast:
- Dark code on a light background is best (classic black on white is most dependable).
- Avoid very low-contrast palettes, metallic inks, or busy textures behind the code.
- Do not stretch or skew the square.
Placement tips:
- Bottom-right or centred on the reverse works well and feels unobtrusive.
- Keep it away from creases, heavy graphic elements, or the very edge of the card.
- On a one-page invitation, place it towards the lower section so it doesn’t compete with names and key details.
User-experience touches:
- Add a friendly cue like “Scan to RSVP” beneath the code.
- Print a short URL beside it (e.g., rsvp.studio/elena-and-kai) for guests who prefer to type.
- For evening-only versions of your invite, use the same link—RSVP.studio can ask which parts of the celebration a guest will attend.
Before sending to print, do a 100% scale test on your home printer: set your phone 25–30 cm away and check that it focuses quickly under normal indoor light. If scanning feels slow, increase the code size a touch or move it to a plainer area of the design.

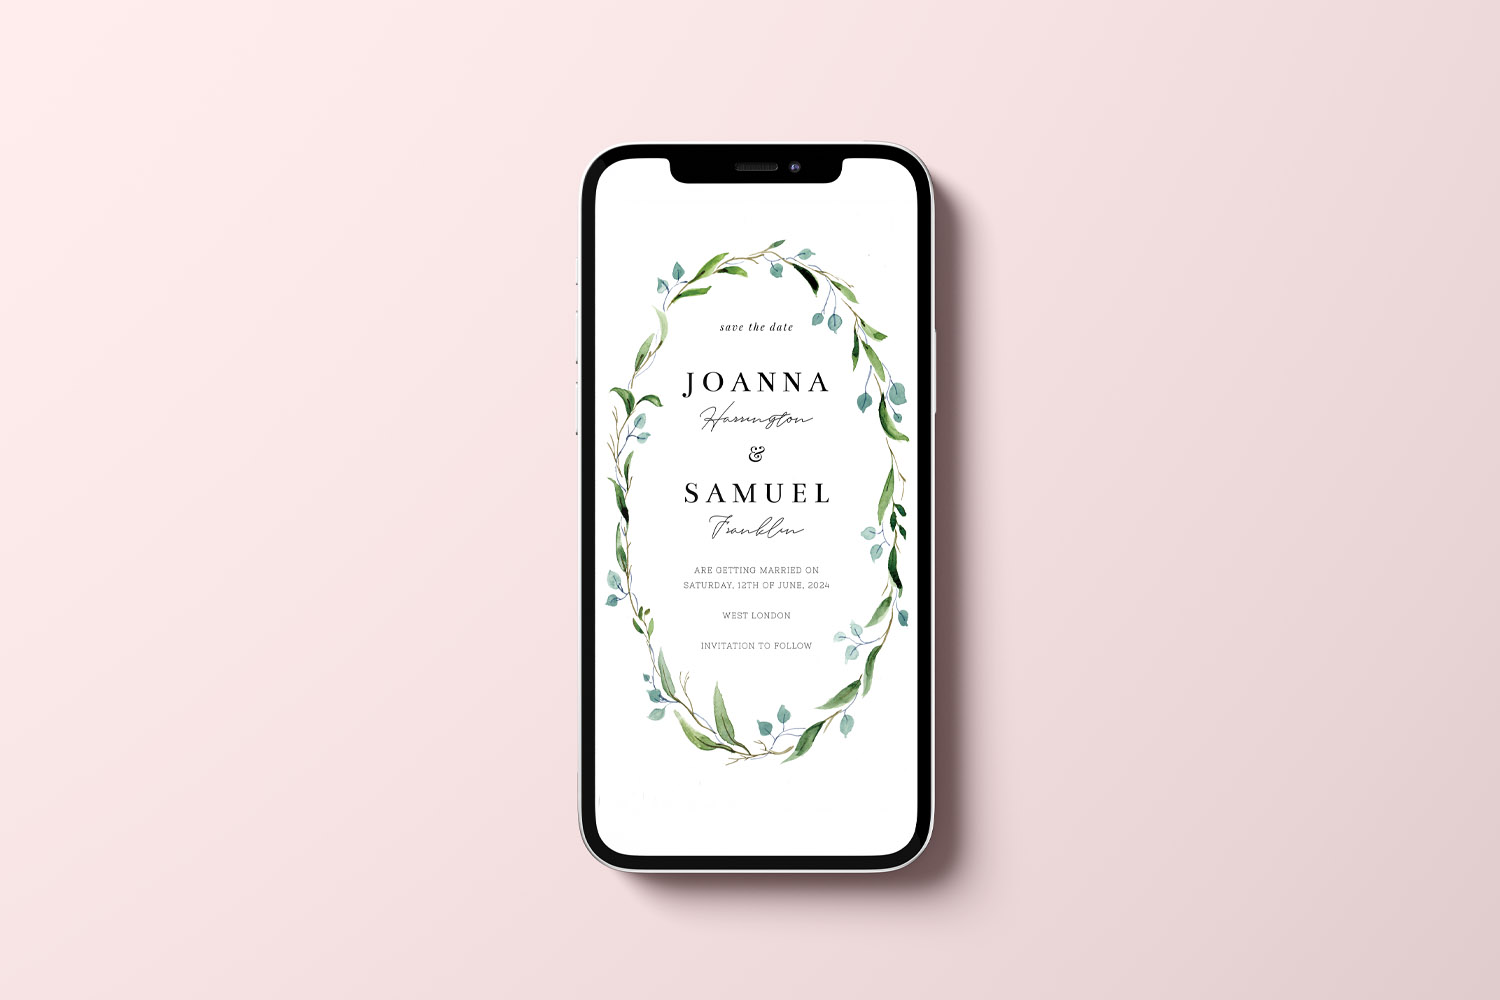
RSVP.studio wedding invitations featuring a delicate floral wreath and modern typography, perfect for announcing your special day in style
3) Adding a QR code to your RSVP.studio link (step-by-step)
The whole setup takes minutes, and once live you can collect unlimited responses for a single fixed fee.
- Create your RSVP page. In RSVP.studio, set your custom URL (for example, rsvp.studio/sam-and-nina). Choose the questions you need: attendance, plus-ones, children, dietary requirements, and menu options. You can also add sub-events, dress code notes and gift-list links, plus a header photo so the page matches your stationery.
- Decide on privacy. Toggle password protection if you’d like to restrict access. If enabled, include the password on your printed piece or in your message to guests.
- Finalise the URL before printing. The custom URL slug cannot be changed later, so pick something short and memorable before you add it to your design.
- Add the QR code to your design. In Utterly Printable’s editor, place a QR element and point it to your RSVP.studio link. Keep the code crisp, maintain a clear margin, and size it per the guidelines above.
- Proof and test. Export a proof, print it on plain paper at actual size, and scan with different phones. Adjust placement or size if needed.
- Link across your stationery. A QR on save-the-dates encourages early replies; an info card QR can confirm transport or brunch attendance; the main invite QR collects final headcounts and menu choices. If you’re choosing a printed design, explore our clean, typographic simple wedding invitation templates or opt for contemporary layouts in our modern wedding invitation templates—both leave space for a tidy, scannable code.
Why this hybrid works so well
- Everything in one place: Replies, menu choices, bespoke questions and messages flow straight into your Utterly Printable account and can be downloaded as a spreadsheet for your venue or caterer.
- No guest list upload required: Share the link (and code) by post, WhatsApp or email—no app and no email database needed.
- Clean head-counts: Plus-one and child-attendance controls prevent surprise extras.
- Multi-day tracking: Sub-events let you record who’s coming to which part without creating multiple links.
- Flexible to the big day: You can pause replies at your deadline, and any edits to details appear instantly on the live link.
As a final sustainability bonus, going digital for RSVPs removes envelopes, stamps and return cards. If you’re also ordering printed pieces, Utterly Printable uses FSC-certified papers with ISO 14001-accredited production, and offers optional carbon offsetting at checkout—an easy way to reduce your footprint while keeping beautiful keepsakes.
Frequently asked questions
Below are the practical answers couples ask most about QR code RSVPs—from sizing and placement to accessibility and data management—so you can design with confidence.
Aim for 14–18 mm square on A6/5×7” invitations and 18–22 mm on larger formats. Test at full size before printing. If scanning feels slow, increase the size or move it to a plainer area.
Bottom-right of the card or centred on the reverse is common. Keep a few millimetres of white space around the code and avoid very busy backgrounds.
Usually not. With RSVP.studio you can ask guests which events they’re attending (ceremony, dinner, brunch, etc.) under one link. If you’re sending different invite versions, you can still use the same QR.
Print a short URL next to the code (for example, rsvp.studio/your-names). Most phones scan via the native camera, but a typed link ensures everyone can reply.
Yes. Build multiple-choice menus and add a bespoke “dietary requirements” field on your RSVP.studio page so caterers get clear answers in one exportable spreadsheet.
Helpful links in this article:
Explore the digital platform: RSVP.studio – digital RSVP website for weddings
Browse designs with space for a code: simple wedding invitation templates and modern wedding invitation templates
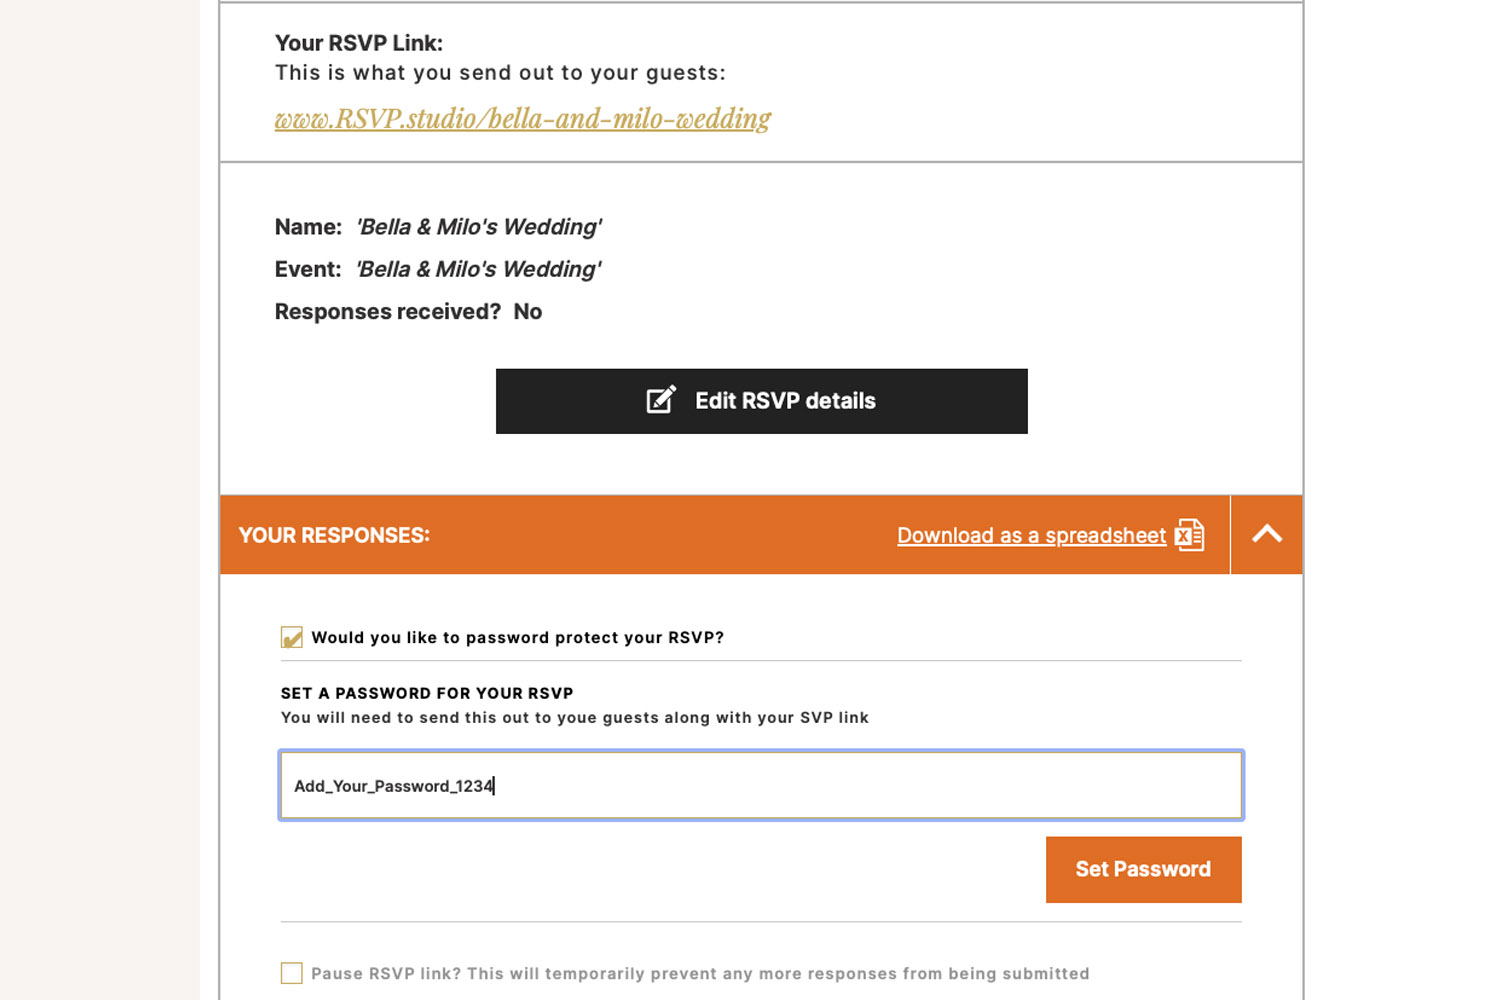
Password-Protecting Your Wedding RSVP Page
Learn how password-protecting your wedding RSVP page with RSVP.studio keeps your guest list private, blocks uninvited responses, and streamlines planning. Find out when to use this feature and how to easily share your secure RSVP link.
Wedding RSVP etiquette in the digital age
Discover how to navigate wedding RSVP etiquette in the digital age, blending traditional invitations with modern online responses. Learn practical tips for sharing web links or QR codes, managing guest details, and keeping your wedding planning elegant and stress-free.
What to ask on your wedding RSVP form
Discover how to create a clear, guest-friendly wedding RSVP form that collects only the essential details for your big day. This guide covers must-ask questions, sample wording, and etiquette tips to streamline your wedding RSVP process.
Discover More with Us
Digital RSVP websites for weddings simplify managing guest responses. Discover blog posts on customising RSVP pages, tracking dietary preferences, and creating a cohesive event experience.