Sending Personalised Christmas Cards Abroad: Postage, Timing & Tips
If you’re posting Christmas wishes across borders this year, a little planning goes a long way. This guide covers when to order, how to pace signing and addressing, ways to keep postage economical, and the small details that prevent delays. It’s written to support anyone choosing personalised Christmas cards while keeping things simple, timely and stress-free.
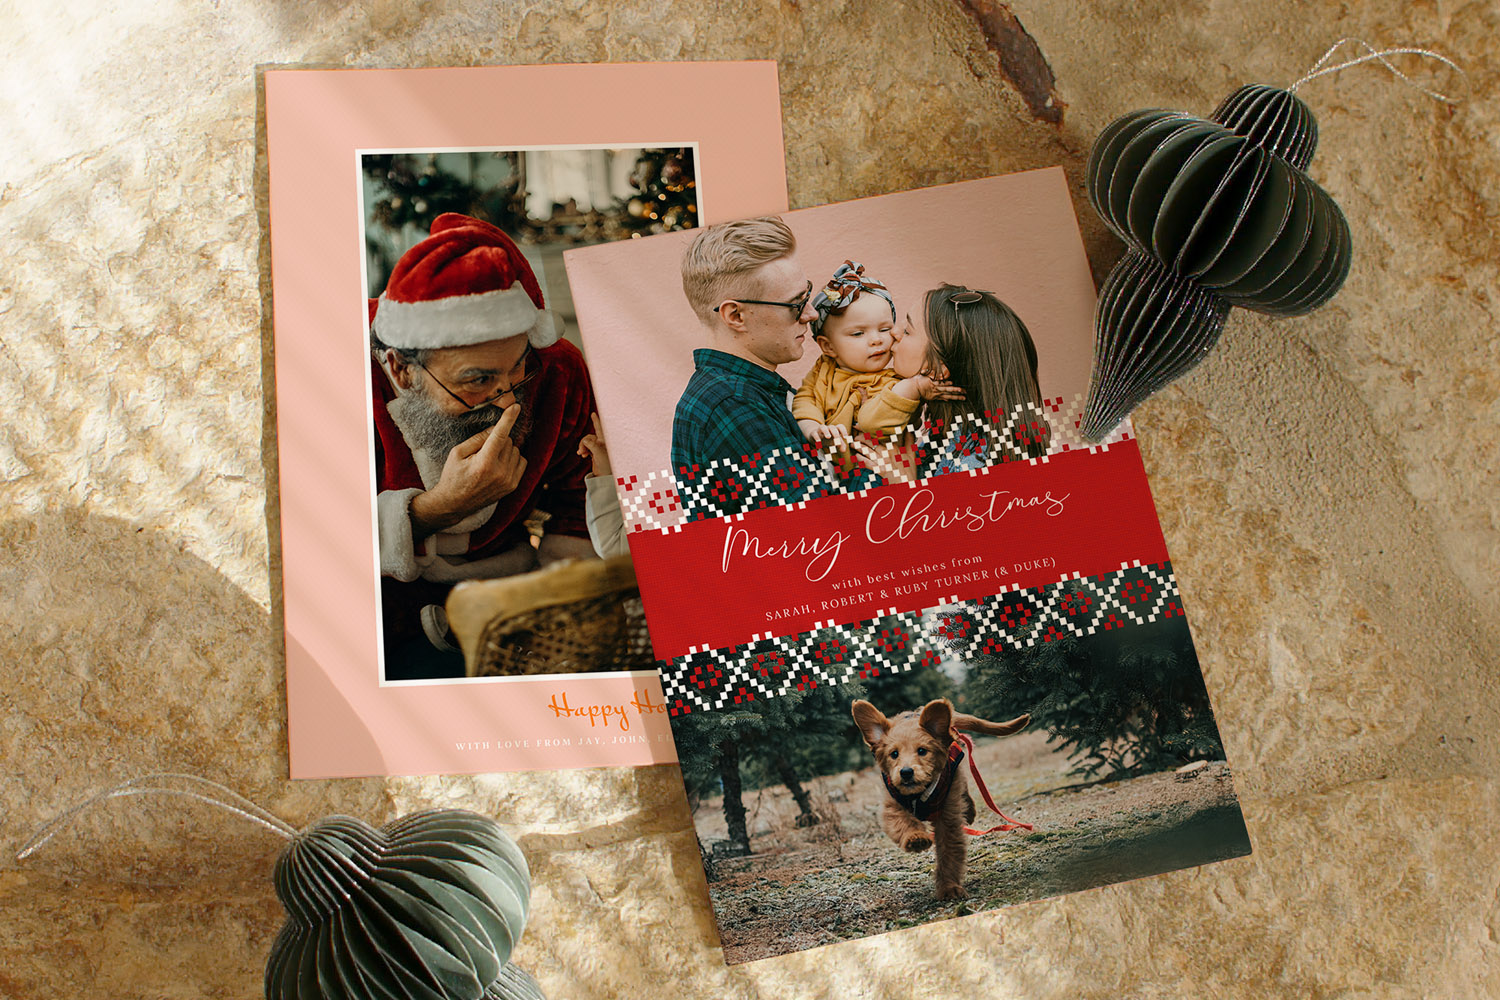
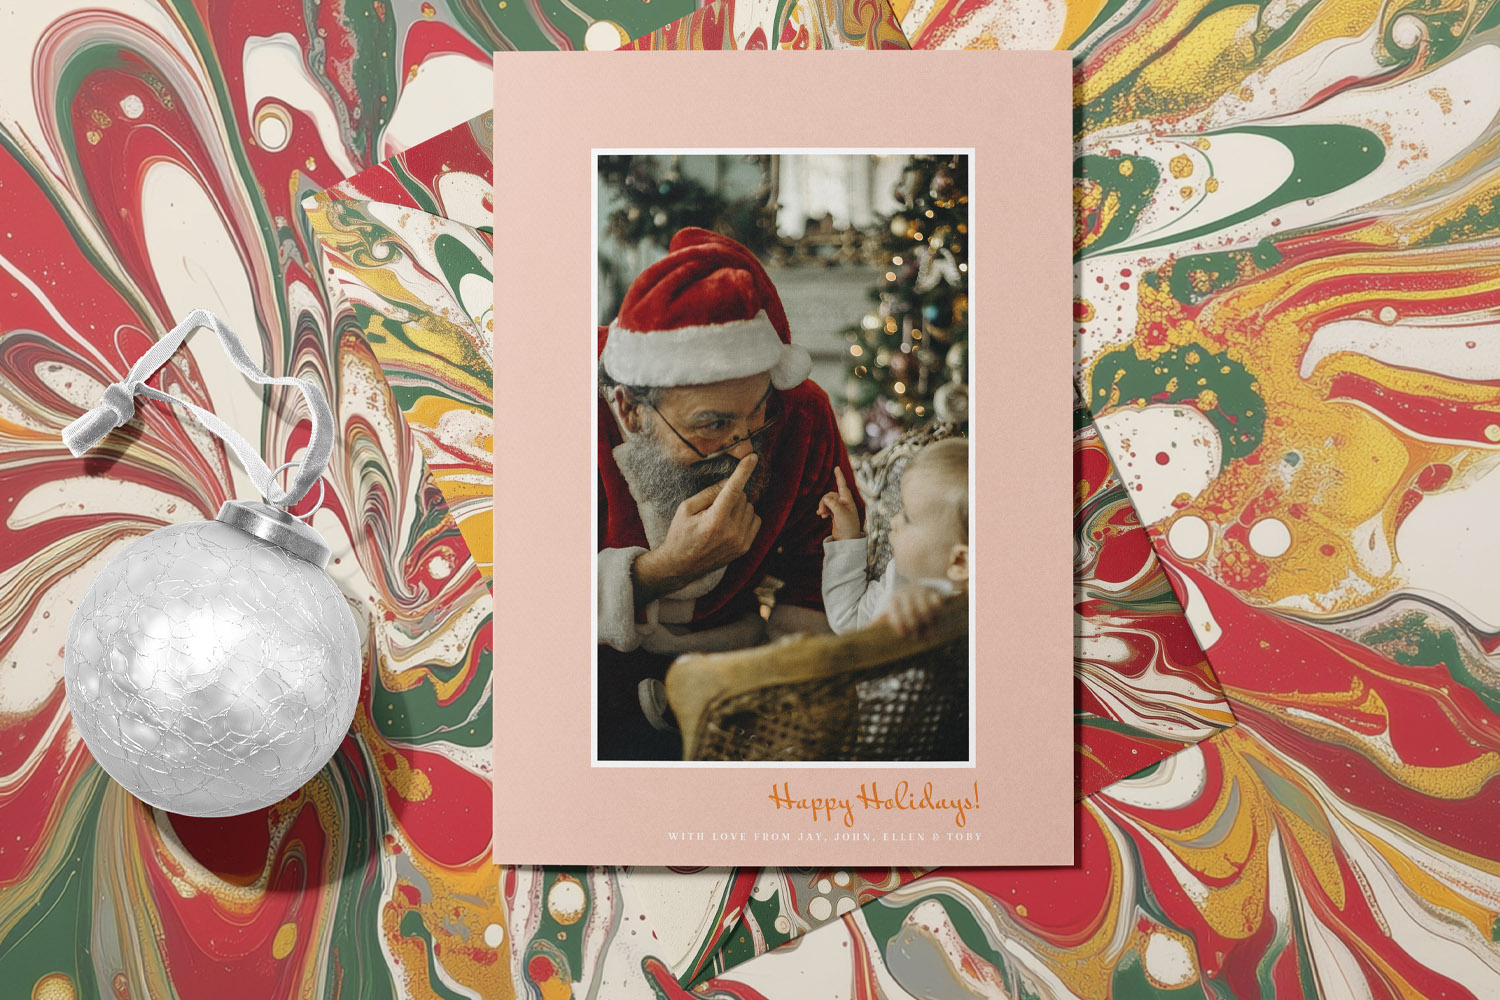
Christmas cards with custom photo designs, perfect for sending heartfelt holiday wishes to friends and family this festive season.
A simple timeline that works (without chasing last-minute deadlines)
International post is reliable—if you give it time. Rather than chasing “last posting dates”, build a calm, practical schedule that works with real life:
- Late October to mid-November – Choose and order. Pick your design, add photos and wording, and place your order with ample breathing space for printing and delivery to you. If you’re sending to multiple countries, order everything at once to keep designs and messages consistent.
- On arrival – Quality check, then batch your signing. Open one pack to check print quality and text. Set aside two or three short sessions for signing, rather than one long evening.
- Same week – Addressing and stamps. Finalise your address list and print or neatly write envelopes. Attach the right postage while you’re fresh—errors creep in at midnight.
- Posting window – Stagger by region. Send to far-flung destinations first, then nearer neighbours. A simple approach: post to long-haul regions first, then mid-haul (e.g., Europe and North Africa), and finally domestic cards.
At a glance rule of thumb: the farther the destination, the earlier you post. Build in buffers for weather, peak-season queues and local holidays in the destination country.
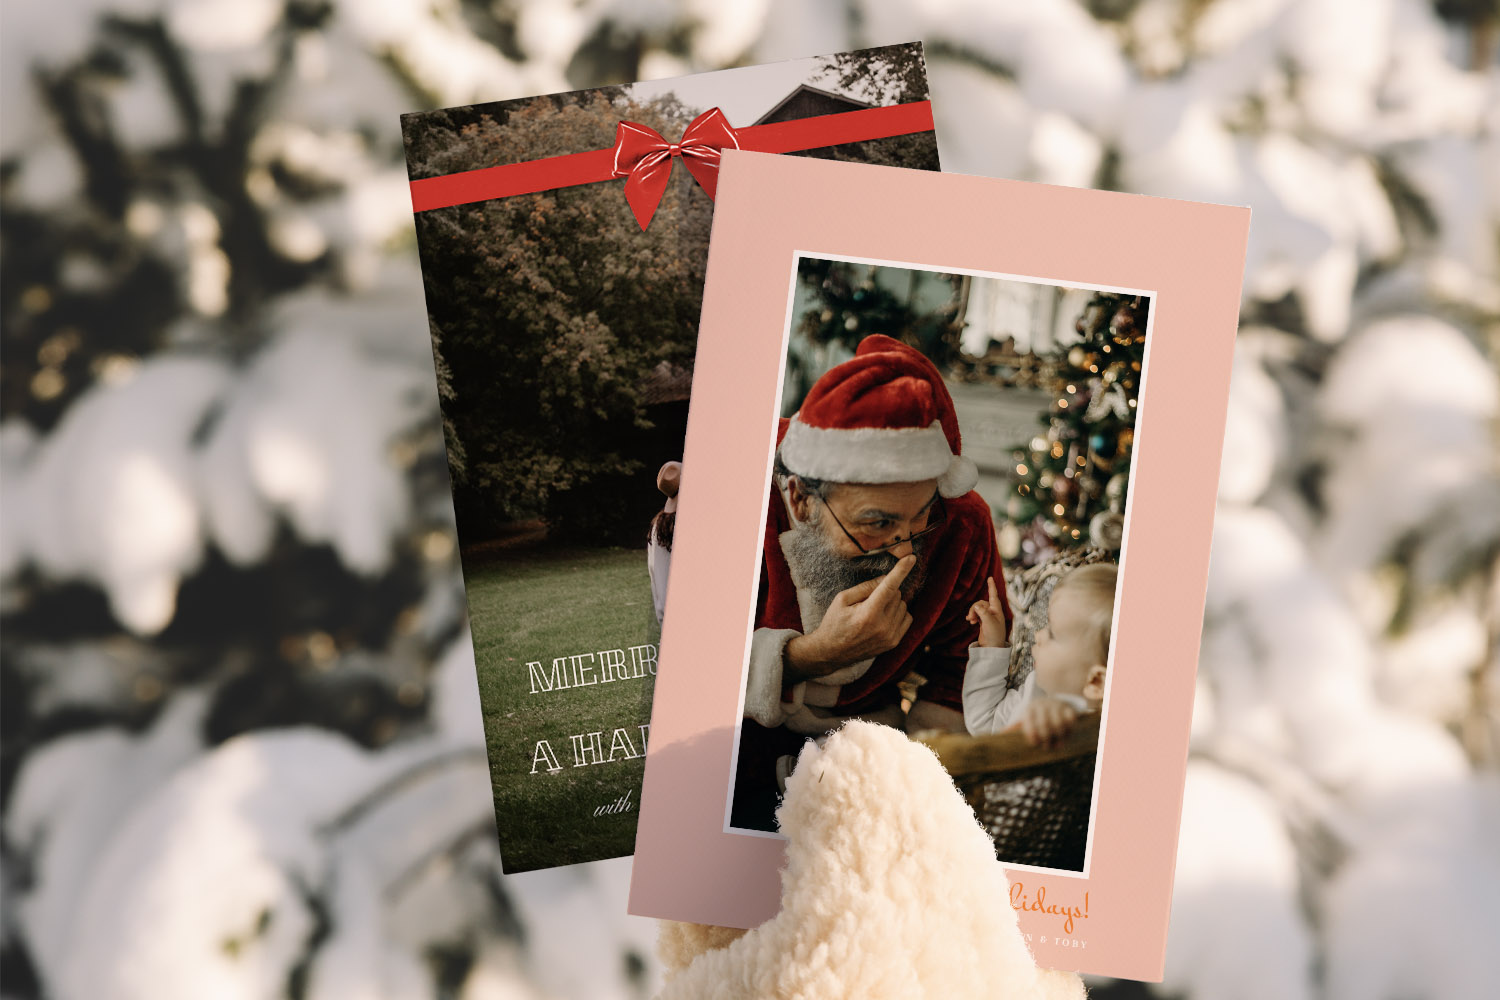
Personalised Christmas cards featuring family photos and festive greetings, perfect for sending heartfelt messages this holiday season.
Postage, weight & envelopes: how to keep costs sensible
Postage for international cards is mainly driven by size, thickness and weight. Keep your cards within your postal service’s “letter” criteria to avoid jumping into higher price bands.
Practical ways to stay in the economical letter range
- Choose a standard card size. Unusual formats can slip into large letter categories. If you’re unsure, measure a finished card inside its envelope.
- Keep inserts light. A single photo print or short family newsletter is usually fine; multiple enclosures, heavy paper stocks or badges can push you into a different rate.
- Use the right envelope. A snug, good-quality envelope is safer (and lighter) than adding padding. If you’re posting from the UK, a clean, well-sealed standard envelope is usually best for cards.
- Weigh a completed sample. Assemble one full card with envelope and any insert, then weigh it and check your postal service’s price band before you do the rest.
Addressing that sails through machines
- Clear, block capitals; country on the last line. Write the destination country in English on its own final line. Avoid decorative scripts that sorting machines struggle to read.
- Include your return address. Put it on the back flap. If anything goes astray, you want it back rather than lost in transit.
- Avoid thick stickers and wax seals. They can jam machinery or trigger hand-sorting, both of which can slow delivery.
If posting isn’t feasible, consider a keepsake instead
Some years the calendar wins. If you miss international posting windows—or want something that lasts beyond the festive season—photo gifts can be lovely to send locally at New Year. Thoughtful, lightweight options include personalised mugs for cosy winter brews and desk-friendly acrylic photo blocks.
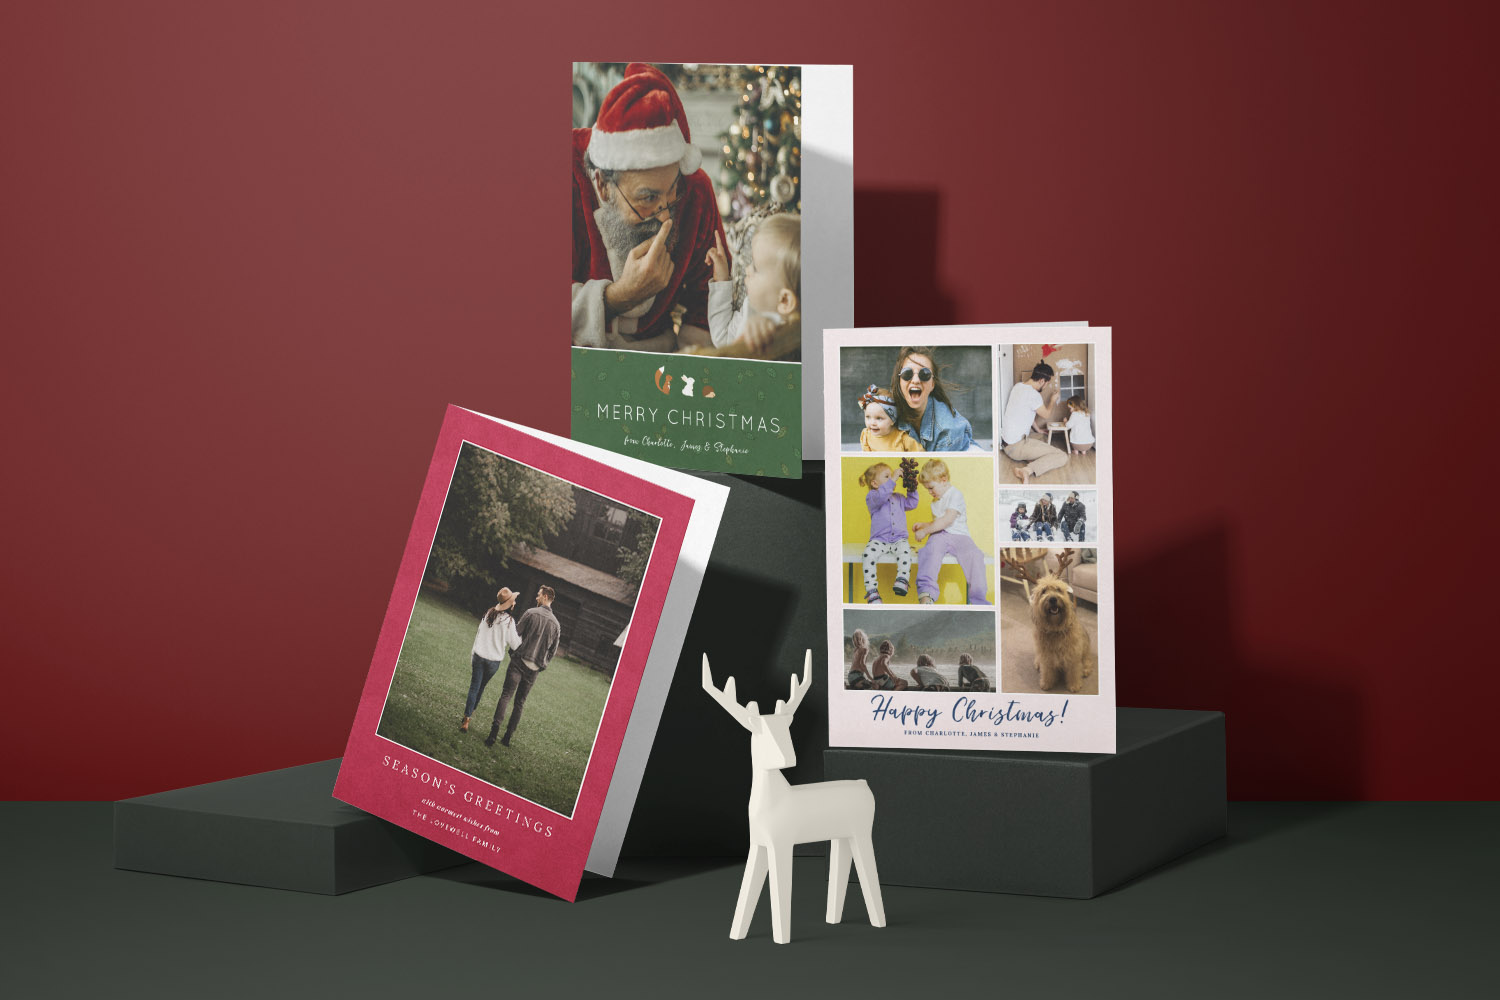
Personalised Christmas cards featuring family photos, perfect for sending festive greetings to loved ones during the holiday season.
Avoiding delays: address lists, spelling checks & cultural niceties
A few easy habits will keep your international cards accurate, appropriate and warmly received.
1) Build a tidy address list (and keep it current)
- Start with last year’s list. Duplicate it into a new sheet and mark changes with a simple “2025 confirmed” column.
- Standardise formats. Keep house numbers, street names and postcodes in separate columns. This helps if you ever print labels.
- Check any “moved house” rumours. A quick message or text saves a card from disappearing into the ether.
2) Double-check names and spellings
- Mind accents and diacritics. Names with accents (e.g., José, Zoë) matter to the recipient; be careful if you’re typing in all caps.
- Titles and family groupings. If in doubt, use full names rather than “Mr & Mrs”. It’s more inclusive and avoids assumptions.
3) Keep customs simple
- Cards are fine; bulky enclosures aren’t. A greeting card with a message is typically treated as a letter. Enclose gifts or goods and you may need customs paperwork—best avoided if your aim is a smooth delivery.
- No confetti in envelopes. It looks festive but creates issues when opened at sorting offices.
4) Choose wording that travels well
Not everyone celebrates Christmas in the same way—or at all. If you’re unsure about local customs or personal preferences, opt for neutral, warm wording such as ‘Season’s Greetings’ or ‘Happy Holidays’. Keep religious references for recipients you know will appreciate them. For photo-based alternatives that travel well as framed décor, consider sending framed and mounted photo prints to local family in January.
5) Make signing easy for the whole household
- Batch by country. Sign all cards for one country in a single sitting to keep your flow (and postage) consistent.
- Create a quick-sign station. Pens, stamps, address list and a soft cloth for resting your hand on glossy cards—all in one place.
- Leave space for a short personal line. A single sentence referencing the year (“Loved seeing you in May!”) makes the card feel truly personal.
6) A lightweight finishing checklist
Before you seal a stack for the post box:
- One card + one envelope each (nothing bulky inside)
- Clear, capitalised address; country on final line
- Correct international postage applied
- Return address on back flap
- Sample weighed and within “letter” thresholds
- Post in region-based batches (farthest first)
And for recipients you might see after Christmas, pocket-friendly keepsakes like photo fridge magnets can be a cheerful alternative to an overseas card.
Frequently asked questions
Here are quick answers to the most common questions we hear about sending Christmas cards abroad.
Order by mid-November if you can. That gives you time for printing, delivery to you, relaxed signing, and early posting to the farthest destinations. If you’re later than that, prioritise long-haul recipients and keep the rest moving.
Allow longer than you think in December. Delivery times vary by country and local weather, so think in weeks rather than days. Post long-haul first, then mid-haul, then domestic.
Usually not for a simple card with a message. If you add anything that could be considered a gift or goods, you may need extra paperwork. When in doubt, keep the envelope to “card only”.
Stay within the “letter” category: standard card size, a snug envelope, and minimal inserts. Weigh a completed sample before you stamp the rest.
Write in clear block capitals , keep the country on the final line , and include your return address on the back flap. Avoid ornate scripts that sorting machines can’t read.
Best Photos to Use on Your Personalised Christmas Cards
Discover how to choose or capture the best photos for your personalised Christmas cards, with practical tips on lighting, composition, and editing to ensure your festive images print beautifully and reflect the warmth and joy of the season.
How to Take a Great Christmas Photo at Home (Beginner-Friendly Guide)
Learn how to take beautiful Christmas photos at home with this beginner-friendly guide, offering easy tips for natural lighting, simple staging, and capturing genuine smiles using your phone-ideal for creating warm, memorable holiday cards.
What to write in a personalised Christmas card: messages for every recipient
Discover thoughtful ways to write personalised Christmas card messages for everyone in your life. This guide shares practical frameworks and tips to help you craft warm, meaningful greetings for family, friends, colleagues, neighbours, and new acquaintances with confidence and ease.