Save the Dates with QR Codes — What They Are and How to Use Them
Modern couples are making their save-the-date cards work harder. A small scannable QR code can send guests straight to the information that matters—your wedding website, an RSVP form, travel and accommodation details, or even a private gallery of engagement photos. It neatly replaces long web addresses, keeps the design clean, and is especially helpful for destination weddings or when you want to collect early RSVPs. Below, we explain exactly how QR codes fit onto save the dates, how to place and style them without disrupting your design, and how to test everything in your free digital proof before printing. If you’re ready to browse designs, explore our full collection of wedding save the date templates.
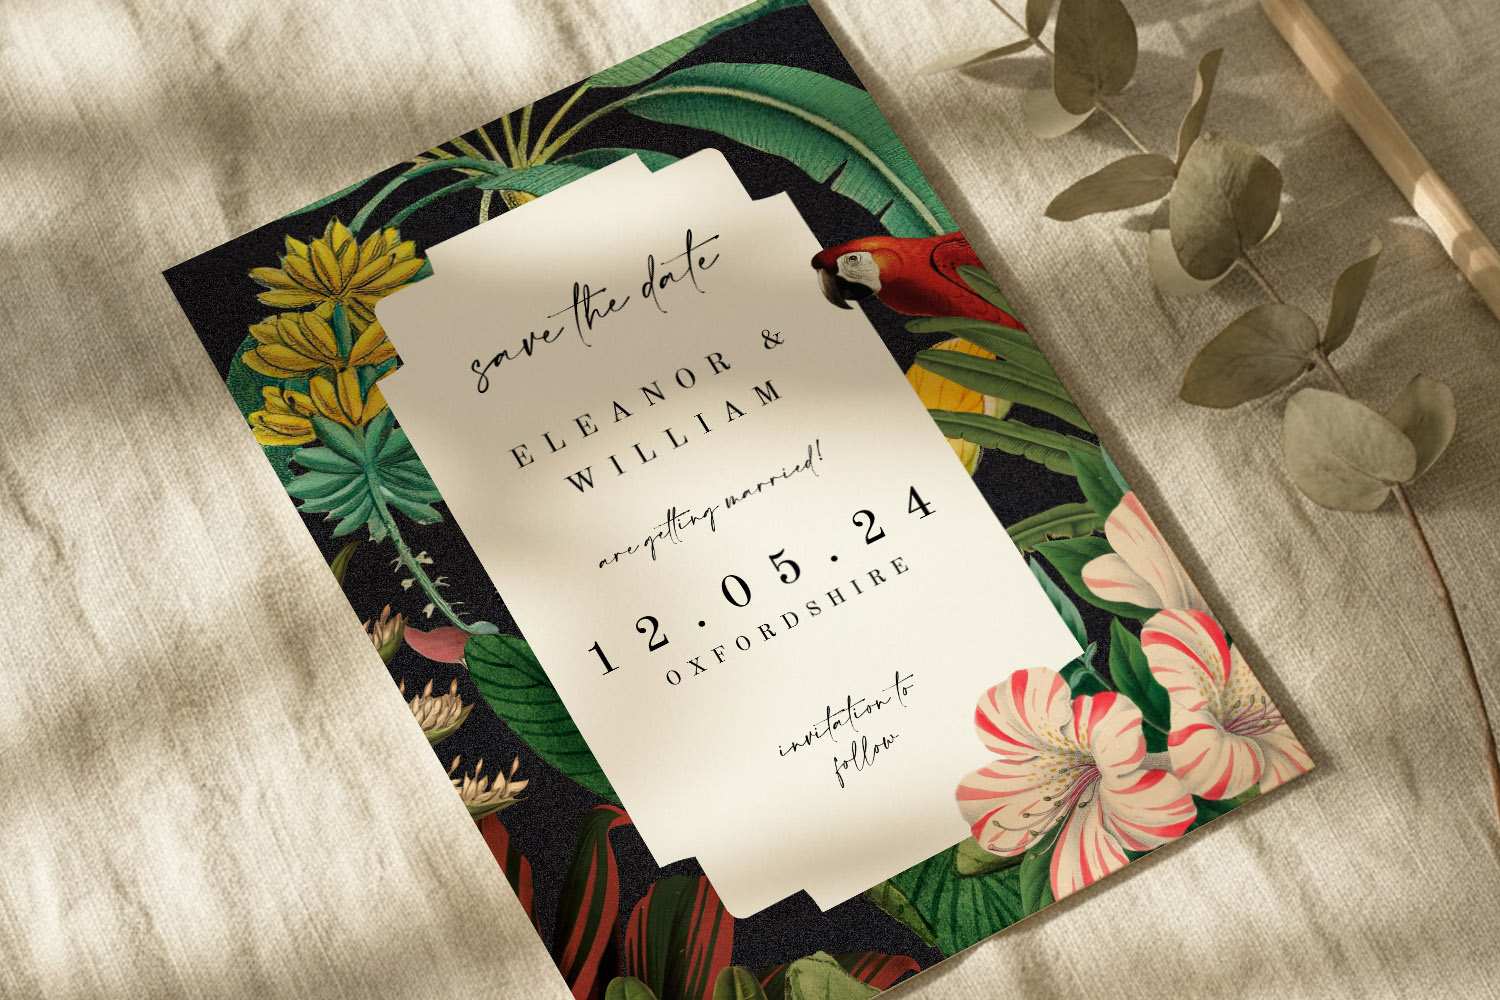
This wedding save the dates card features a vibrant tropical floral border with a parrot, perfect for announcing your special day in style.
1) What a QR code on a save the date actually does
A QR code is simply a shortcut. When a guest opens their phone camera and scans the square, it opens the link you’ve chosen. On a save the date, that link is usually one of the following:
- Your RSVP form (many couples use their RSVP.studio page) so you can gather early acceptances, dietary notes or email addresses.
- Your wedding website, with the key facts: date, town/venue, dress code, and a teaser for what’s to come.
- Travel and accommodation details, highly practical for destination weddings or when room blocks fill quickly.
- A photo gallery, such as an engagement shoot, for a personal touch.
Because scanning is quick and phone-friendly, your guests don’t have to type a long URL. It’s mobile-first, tidy on the card, and reduces the number of queries you’ll field over email.

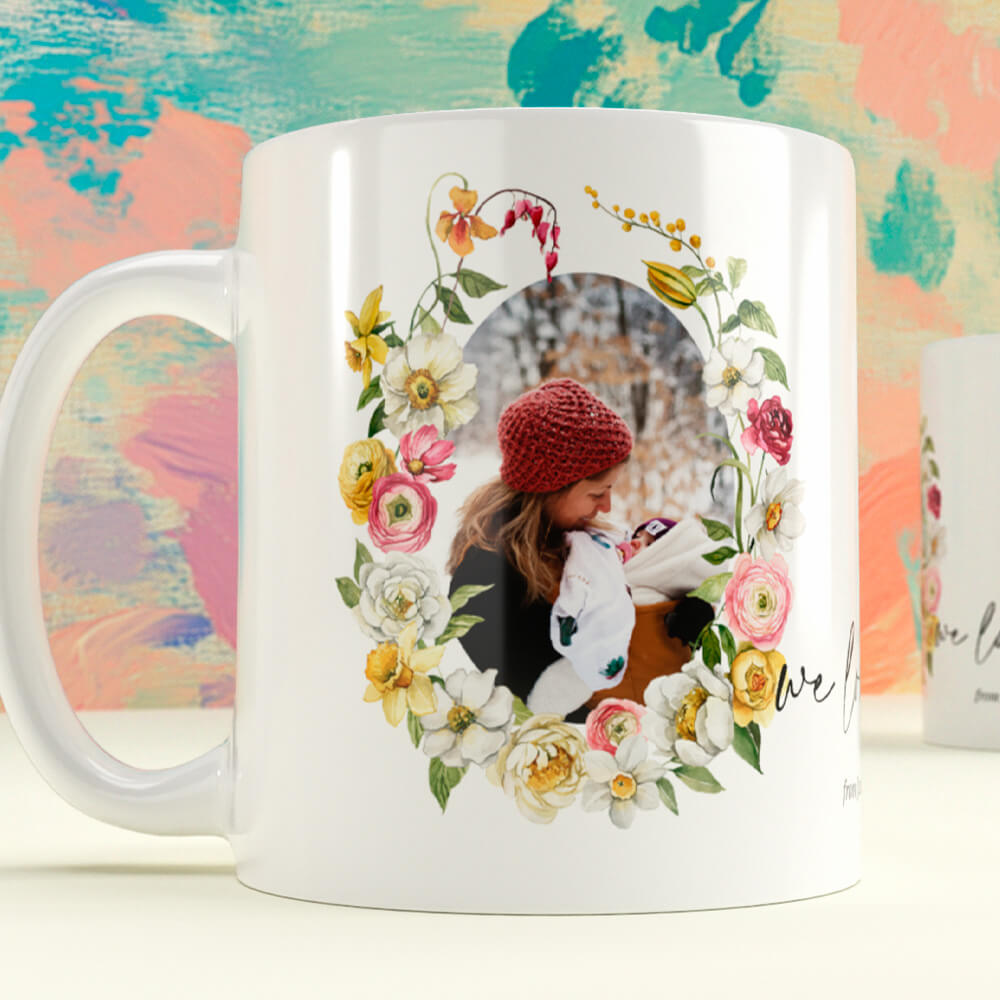
This wedding save the dates card features a modern botanical motif and soft green tones, perfect for announcing your special day in style.
2) Where to put the QR code—and how to keep the design looking polished
Think of the QR code as a design element, not an afterthought. A few simple principles will keep it scannable and stylish:
- Placement:
- On minimalist designs, a small code in the bottom corner of the front looks neat.
- If you prefer a very clean front, place the code on the back—this is common with photo-led save the dates.
- Size: As a starting guide, aim for roughly 20–25 mm square on an A6 or 5″x7″ card. If scanning from further away (e.g. a fridge), size up a little.
- Contrast: A dark code on a light, even background scans best. Avoid placing it over busy patterns or textured imagery.
- Quiet zone: Leave a slim margin of blank space around the code so cameras can “see” it.
- Label it (optional): A tiny line of text such as “Scan to RSVP” or “More details online” improves clarity, especially for less tech-confident guests.
- Backup for accessibility: Include a short written URL beneath the code so anyone without a smartphone can still find your page.
- Test it: Use the free digital proof to scan your code from different phones before you order prints. If in doubt, order a printed sample to check real-world contrast and size.
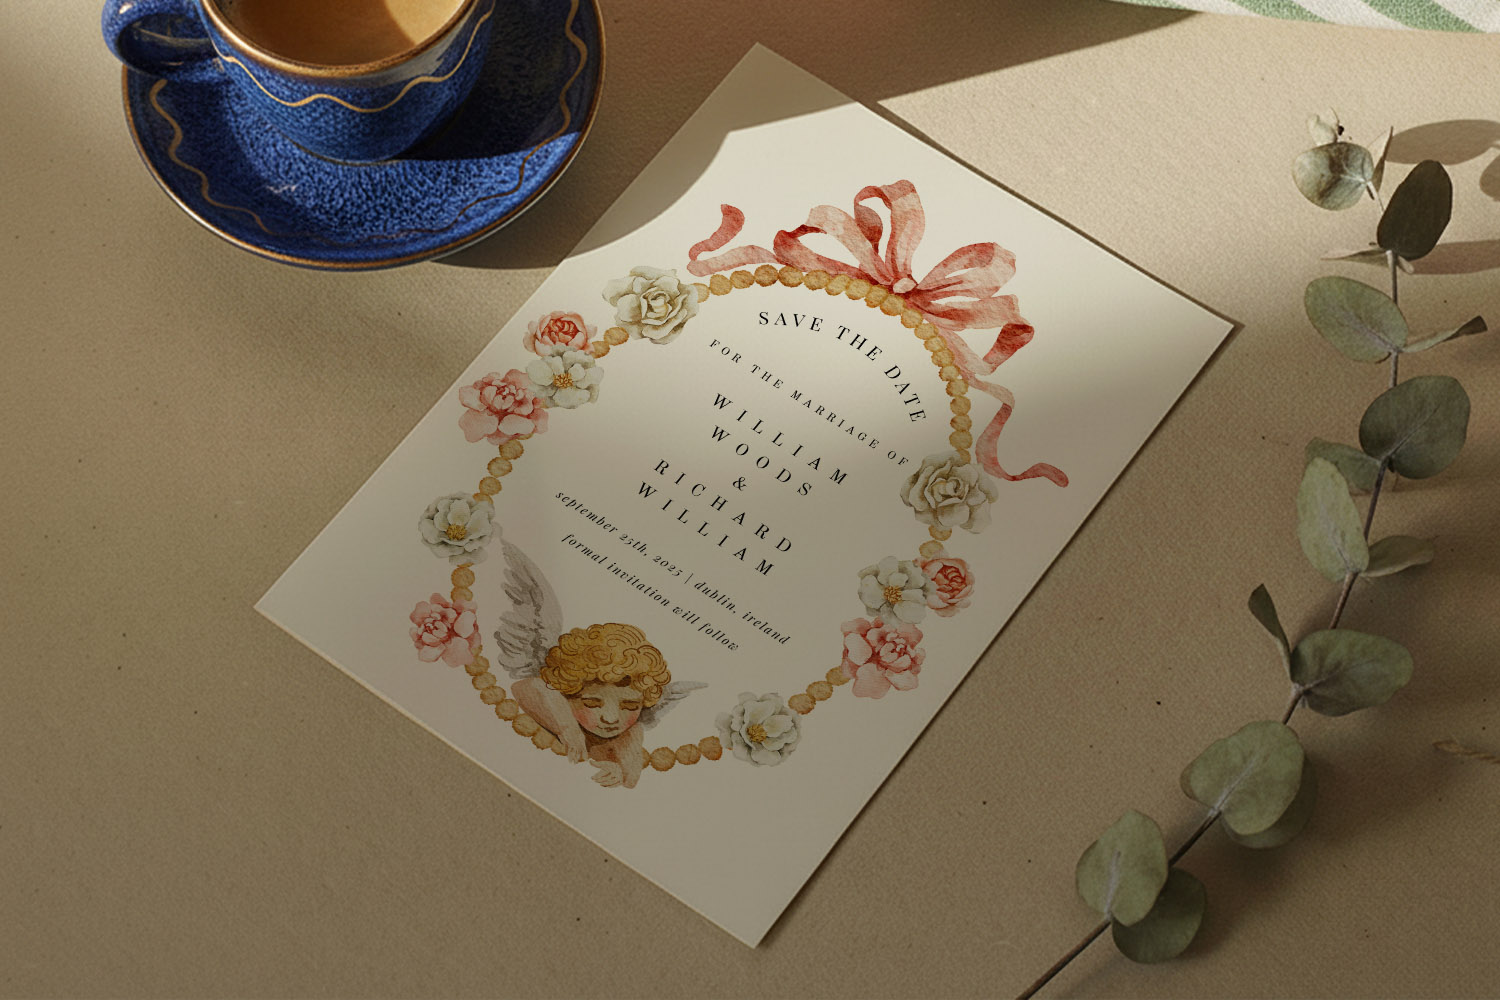
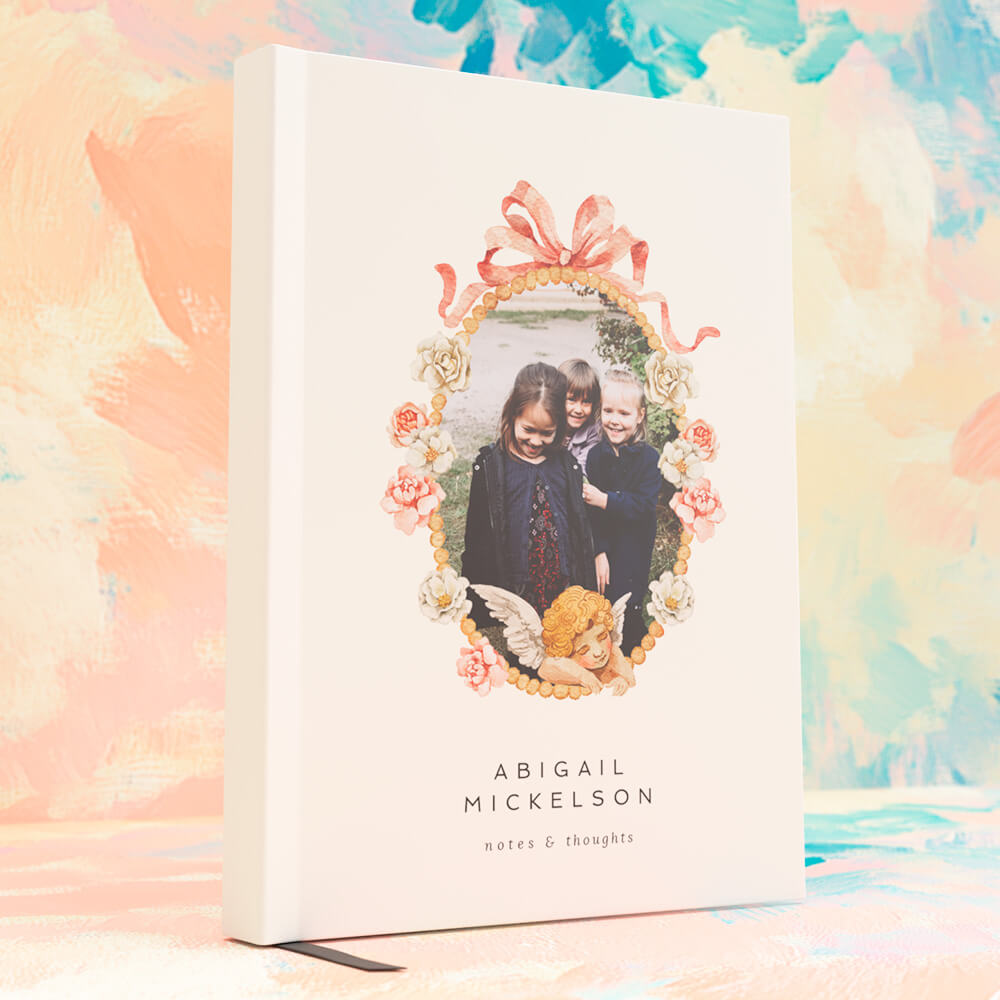
This wedding save the dates card features a vintage-inspired cherub and floral design, perfect for announcing your special day in style.
3) How to add a QR code to an Utterly Printable save the date
Utterly Printable’s templates are designed for quick, fuss-free personalisation and clean QR placement. Here’s a simple workflow:
- Choose your design
Start with a style that suits your day. For botanicals and watercolours, browse our floral save the date templates. If you love heritage type and softer palettes, see the vintage save the date templates. Prefer a cleaner aesthetic? Explore modern save the date templates or the ultra-pared-back minimalist save the date templates. If you want an engagement photo front and centre, try our photo save the date templates. - Add your details (and your link)
In the online editor, personalise names, date and location, then paste the web address you want guests to reach—an RSVP.studio form or your wedding website are both popular choices. - Generate and place your QR code
Insert a QR code and position it where it suits the layout (front corner or back). Keep contrast high and leave breathing space; you can nudge size and alignment until it sits comfortably with your typography or image. - Add a small label (optional)
“Scan to RSVP” or “Travel details” helps guests know what to expect. Keep the text tiny so it doesn’t compete with the main design. - Proof and test
Download the free digital proof and scan the code on a couple of phones. Check that it opens the right page and that the page itself is easy to use on mobile. - Choose format and paper
Pick a size that suits your design and fridge-door real estate: A6, 5″x7″, A5, or 148 × 148 mm square. Paper options range from everyday-smart to luxuriously weighty—ideal for designs with strong contrast and crisp QR codes. - Print or download
Order professionally printed cards (UK production with quick turnaround), or choose a high-resolution digital download if you prefer DIY printing or e-sharing. Either way, your QR code remains sharp and scannable when correctly sized and proofed.
Tip for destination weddings: point your QR code to a single, always-up-to-date page with flights, transfers, accommodation options and deadlines. That way you can add or update details later without changing the printed card.
FAQs: Save the dates with QR codes
A quick set of practical answers for common questions.
Not usually—most modern phones scan codes straight from the camera. To keep everyone comfortable, add a tiny backup URL underneath the code and a line such as “Scan to RSVP”. Clear instructions help just as much as the technology.
The printed QR code itself can’t be changed. The simplest approach is to link to a page you control (for example, your wedding website or RSVP.studio page) and update that page’s content as plans evolve. Always test the link in your free digital proof before printing.
It’s up to you. The front keeps everything in one place; the back often feels tidier on minimalist or photo-heavy designs. If you use the back, repeat a small prompt on the front such as “More details overleaf”.
As a rule of thumb, aim for around 20–25 mm square on A6 or 5″x7″ cards and ensure good contrast with a clear margin around the code. If you shrink it, test carefully on your proof; if in doubt, size up.
For most couples, RSVP collection is the top priority early on. A direct link to your RSVP.studio form encourages quick responses. For destination weddings, many couples link to an itinerary or accommodation guide first, with RSVP a tap away.
Matching your save the date to the rest of your wedding stationery: a practical guide
Learn how to coordinate your save the date with your wedding stationery in this practical guide. Explore easy tips for matching colours, typography, motifs, and layout, creating a cohesive look for your invitations and on-the-day pieces.
Save the Date Etiquette in the UK: Rules, Modern Trends & Common Mistakes
Discover the essentials of save the date etiquette in the UK, including who to send them to, what details matter, and how to avoid common mistakes. Explore modern trends, digital options, and wording tips for every type of wedding celebration.
What to Write on a Wedding Save the Date (Complete Wording Guide)
Learn what to write on a wedding save the date with this comprehensive wording guide, including essential details, optional extras, and ready-to-use examples for every style to help you create clear, stylish, and stress-free save the dates.


Which Paper Stock Is Best for Wedding Save the Dates? (324gsm vs 350gsm vs Silk vs 650gsm)
Discover which paper stock is best for wedding save the dates as we compare 324gsm, 350gsm, silk, and 650gsm options. Learn how finish, colour, and texture influence your card’s look, feel, and practicality for your special announcement.
Products related to wedding save the date cards:


Trends & Tips
Save the dates are the perfect way to announce your big day. Check out the blog for inspiration on personalisation, timing, and coordinating them with the rest of your wedding stationery.