Dietary icons & allergen labelling for wedding menus (UK guide)
A well-designed wedding menu does more than list food. It helps guests navigate dietary needs calmly and confidently, without cluttering your layout. This guide explains clear, guest-friendly ways to show allergens and dietary symbols on your menu cards, when to use an asterisk or legend, how QR codes can help, and when children’s dishes deserve their own line. It’s written for couples designing their own stationery and for caterers who want a neat, consistent system that works at first glance.
If you’re still choosing a design, you can start with our collection of wedding menu templates and match a style such as floral, modern, minimal, rustic or classic to the rest of your day.
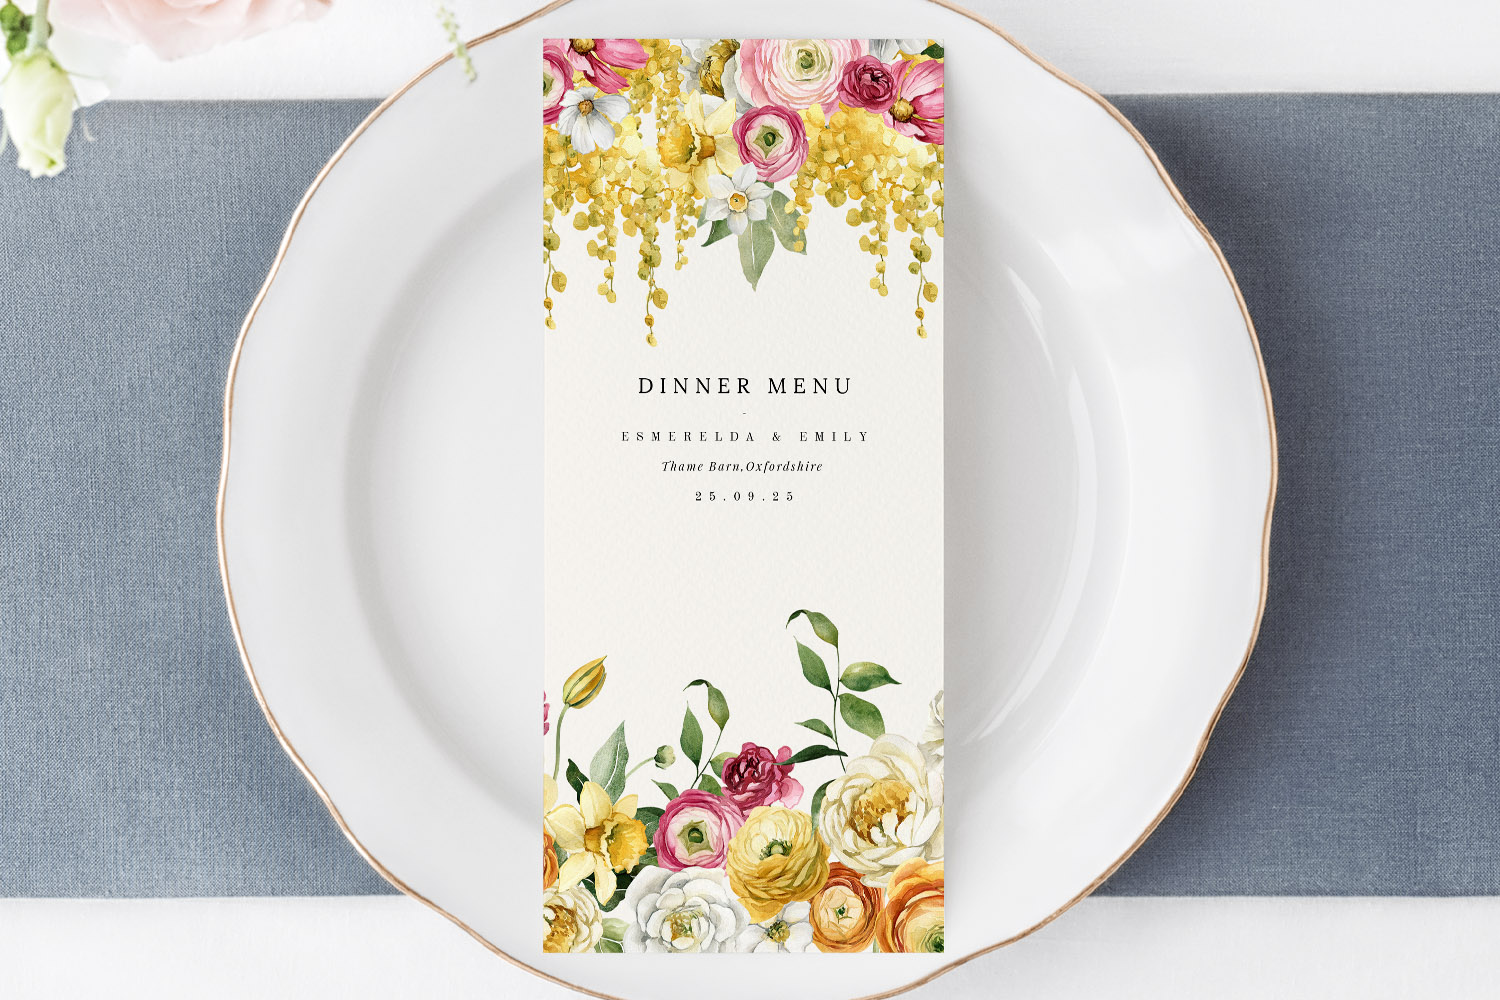
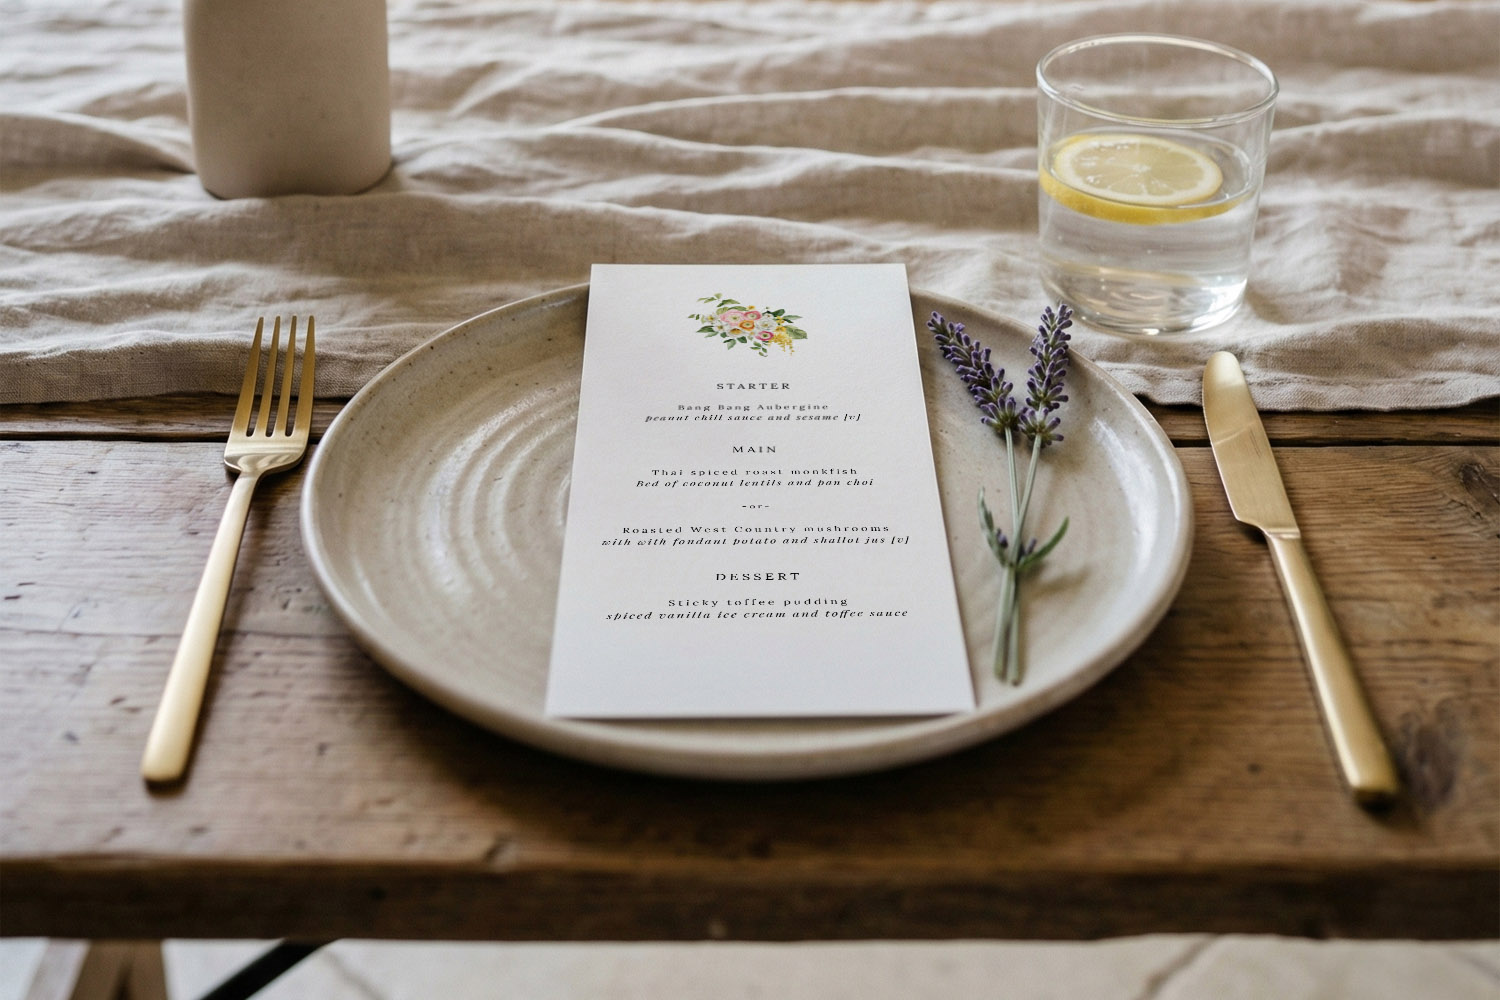
Elegant wedding menus with a colourful floral border, perfect for adding a personalised touch to your wedding table setting.
1) What to communicate (and why it matters)
Clarity is kind. Guests with allergies or dietary needs want confidence in their choices, and your caterer needs a simple way to confirm who’s eating what. A good menu strikes a balance: enough information to be useful, but not so much that it overwhelms the design.
Aim to cover three things:
- Dietary suitability at a glance
Use small icons or initials for vegetarian, vegan and gluten-free dishes (more on symbols below). If an item can be adapted—e.g., “can be made GF”—note that briefly. - plain-English allergen notes
You don’t need to print a legal treatise. A short line such as “All dishes prepared in a kitchen handling common allergens” sets expectations, while asterisks or a QR code can point to specifics. - Children’s and special menus
If you’re catering for children or a small group with bespoke meals, signpost them separately so parents and waiting staff can find them quickly.
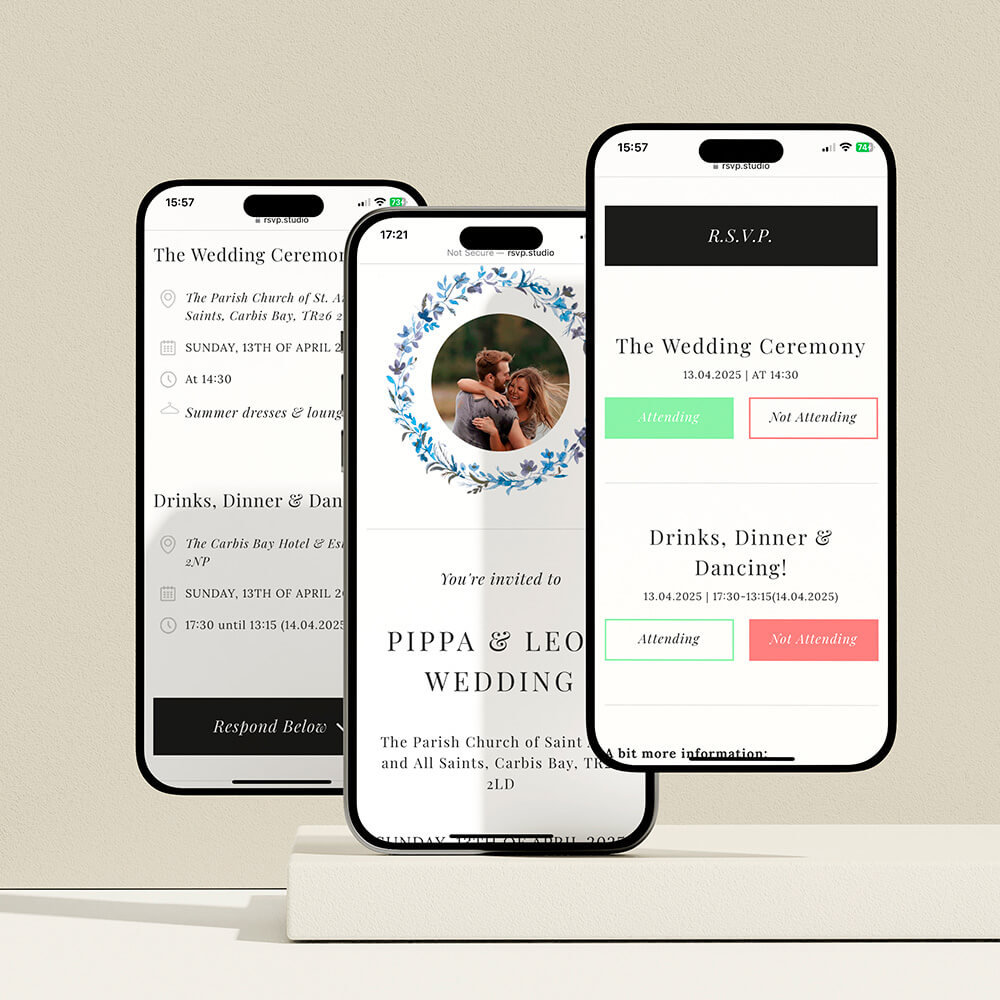
Good to know: If you’re using a digital element for your wedding admin, a discreet QR code can link to a live allergen list, seating info or even your digital RSVP website. Guests can scan it for the fine detail while your printed card stays calm and elegant.
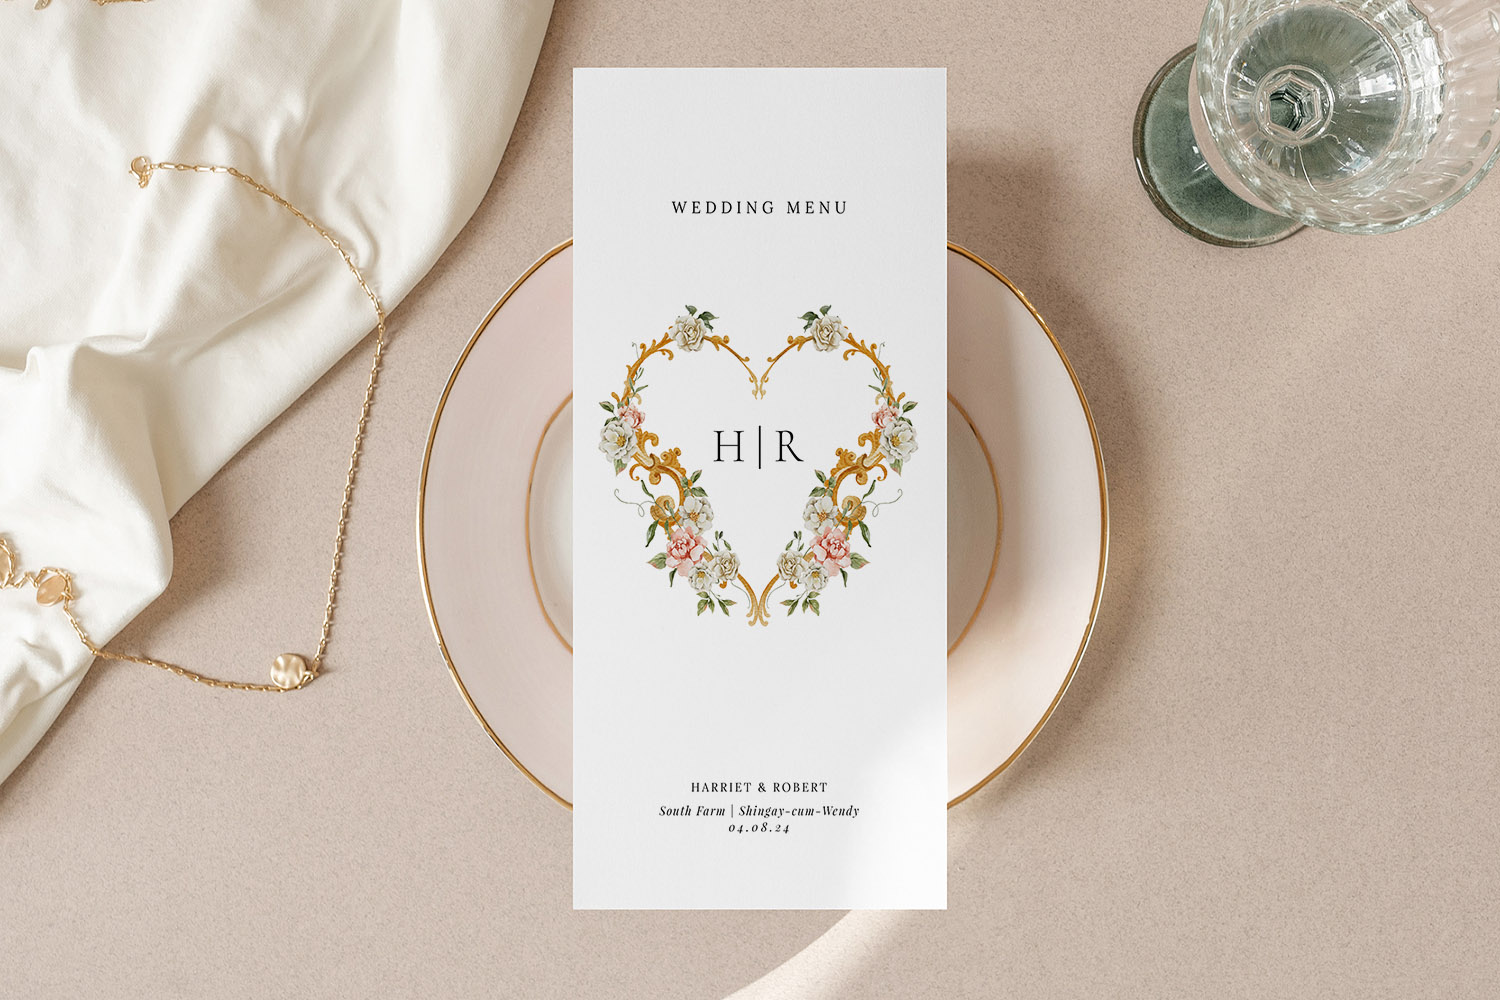
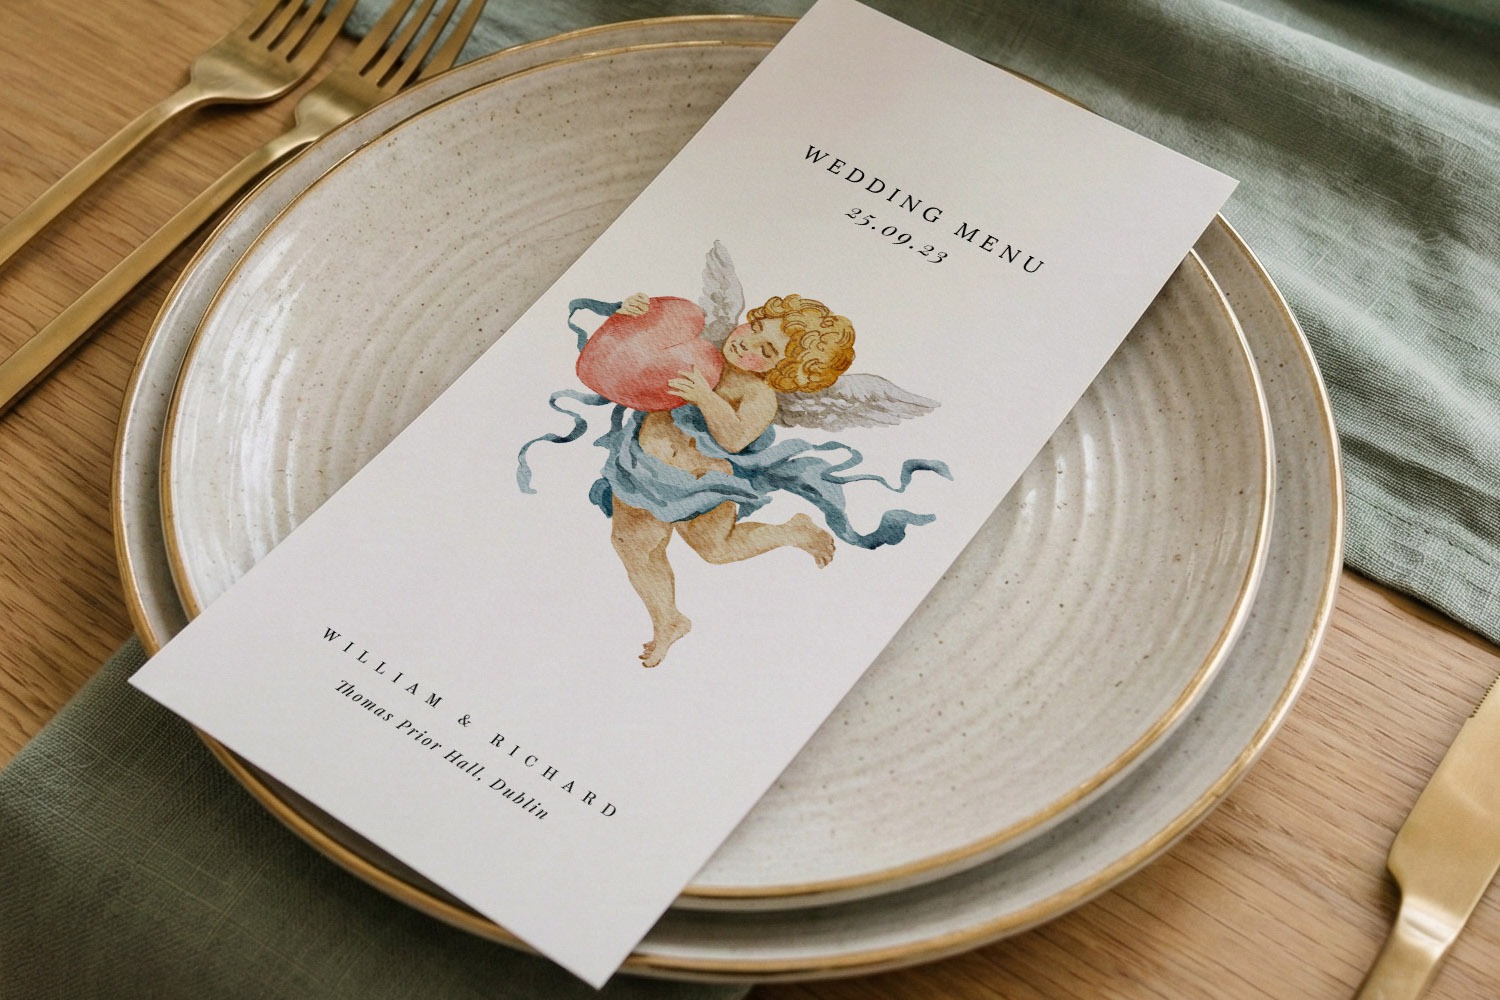
This wedding menu features a delicate floral heart motif, perfect for adding a refined touch to your reception table setting.
2) A clear, compact icon system for dietary requirements
Icons make dietary suitability obvious without adding long strings of text. Keep your set small, consistent and easy to understand.
Recommended core icons (UK weddings):
- V or a leaf icon for Vegetarian
- VE or a plant icon for Vegan
- GF or a wheat-crossed icon for Gluten-free
- Optional: DF for Dairy-free; NF for Nut-free (use only if genuinely applicable)
Design tips:
- Use one style: line icons, not a mix of filled and outline. Keep sizes identical (typically 10–12pt).
- Keep contrast high: icons should be legible at arm’s length; mid-grey or a single brand colour works well.
- Place icons consistently: at the end of the dish name or below it on a separate, lighter line.
- Provide a legend: at the bottom of the card or on the reverse—e.g., “V = Vegetarian · VE = Vegan · GF = Gluten-free”.
- Don’t over-signal: if almost every dish is suitable for a diet, say that once in the legend rather than repeating an icon six times.
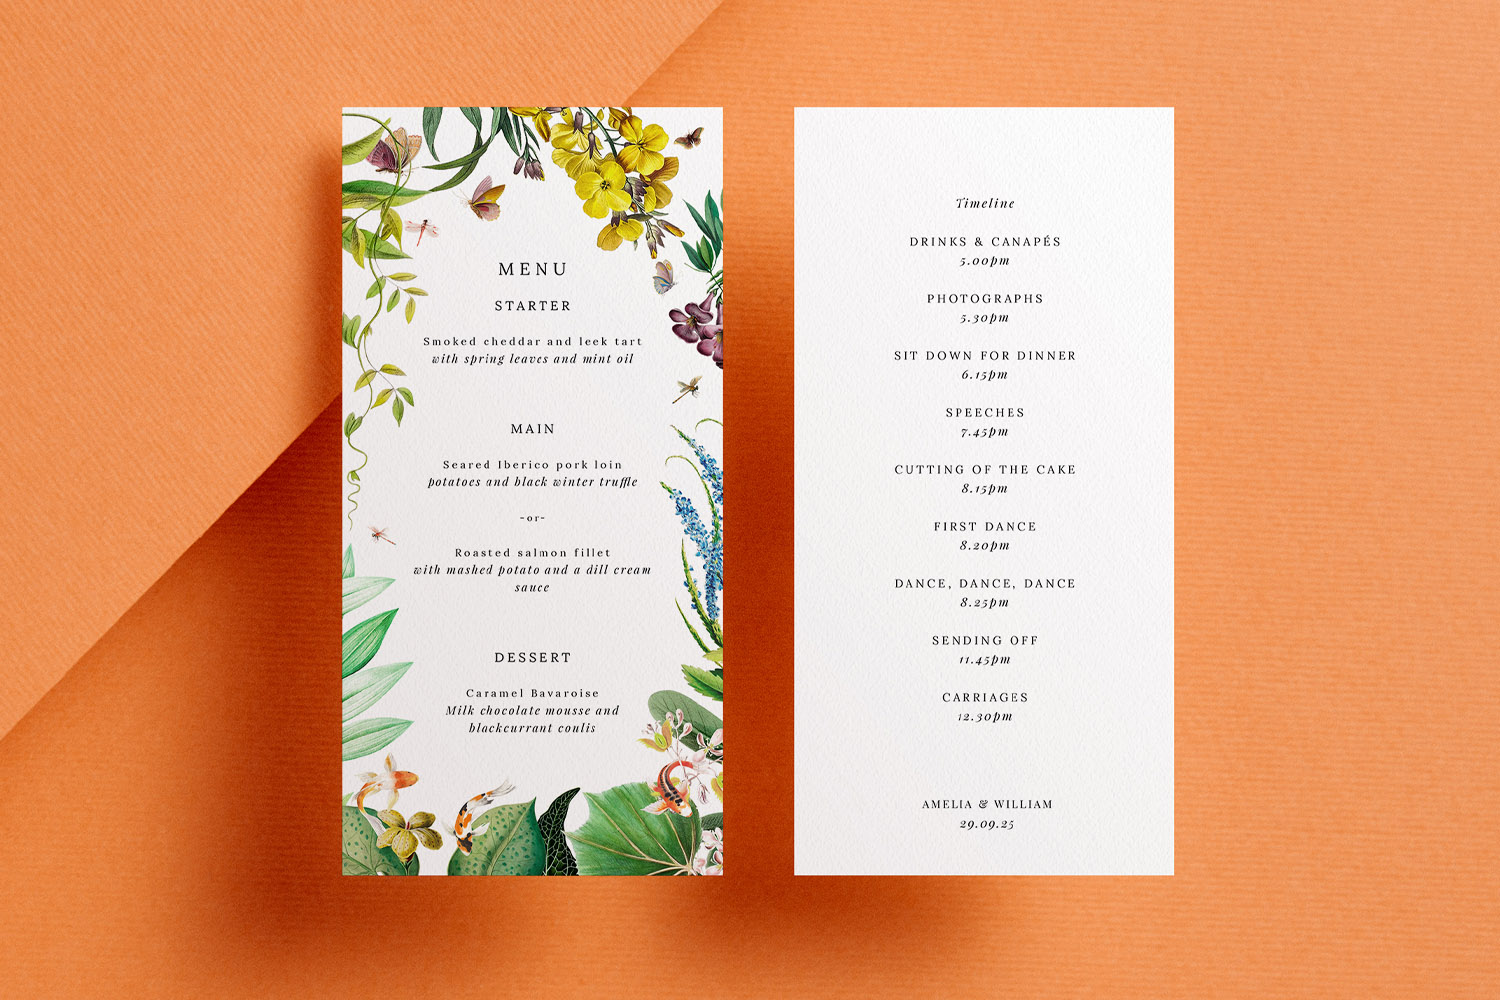
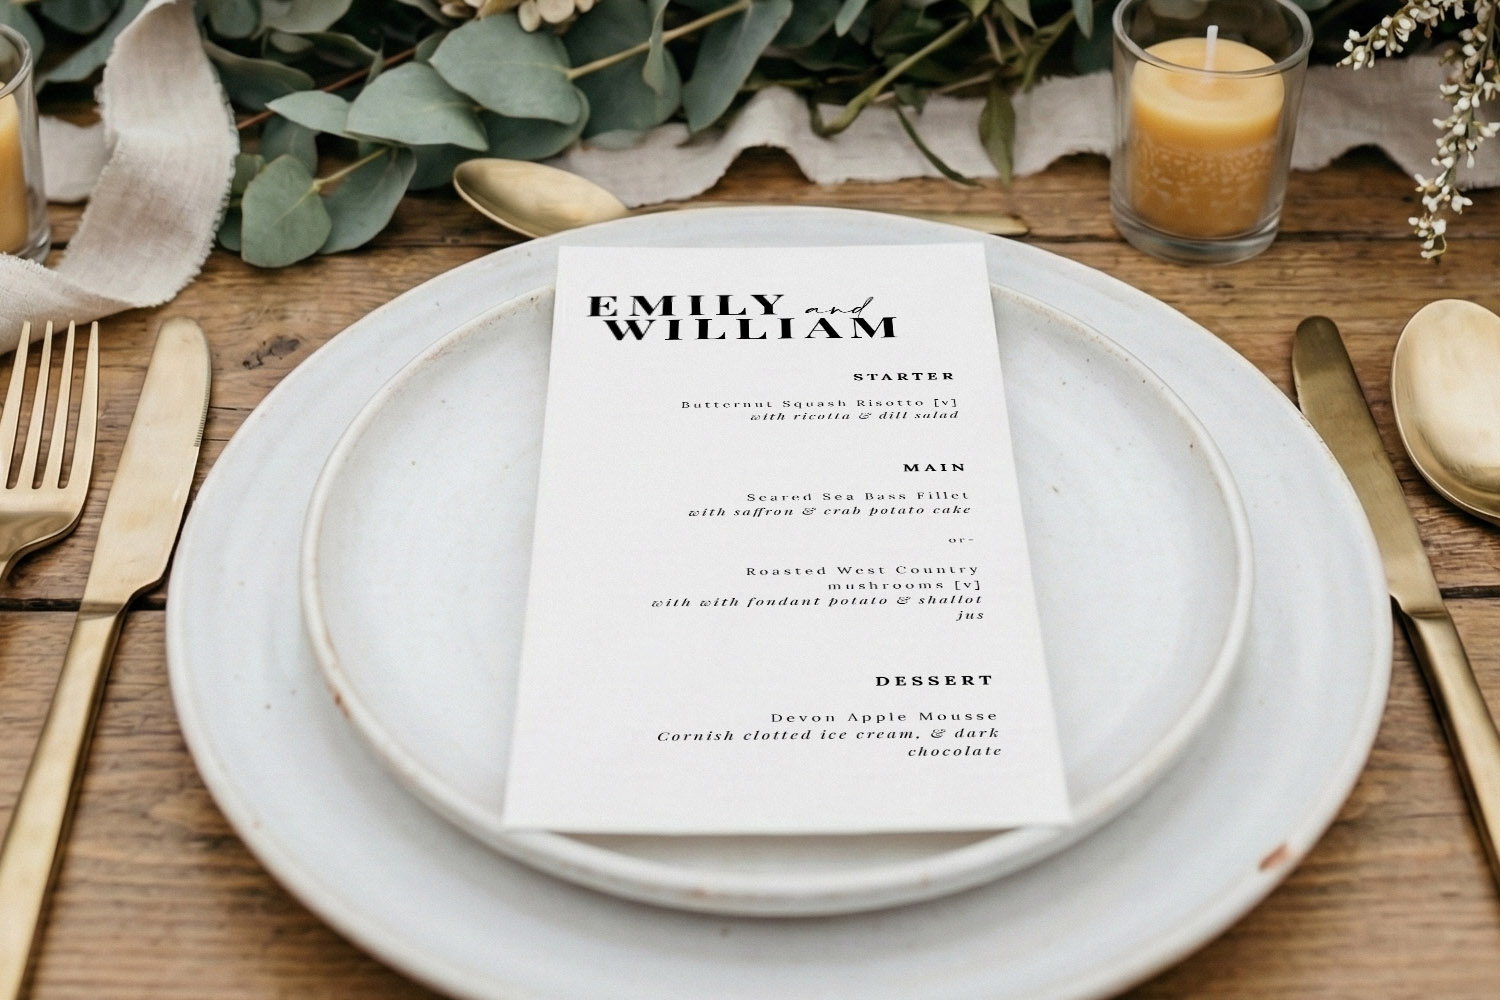
Example layout:
Wild mushroom arancini — truffle aioli (V)
Citrus-roasted salmon — fennel & caper dressing (GF)
Roasted squash risotto — sage, toasted seeds (VE, GF)
If you haven’t chosen a look yet, browse menu designs by style—try a romantic floral wedding menu, sleek modern layouts, pared-back minimal menus, characterful rustic designs or timeless classic options.
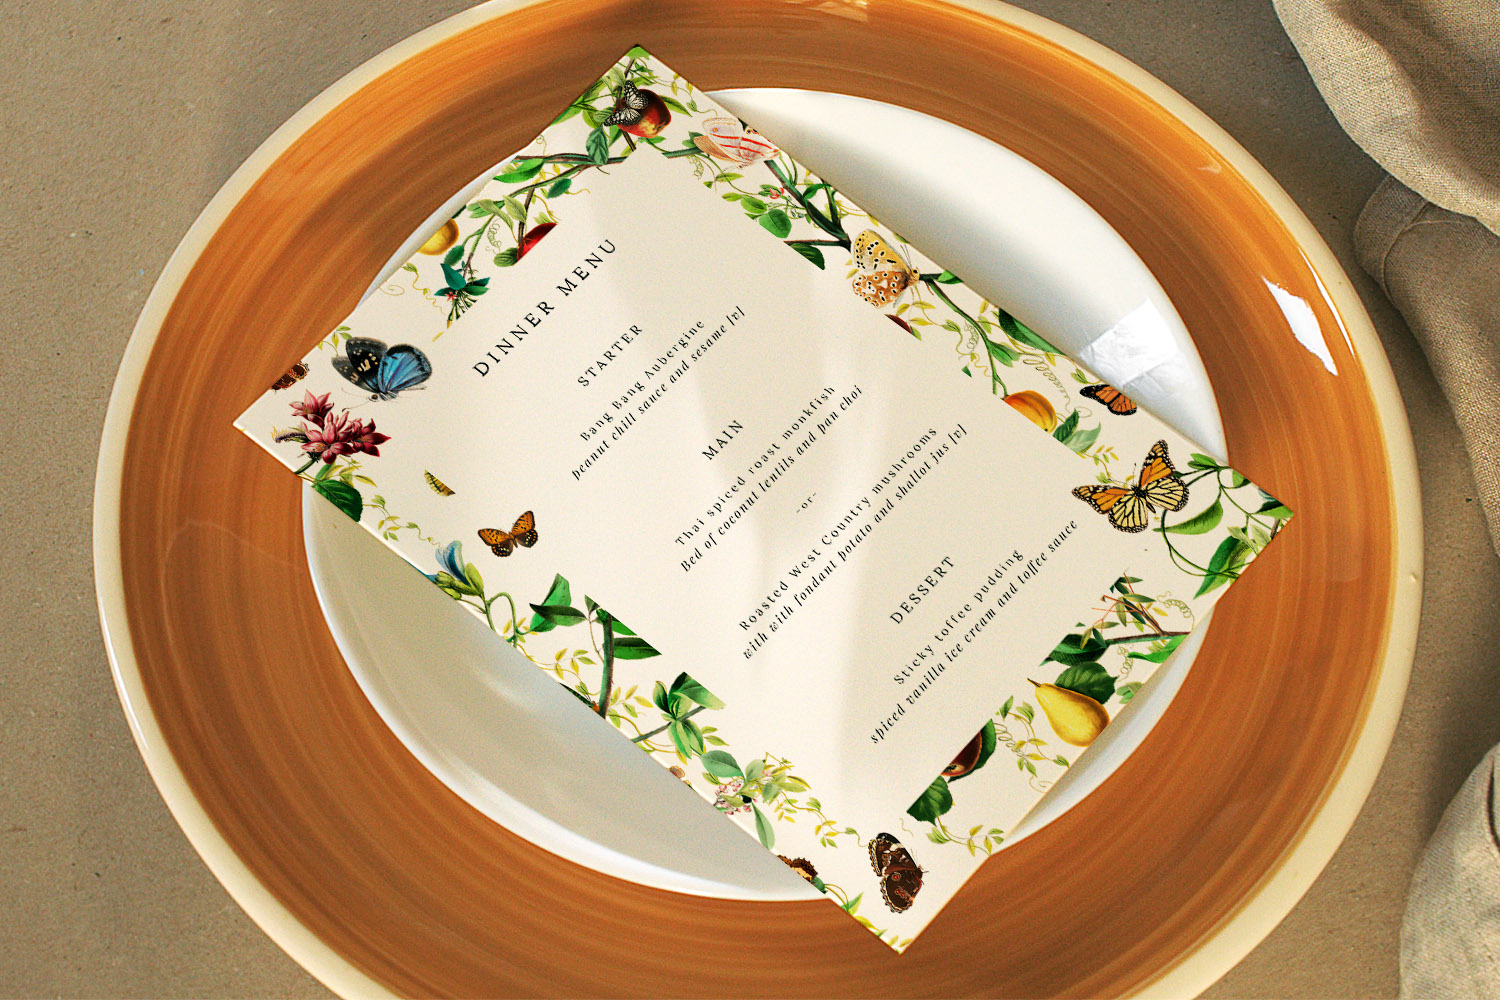
Elegant wedding menus featuring a botanical and butterfly motif, perfect for adding a natural touch to your table settings.
3) Allergen information: asterisks, full words or QR code?
There’s more than one correct approach. Choose the method that keeps information accurate and your design tidy.
Option A: Asterisks + footer list (best for most menus)
Use a discreet asterisk (*) after the dish name. Then add a small note at the bottom of the card with the meaning.
How it looks:
- Cornish crab bruschetta*
- Herb-crusted lamb**
Footer:
- * contains crustaceans; ** contains mustard. Prepared in a kitchen handling all major allergens.
Pros: Short, neat, easy to scan.
Cons: You must keep the legend accurate to the final dish list.
Option B: Full allergen words inline (best for very small menus)
Write allergens in brackets after the dish.
Example:
Dark chocolate tart (milk, eggs, wheat)
Pros: No legend needed; helpful for buffet cards.
Cons: Can look busy; watch line lengths on narrow formats (e.g., DL).
Option C: QR code to full list (best for evolving menus)
Add a small QR code that links to a live menu page holding the full allergen matrix and any late changes.
Microcopy ideas:
- “Full allergen details and adaptations: scan the code.”
- “For ingredients and allergen info, please scan.”
Pros: Always up-to-date; keeps the print minimal.
Cons: Needs reliable signal at the venue; keep the QR small and unobtrusive.
Practical tip: Pair your printed card with a digital backup—your wedding website & RSVP is a handy home for the detailed allergen table (PDF or webpage). Guests with strict requirements will appreciate the extra layer of reassurance.
Tone that reassures without alarming
A short, calm note is enough. For example:
- “Please speak to your server about allergens and adaptations.”
- “Our kitchen handles all common allergens; cross-contamination is possible.”
Avoid heavy red warning triangles or all-caps. Clear text, light icons and consistent placement do the job better.
Where to put everything
- After each dish: icons and asterisks
- Footer: legend and a one-line disclaimer
- Reverse or side two (if applicable): detailed notes (or pop the QR here)
- Table plan/escort cards: if you’ve pre-selected meals, match notes to guest names quietly—initials or a tiny icon can help staff.
4) Children’s options: when to label separately
If more than a handful of children are attending—or you’ve agreed a simpler dish for teens—label these items distinctly so parents and servers can find them instantly. Three tidy approaches:
- Dedicated subsection
Add a small heading—“Children’s Menu”—with 1–2 choices beneath. Keep copy short and friendly. - Inline with icon
Add a “Child” icon or “K” marker after the dish name where applicable. - Separate mini card
Place a small tent card at each child’s setting listing their dish. This avoids cluttering the main menu and makes service smoother.
Design note: Pair your children’s section with a relaxed illustration or softer type, but keep the visual system consistent with the main card so the overall look remains cohesive.
5) Design choices that keep the card clean
- Hierarchy first: Dish name in bold; short description on the next line in lighter weight; icons at the end.
- Limit typestyles: Two weights of one font family are typically enough.
- Use space: If your menu is long, consider a larger size (A5 or 5×7) or print one shared menu on thicker stock for each table.
- Group icons: Place multiple icons together in round brackets—“(VE, GF)”—to save space.
- Keep contrasts gentle: Black on white is crisp; if using colour, ensure enough contrast for legibility in evening light.
- Consistency across the suite: Match icons and tone of voice to your other pieces—invites, place cards and orders of service—for a considered, joined-up feel. You can browse coordinating wedding invitation templates and then pick a matching menu design from the main wedding menu collection.
FAQs: Dietary icons & allergen labelling for wedding menu cards
Below are concise answers you can apply straight away, whether you’re printing one menu per guest or one per table. Adapt to your caterer’s guidance and your venue’s policies.
Not necessarily. Many couples use asterisks and a concise footer note, with full details accessible via a QR code or at the bar. The goal is clarity without crowding.
Stick to a small core set—V (Vegetarian), VE (Vegan), GF (Gluten-free)—and add DF or NF only if helpful. Provide a legend at the bottom so there’s no guesswork.
Place them at the end of the dish name or on a light, secondary line below. Keep sizing and spacing consistent throughout the card.
Yes—if it’s small and tidy. Put it in the footer or on the back, and label it politely (“Scan for full allergen details”). It keeps the front face elegant.
Use a simple note beneath the dish—e.g., “GF on request”—or state this once in the footer: “Many dishes can be adapted; please speak to your server.”
Next steps: Choose a design that suits your day, then add a simple legend, a handful of icons and—if helpful—a discreet QR code. You can start with the full range of wedding menu templates and coordinate them with your wedding invitations.
Collecting Menu Choices Through Your Digital Wedding RSVP
Collecting menu choices through your digital wedding RSVP makes planning easier for couples and caterers alike. Discover how RSVP.studio streamlines guest meal selections, dietary requirements, and event attendance, all in one secure, mobile-friendly platform designed for modern weddings.
How to lay out a wedding menu for clarity and style
Learn how to design a clear and stylish wedding menu with practical tips on structure, typography, spacing, and design. This guide ensures your menu looks polished and perfectly complements your celebration’s overall stationery suite.
Wedding Menu Size Guide: DL vs A5 vs 5×7 vs Square
Explore the differences between DL, A5, 5√ó7, and square wedding menu sizes in this helpful guide. Learn which menu card format best suits your table layout, menu length, and design style for a beautifully coordinated wedding reception.
What to Include on a Wedding Menu Card: A Practical UK Guide
Learn how to design the perfect wedding menu card with this UK guide, featuring essential details to include, formatting tips for clarity and style, and advice on accommodating dietary needs while maintaining an elegant, inviting wedding table.
Products related to wedding menu cards:


Read & Be Inspired
Wedding menu templates let you showcase your carefully curated meal. Discover tips on designing beautiful menus, incorporating themes, and making them a standout part of your reception décor.