How to Personalise a Notebook Cover: Names, Photos, Logos & More
Designing a personalised notebook cover is simpler than most people think. With a few practical choices—what to put on the front, where to place it, and how to upload artwork—you can create something that looks considered and prints cleanly. This guide walks you through options for names, initials, quotes, photos and brand logos, and explains the small details (contrast, fonts, cropping, safe areas and lamination) that make a big difference on press. For context, Utterly Printable’s notebooks are A5 casebound hardbacks with a durable, matt-laminated wrap and smooth 90gsm pages, printed in the UK in 5–6 working days.
The user scrolls through a design gallery and selects a template to begin personalisation
What you can put on the cover—and why it works
Your cover can be as understated or expressive as you like. Popular options include:
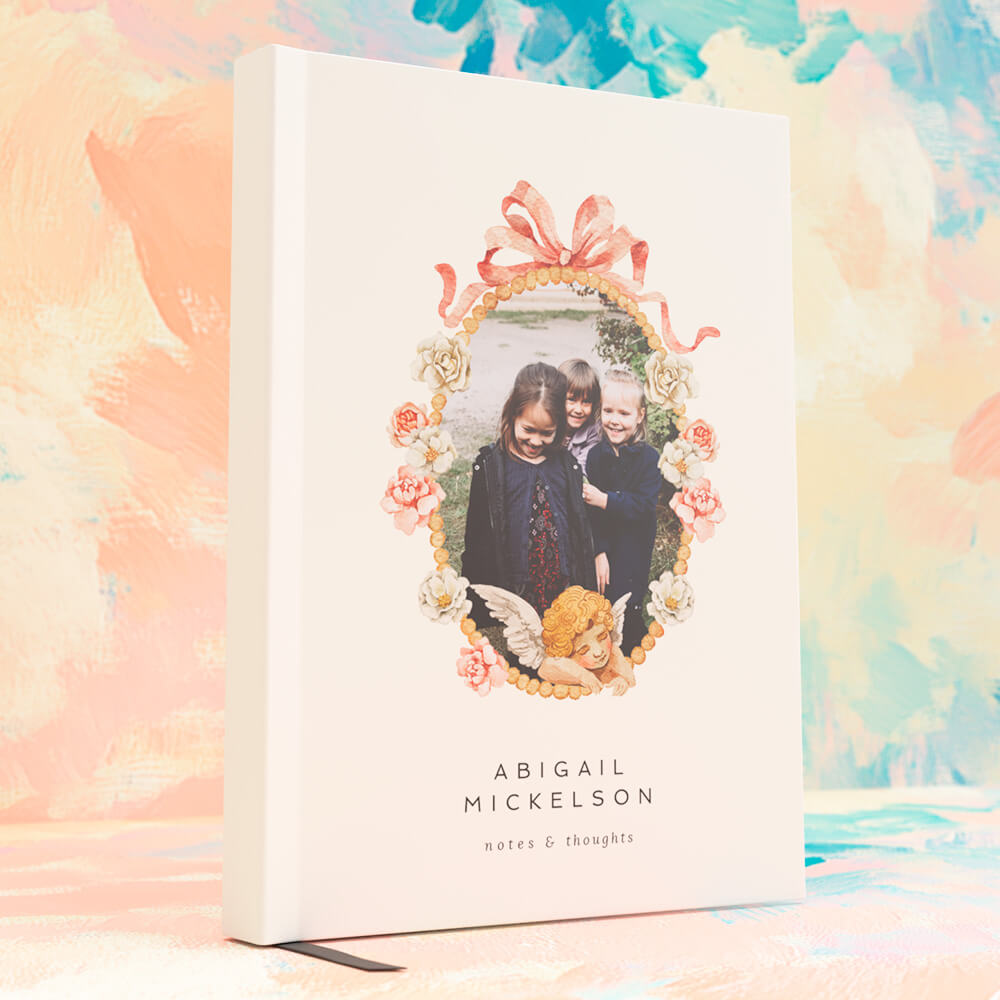
- Name or initials: A first name in a friendly sans serif, or a crisp monogram, are timeless and gift-ready.
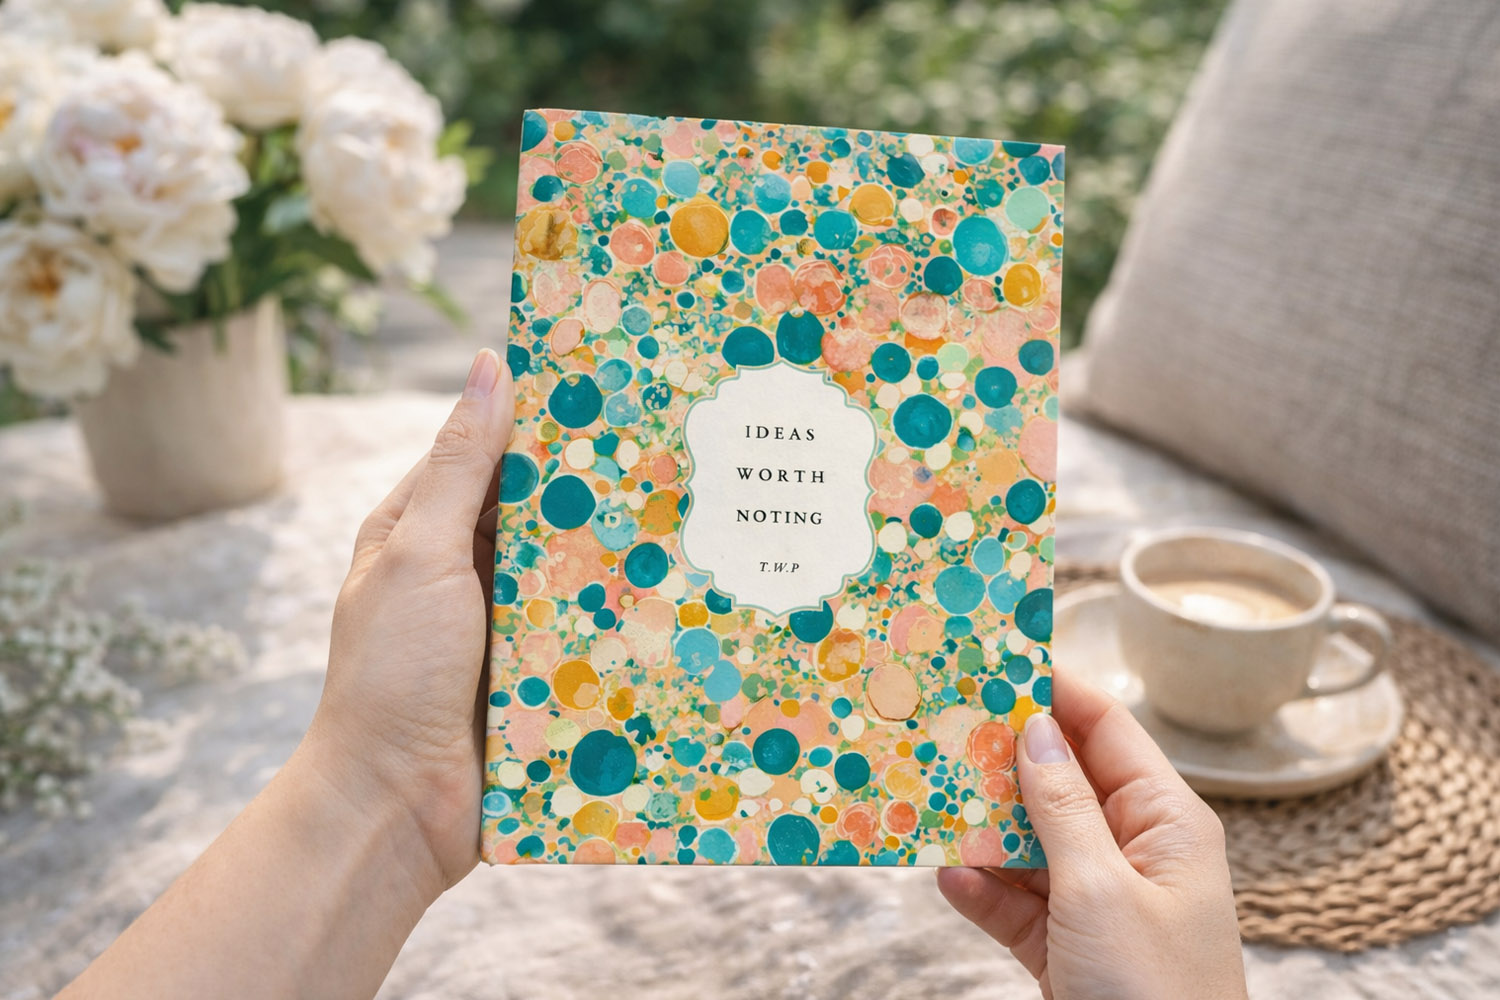
- Short quote or title: Keep to 3–6 words for impact—e.g. “Travel Notes”, “Weekly Planner”, or a motivational line.
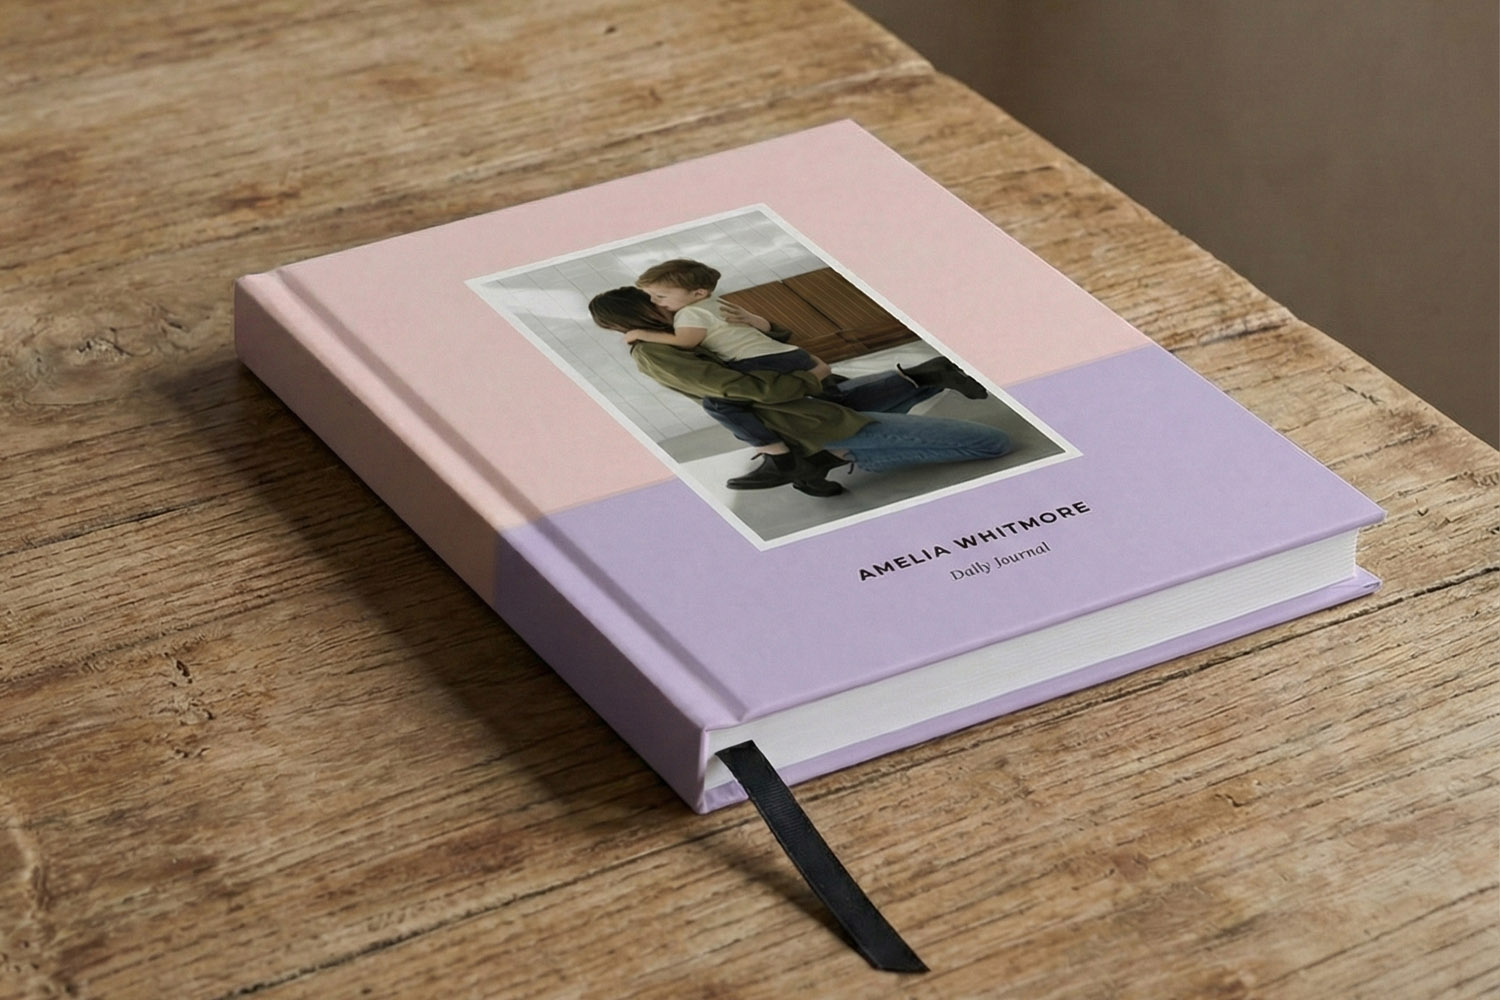
- Full-bleed photo: A favourite image across the entire cover creates an instant keepsake. It’s ideal for a travel journal or family gift.
- Logo and strapline: Great for teams and events; pair a logo with a subtle tagline or department name.
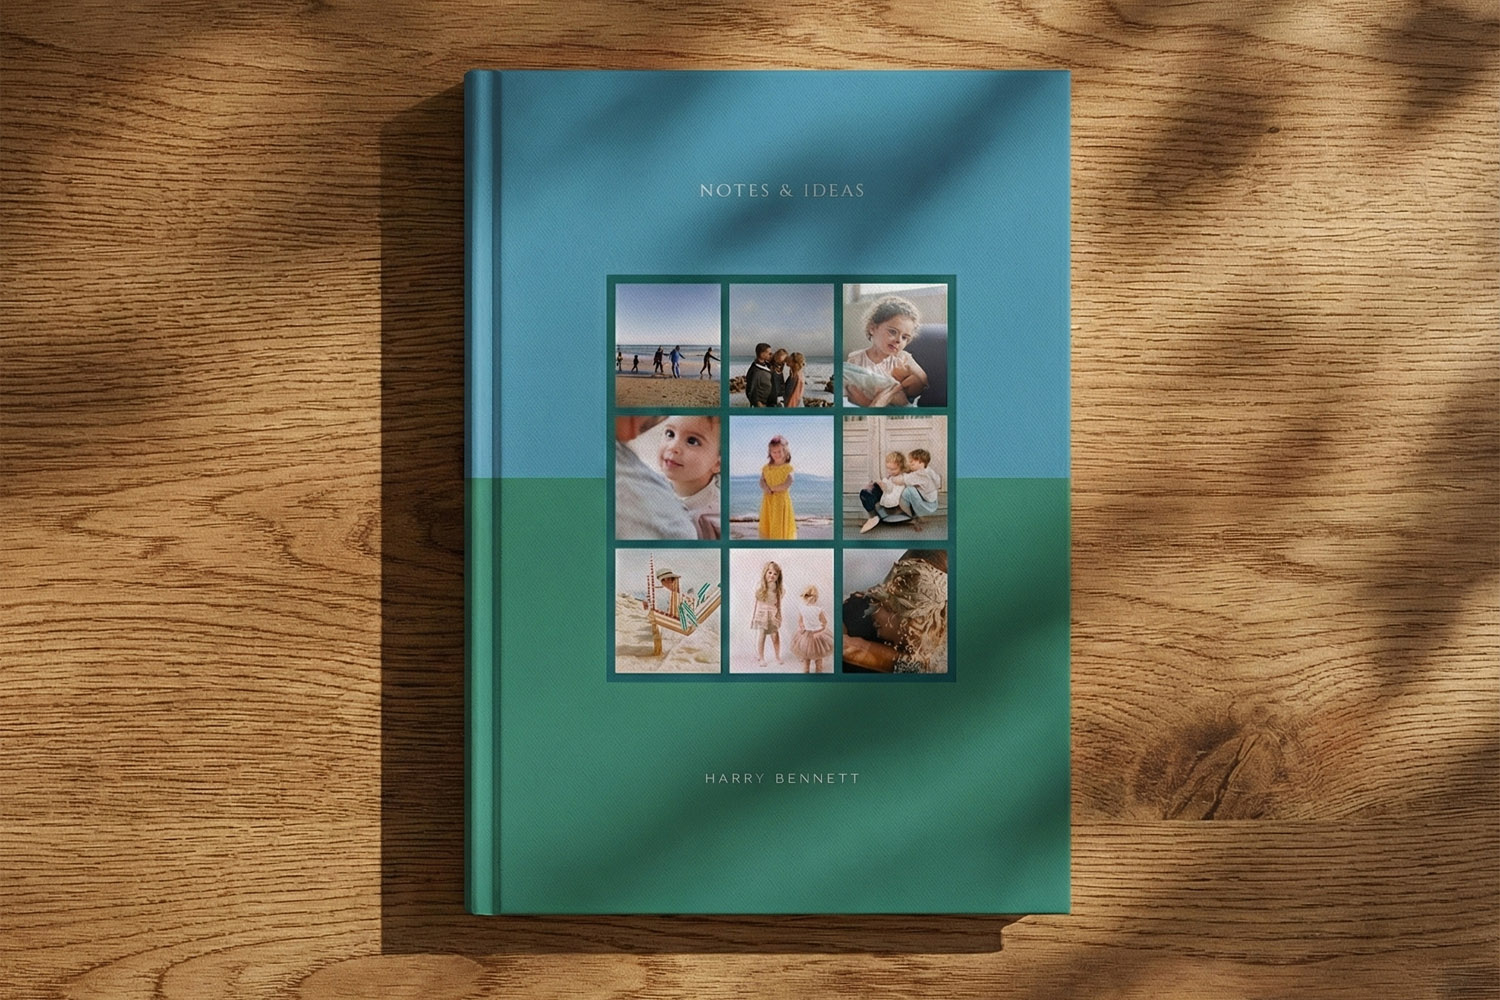
- Collage or pattern: Use a grid of images or a repeating motif for something lively yet orderly.
Real-world examples
- Teacher thank-you: A pastel background, the pupil’s name set small at the foot, and a neat “Thank you, Mrs Green” title centred. Pair it with a small gift like one of our personalised mugs to make a thoughtful set.
- Corporate branding: Your brand logo top-left, notebook title bottom-right, both aligned to a consistent margin. For larger teams, bulk quantities are available on our personalised notebooks page.
- Travel journal: A full-bleed holiday photo, with “Italy 2025” overlaid in a high-contrast font.
Start with a template
If you’d like a head start, browse our growing library of professionally designed layouts on the notebook design styles page. Pick a style that matches your idea (minimal, typographic, collage, geometric, floral) and then edit text, colours and images in the online designer.
The user uploads a personal photo into the design area to personalise the front cover.
Layout, colour and typography: make it look considered
A few simple rules help your design read well in print:
Plan a clear hierarchy
Choose one focal element (name, title, logo) and support it with secondary text if needed. Avoid competing sizes. As a rule of thumb, stick to one or two typefaces; use weight and size to create contrast.
Place text where the eye expects it
Top-left, centred, or bottom-right placements are classic for A5 covers. Keep titles well inside the edges. Avoid hinging areas near the casebound joints by not hugging the very left/right edges.
Keep it readable at arm’s length
Use clean, open fonts for names and titles. Small body text should be no smaller than ~9–10 pt in print terms. If the background is busy, add a semitransparent panel or tighten the crop so text sits on low-detail areas.
Prioritise colour contrast
Dark text on a pale background or white text on a darker photo tends to reproduce best, especially under a matt laminate (which slightly diffuses glare). If in doubt, nudge the background lighter/darker until the title “pops”.
Consistent margins
Pick a margin (e.g., 12–16 mm from the edges) and stick to it for all elements. Consistency is what makes a design feel calm and deliberate.
Template tips
Templates are built to be flexible—swap fonts, recolour backgrounds, or convert a photo layout into a monogram layout by toggling off images and centring text. When you need something gift-specific, you’ll also find themed options such as personalised mugs for Mum if you’re assembling a matching set for Mother’s Day.
The user selects a text box and updates names to personalise the design in real time.
Designing your notebook for print (resolution, cropping, safe areas, finish)
Getting the file right ensures what you see is what you print:
1) Resolution & size
- The notebook is A5 hardback (153 × 215 mm). Allow a 3 mm bleed on all sides for full-bleed designs, so prepare artwork at 159 × 221 mm.
- For photos, aim for 300 dpi at that bleed size—roughly 1900 × 2610 px or higher. Anything significantly lower may look soft in print.
- Crop decisively: zoom into the subject and keep faces or logos away from the very edges.
2) Safe areas
- Keep names, logos and small details at least 5 mm inside the trim to avoid them looking cramped or being visually close to the case joints.
- Avoid fine borders around the edge; even tiny trim tolerances make near-edge frames look uneven.
3) Colour & contrast
- Boost mid-tones slightly for photos with lots of shadow; a touch of clarity/sharpening helps under matt lamination.
- For white text on a photo, reduce image brightness behind the text or add a faint overlay panel for extra legibility.
4) Logos & brand assets
- Supply a clean, high-resolution version. If your logo is vector-based, export a large PNG with a transparent background to keep edges crisp.
- Stick to approved brand colours and leave enough clear space around the mark to breathe.
5) File housekeeping
- Double-check spelling, dates and initials. The online editor follows a what-you-see-is-what-you-print approach, so your on-screen layout is the basis for production. Minor post-checkout edits may be possible from your account if the order has not yet reached the press.
6) Printing & finish—what to expect
- Covers are printed in full colour onto 170gsm silk art, wrapped over a 2.4 mm FSC-certified greyboard for a sturdy feel, then matt-laminated to protect colour and give a refined, low-glare finish.
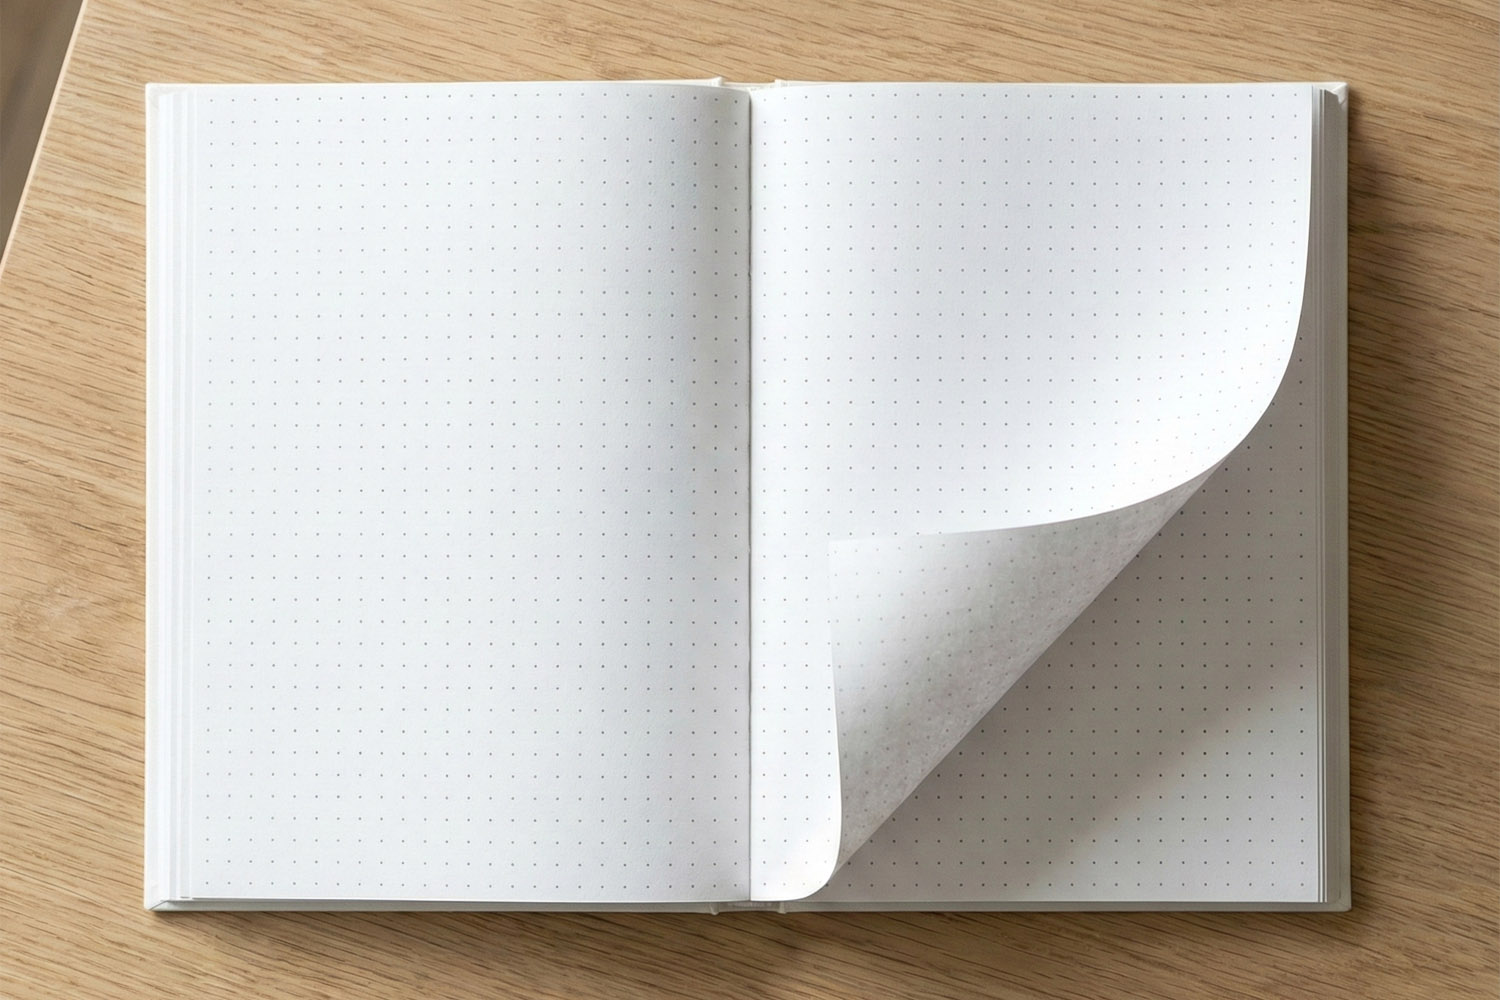
- Inside are 96 leaves / 192 sides of smooth 90gsm FSC paper, with lined, dotted or plain layouts available.
- Production is 5–6 working days (add courier time) and UK delivery only at present; ideal for single gifts or bulk runs for teams and events.
7) Choosing a template (optional but helpful)
- If you prefer to start from a proven layout, head to notebook design styles, pick something close to your idea, and customise. It’s the quickest route to a tidy result, especially for first-time designers.
When you’re ready, create your design directly from Utterly Printable’s personalised notebooks—no software needed, just your browser.
Frequently asked questions about personalising notebook covers
Below are quick, practical answers to the questions we hear most often—from photo quality to delivery timelines—so you can design with confidence.
Yes. Prepare your image with 3 mm bleed on all sides (artwork size 159 × 221 mm ) and aim for ~300 dpi (~ 1900 × 2610 px minimum). Keep important faces or text away from the very edges.
Clean, open sans serifs (for modern looks) or sturdy serifs (for classic looks) both print well. Use one or two typefaces at most, maintain a clear size hierarchy, and avoid very thin hairlines on pale backgrounds.
Absolutely. Upload a high-resolution logo, position it consistently (e.g., top-left), and consider a small tagline in a lighter weight. Bulk quantities are available on our personalised notebooks page.
A 2.4 mm FSC greyboard hardback wrapped in 170gsm silk art with matt lamination for the cover, plus 96 leaves / 192 sides of 90gsm FSC pages inside (lined, dotted or plain).
Standard production is 5–6 working days , plus courier transit. Delivery is UK only at present.
Lined vs Dotted vs Plain Notebooks: Which Interior Layout Should You Choose?
Explore the differences between lined, dotted, and plain notebooks to find the perfect interior layout for your writing, planning, or creative projects. This guide covers each style’s strengths, helping you choose the best personalised A5 notebook for your needs.
Notebook Page Quality Explained: Understanding 90gsm Paper
Discover how 90gsm notebook paper strikes the perfect balance between writing comfort, bleed resistance, and portability. This guide explains what makes 90gsm paper ideal for everyday note-taking, bullet journaling, and personalised A5 hardback notebooks.
Personalised notebooks as gifts: ideas for every occasion
Discover thoughtful personalised notebook gift ideas for every occasion, from birthdays and graduations to corporate events and weddings. Explore tips on custom cover designs, page layouts, and meaningful personalisation to create a truly special, practical present.
What Makes a Premium Hardback Notebook? A Buyer’s Guide
Discover what sets a premium hardback notebook apart in this buyer’s guide, covering essential features like casebound construction, matt lamination, sturdy greyboard covers, and 90gsm paper. Learn how these details impact durability, writing comfort, and everyday use.
Products related to notebooks:


Personalised Notebooks